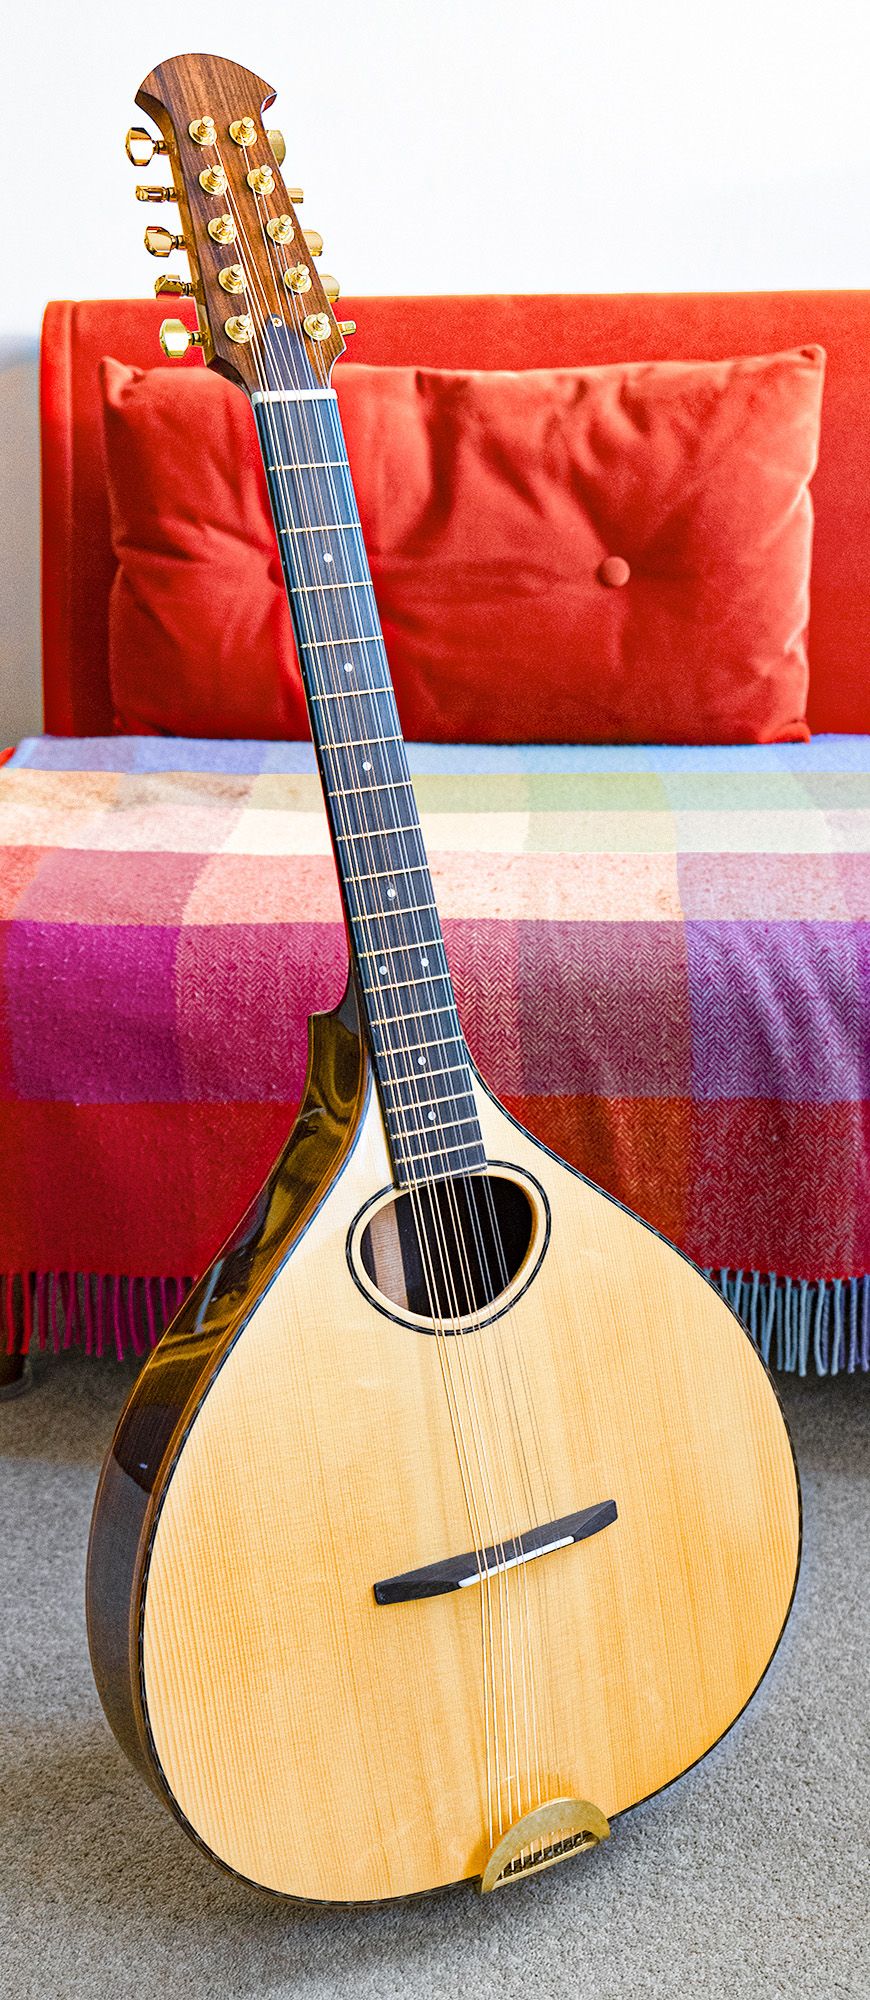
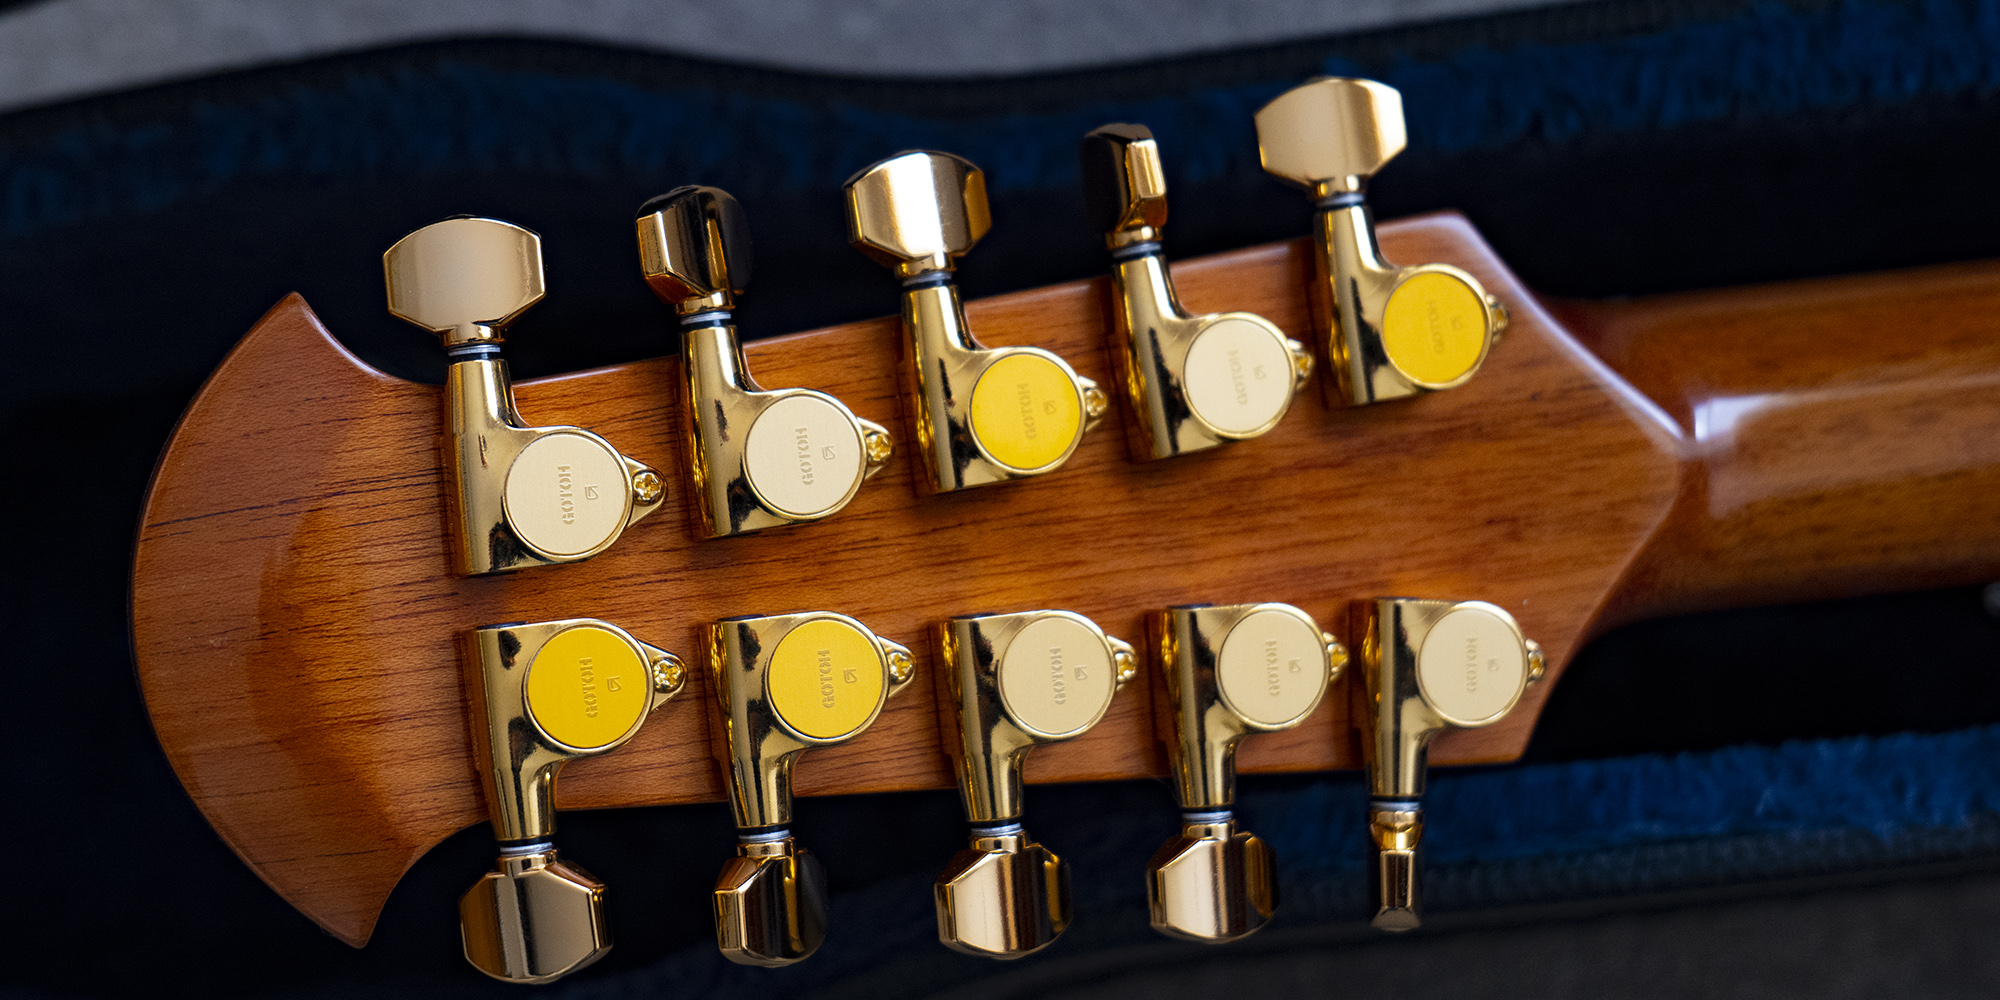
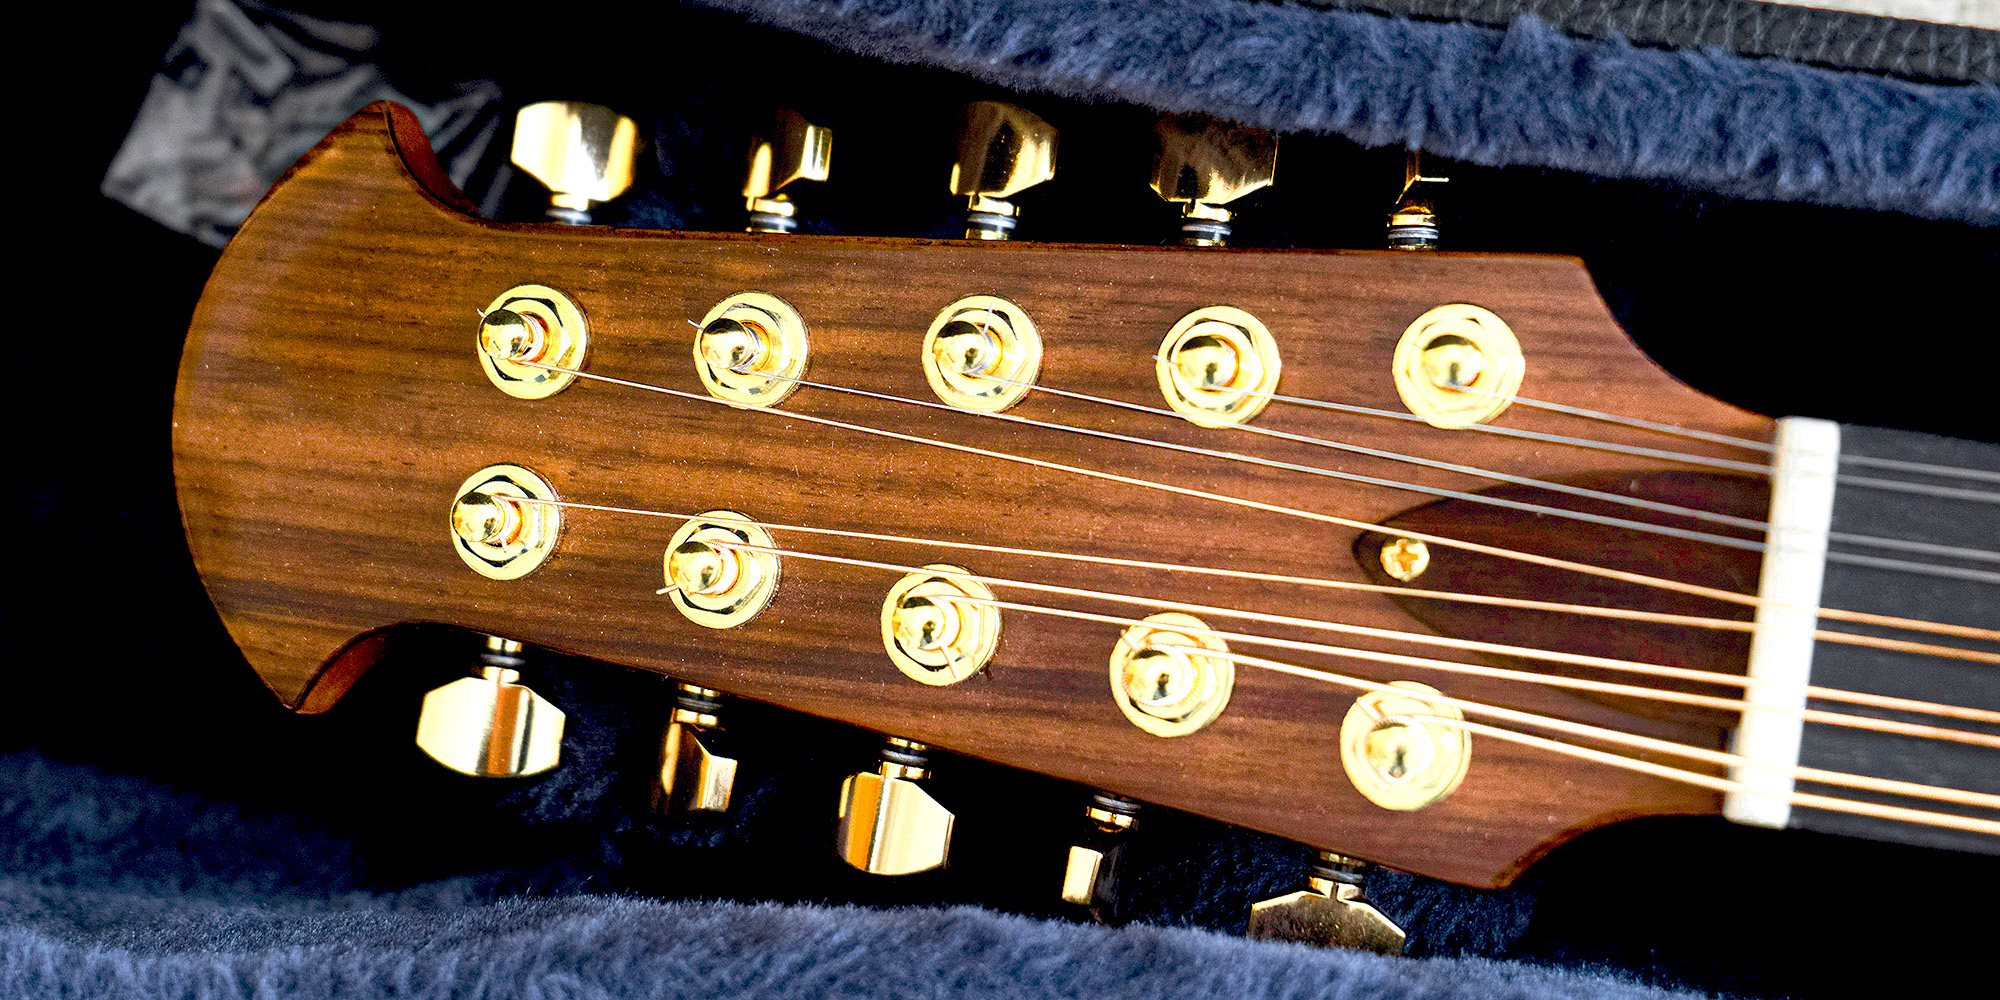
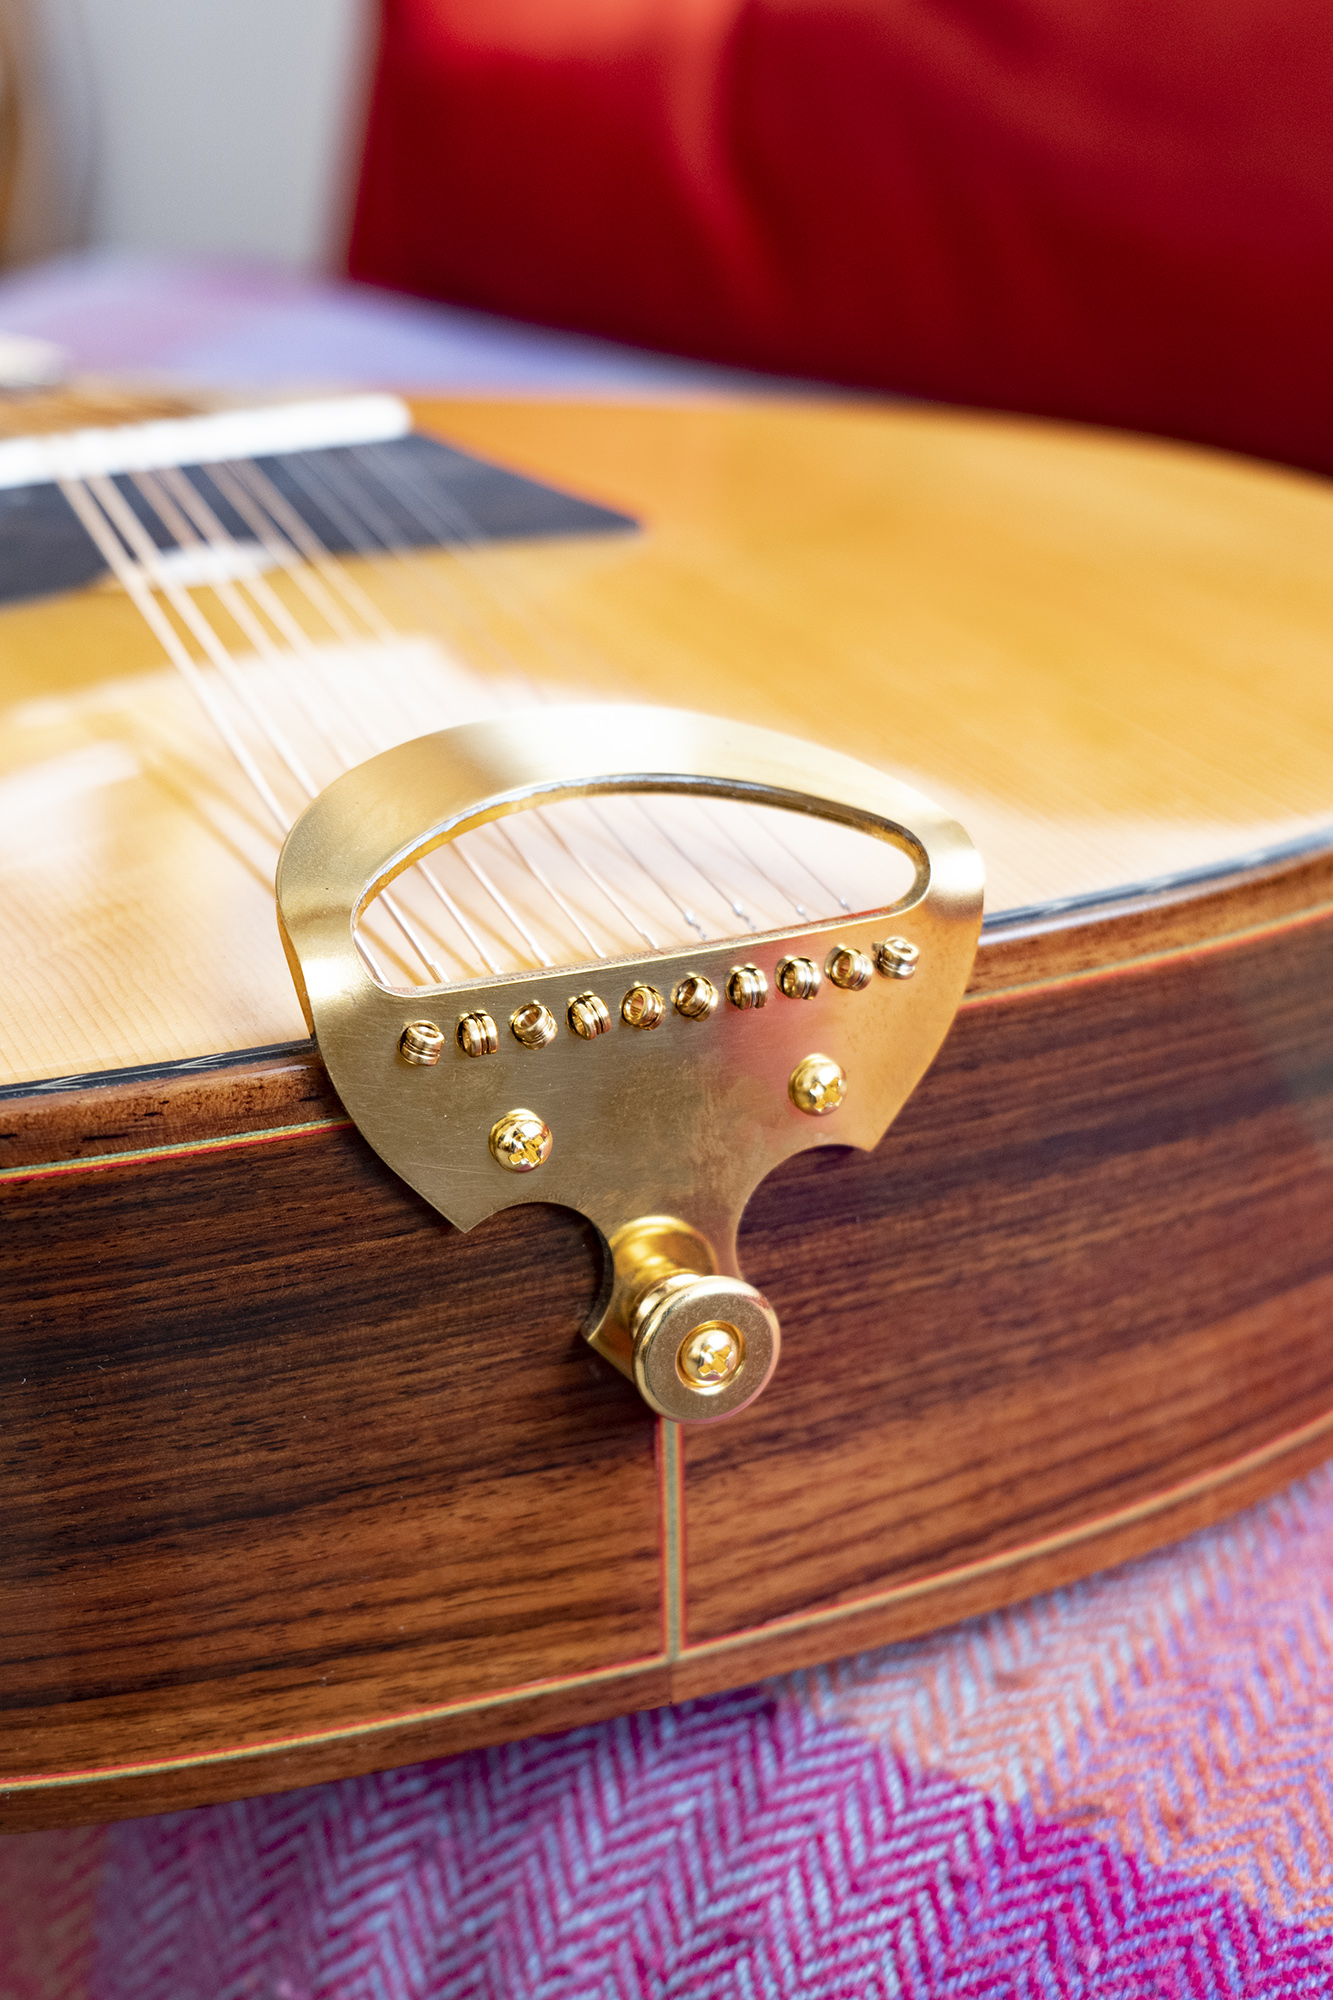
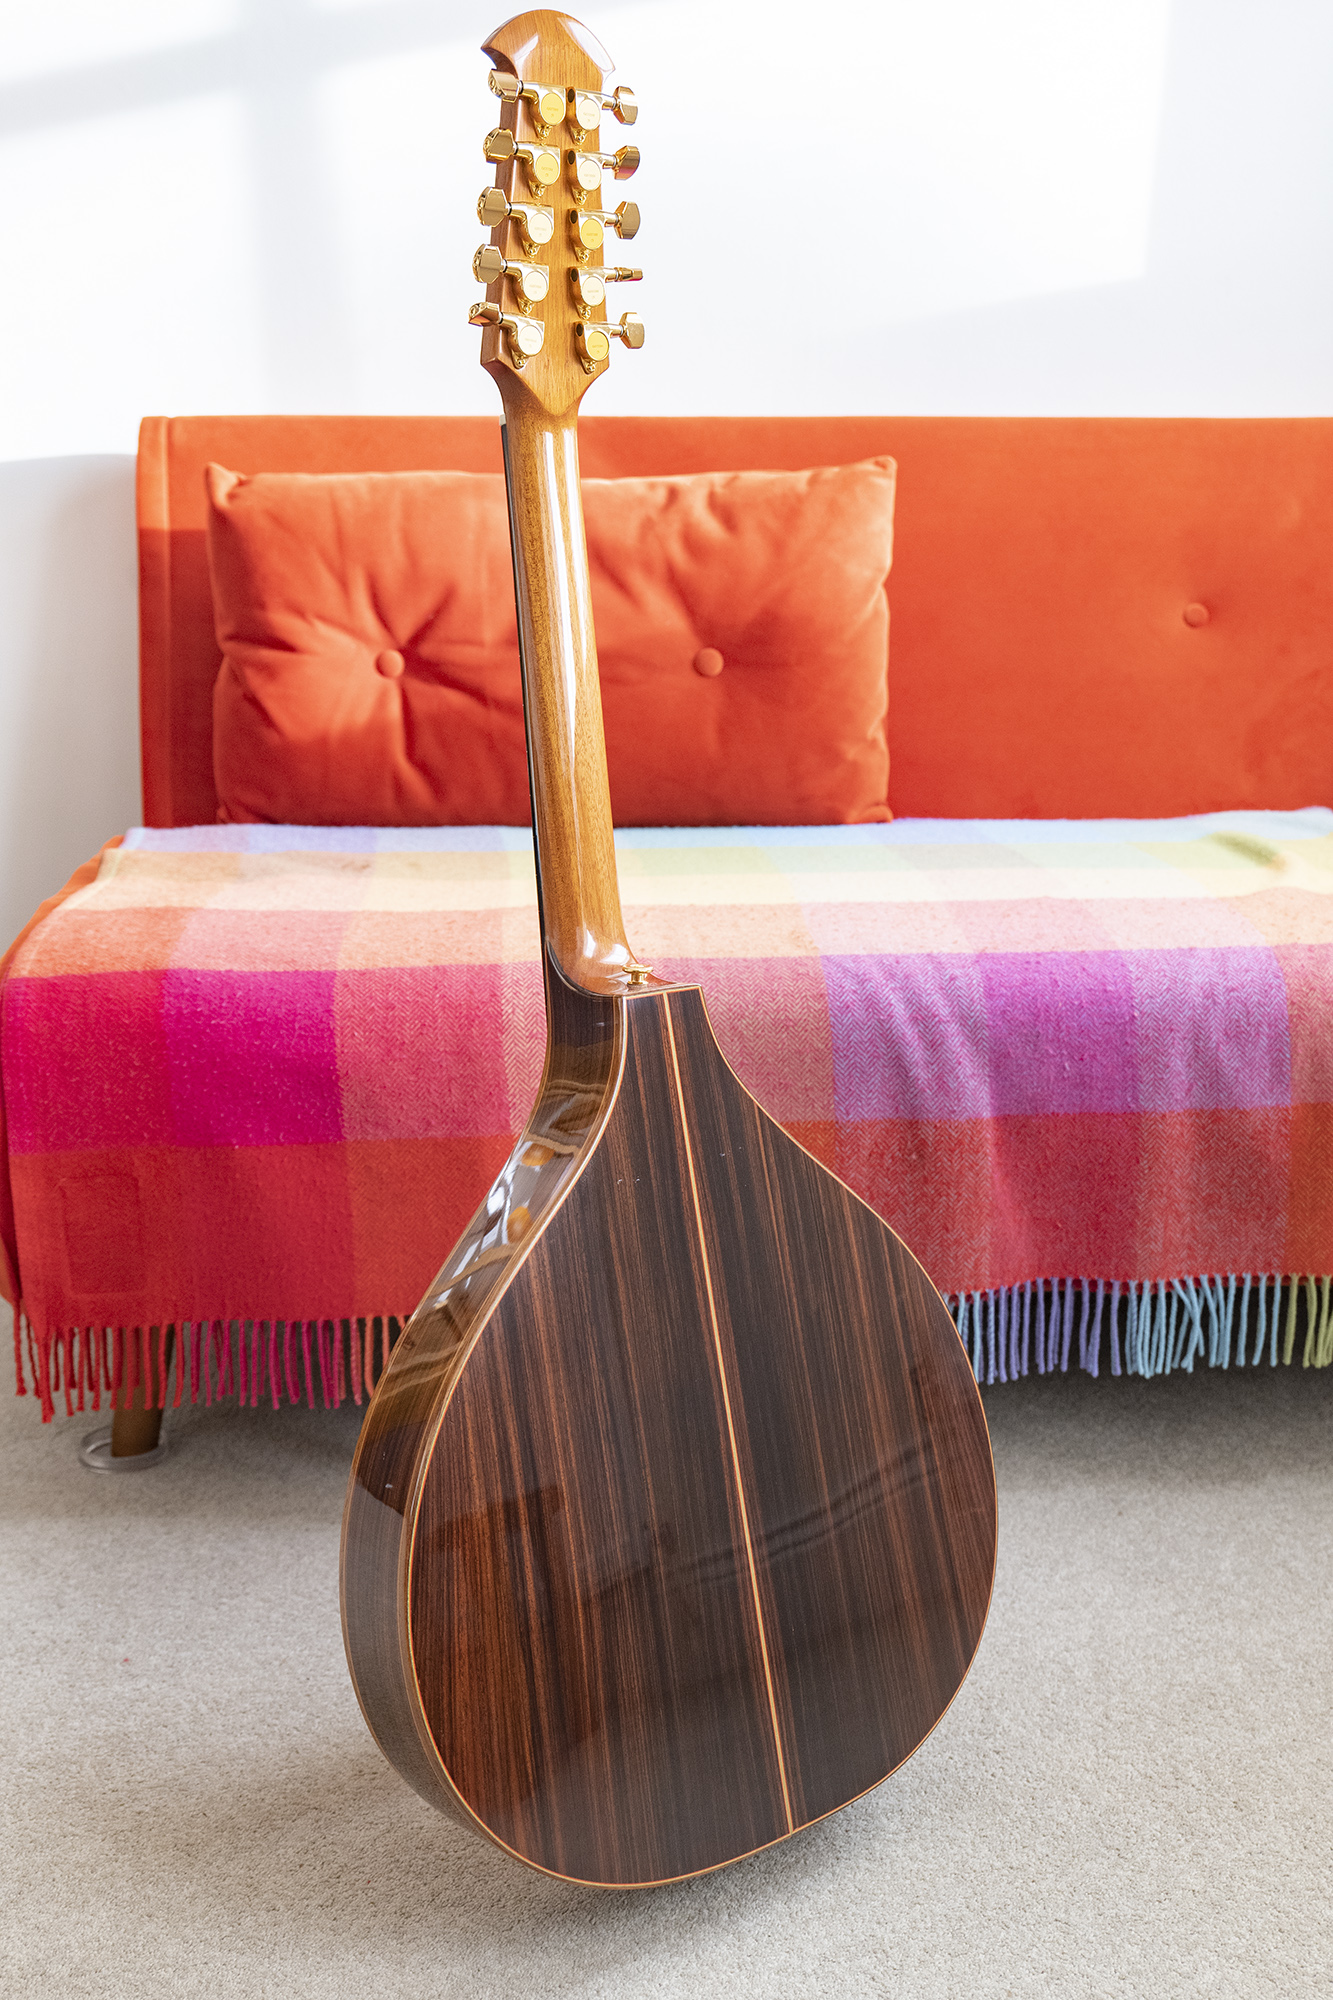
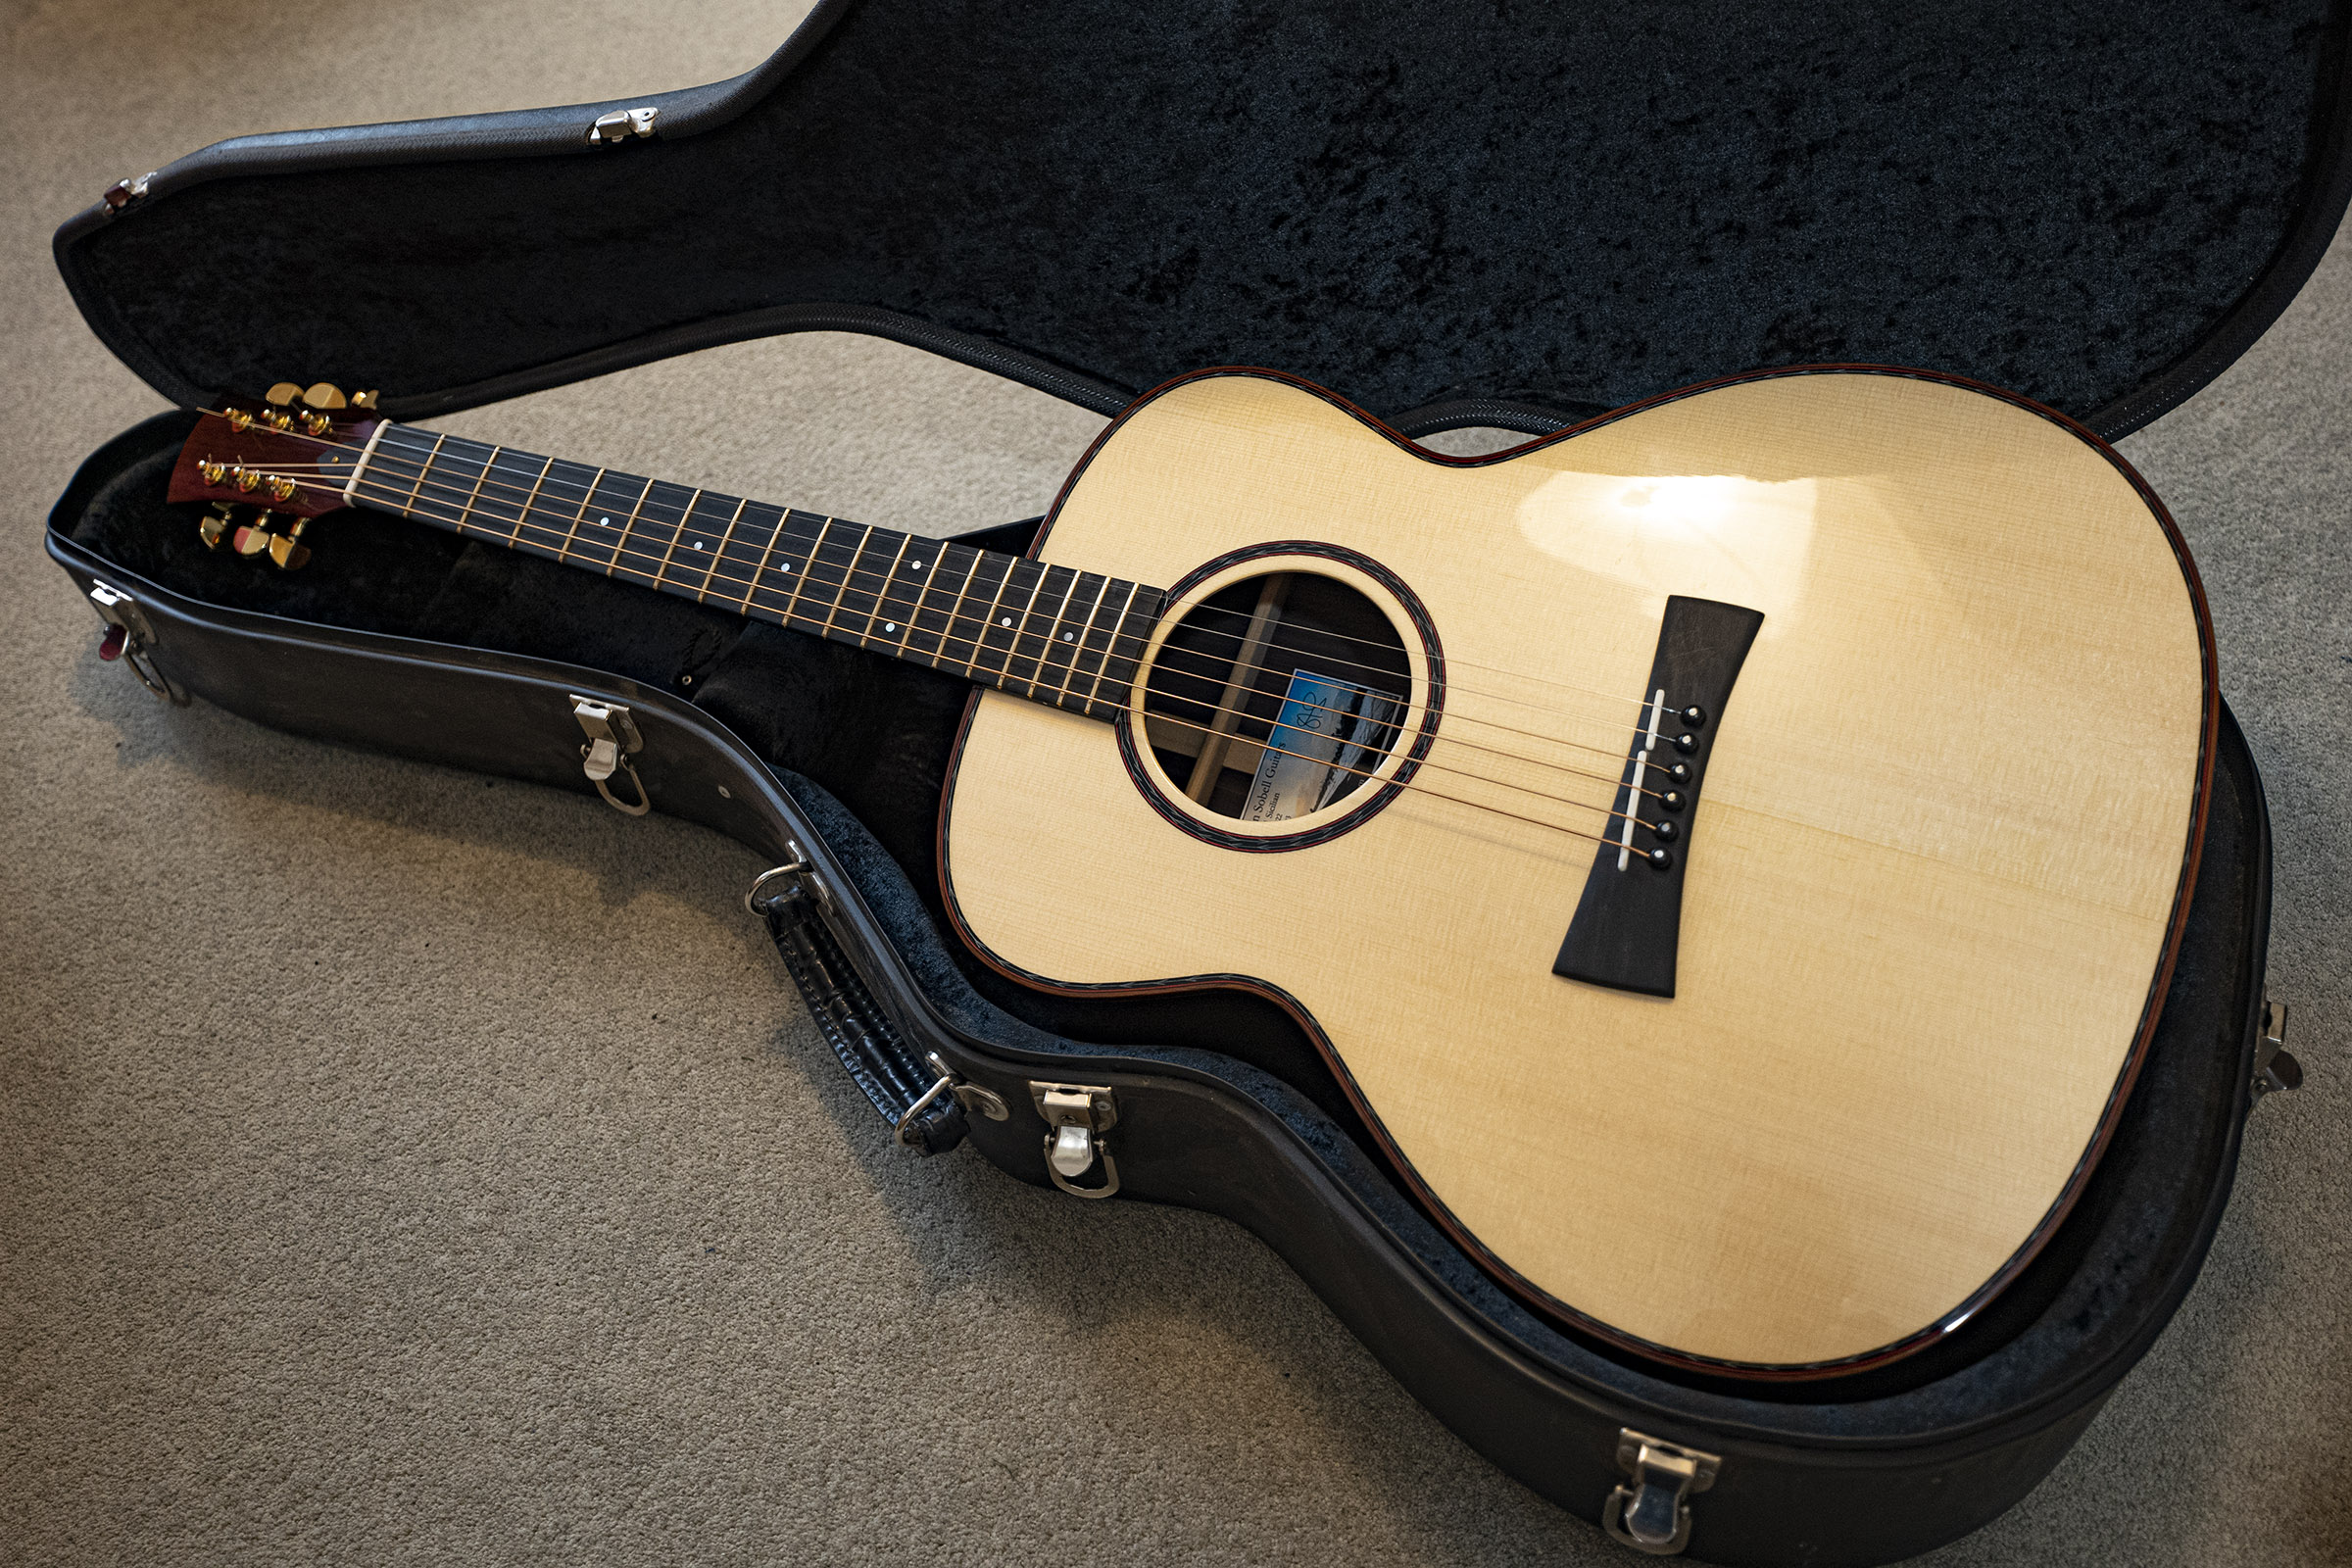
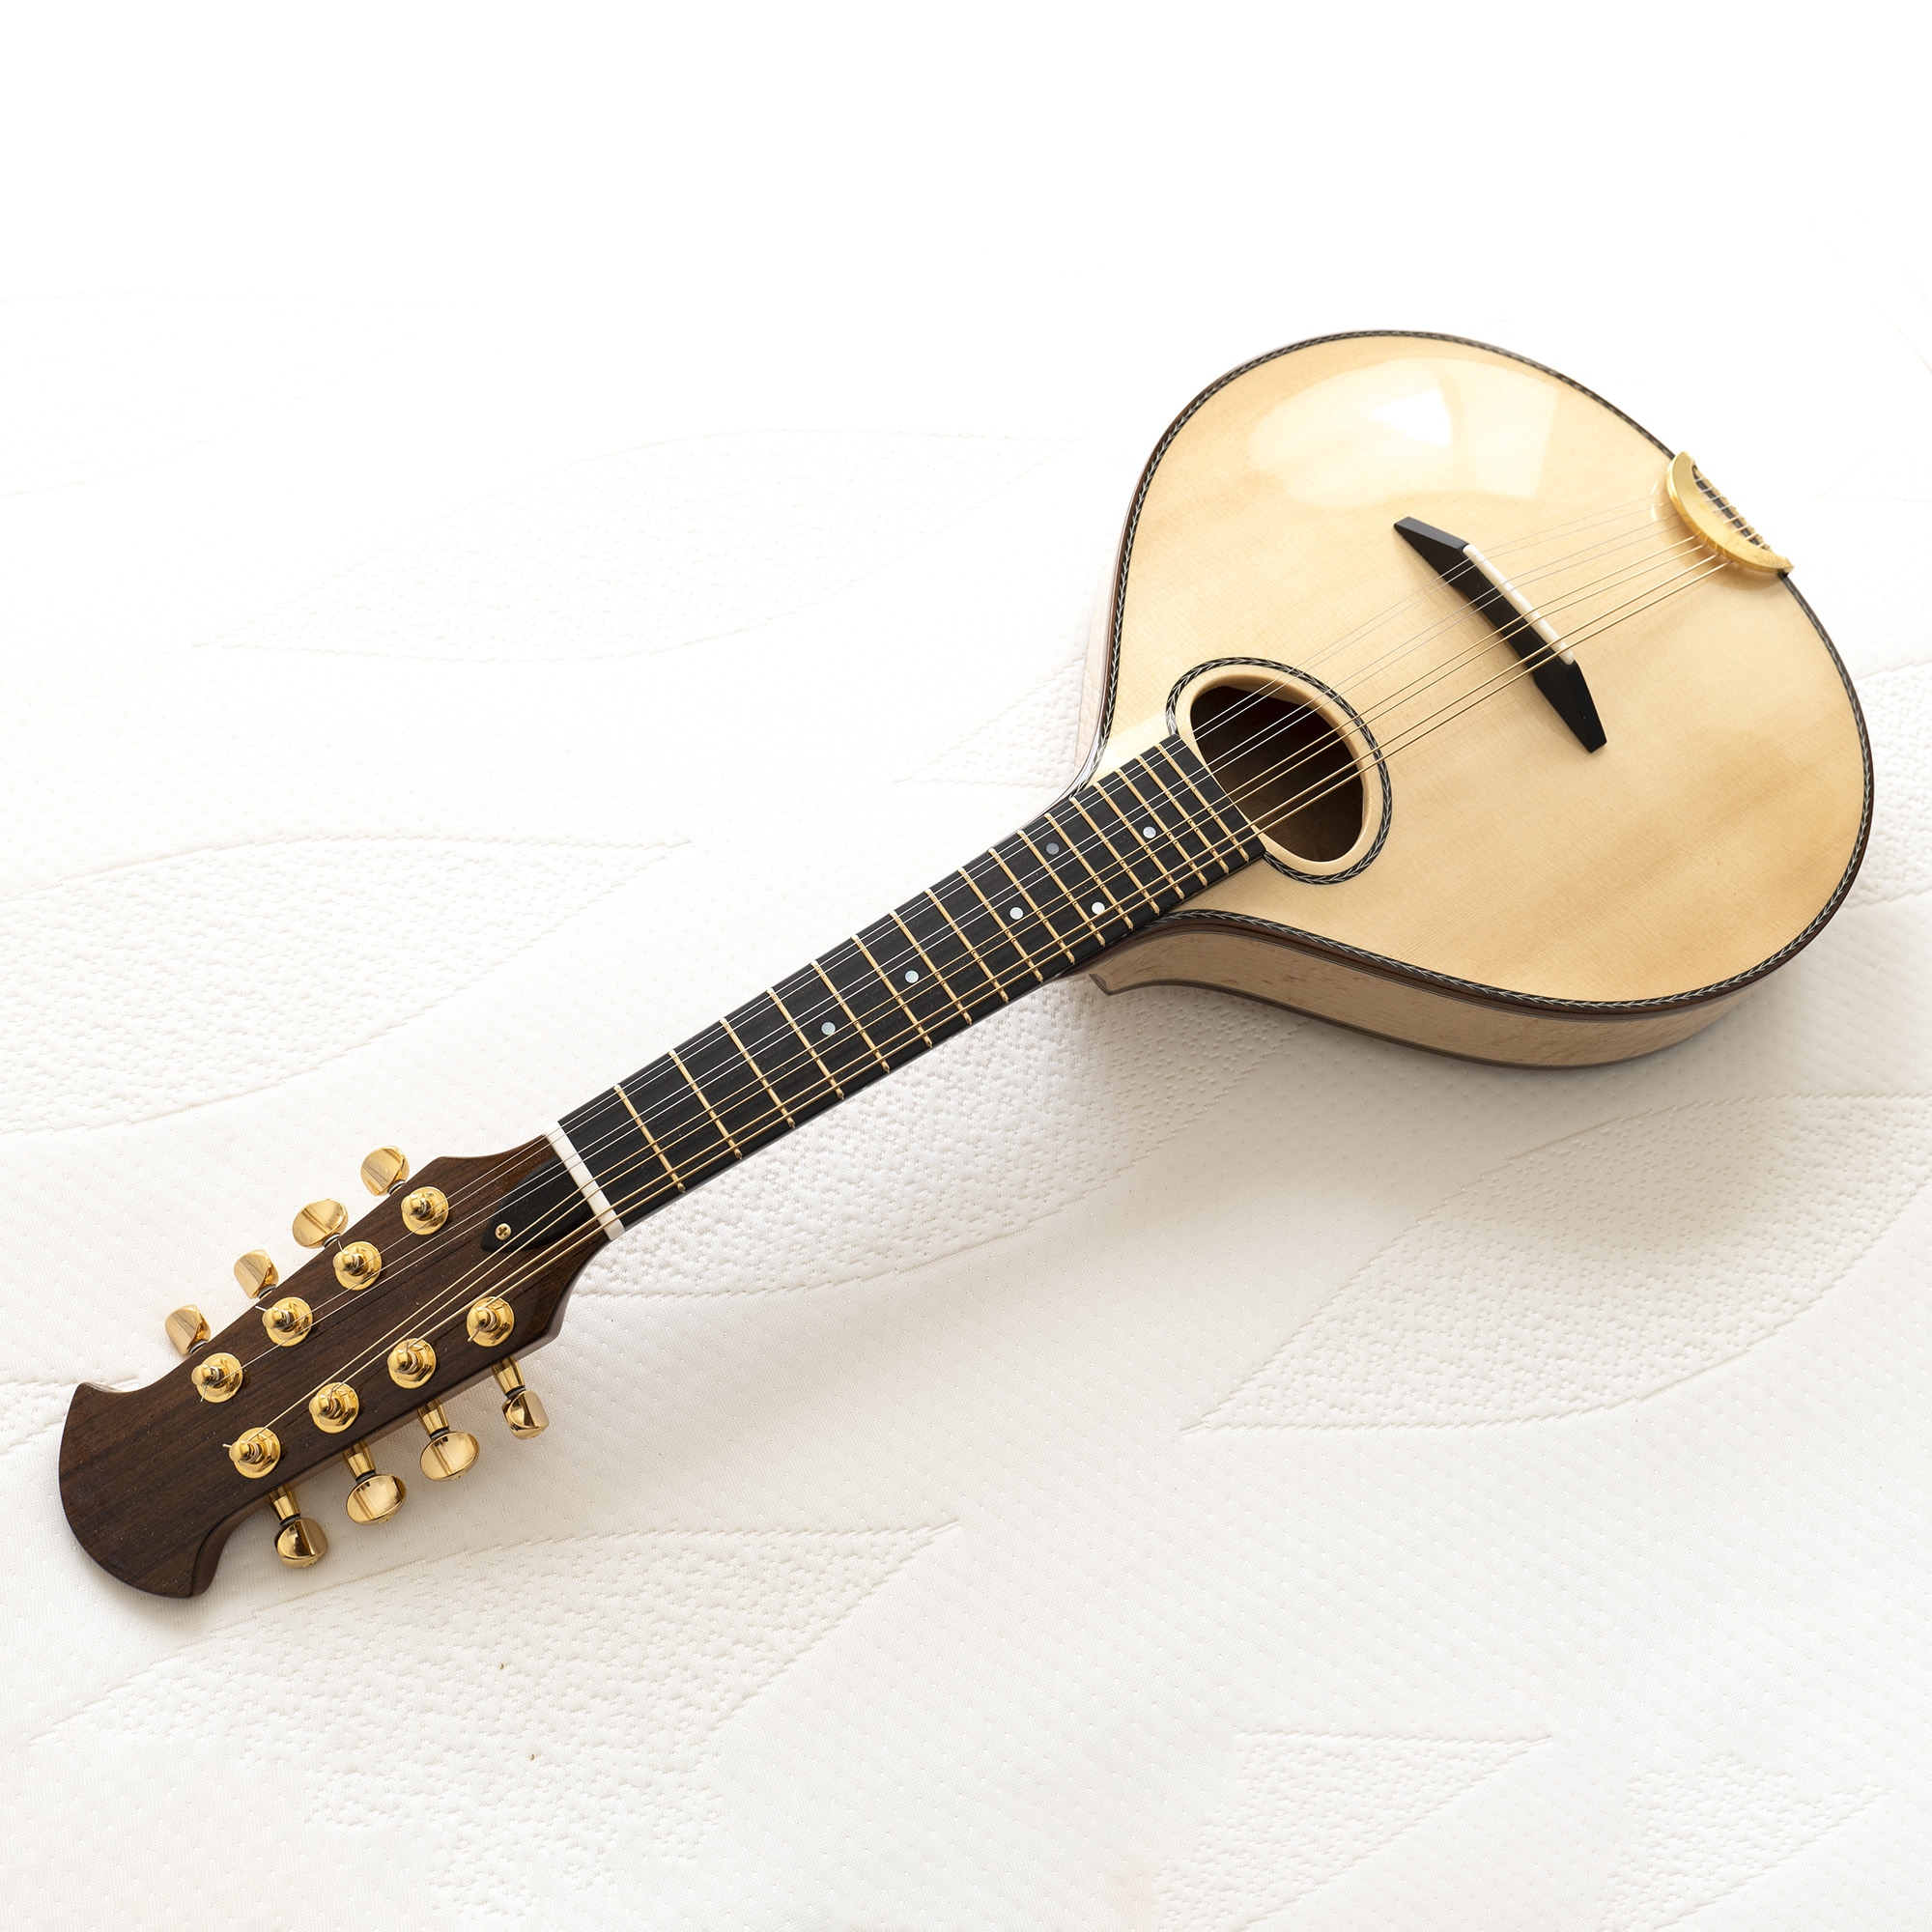
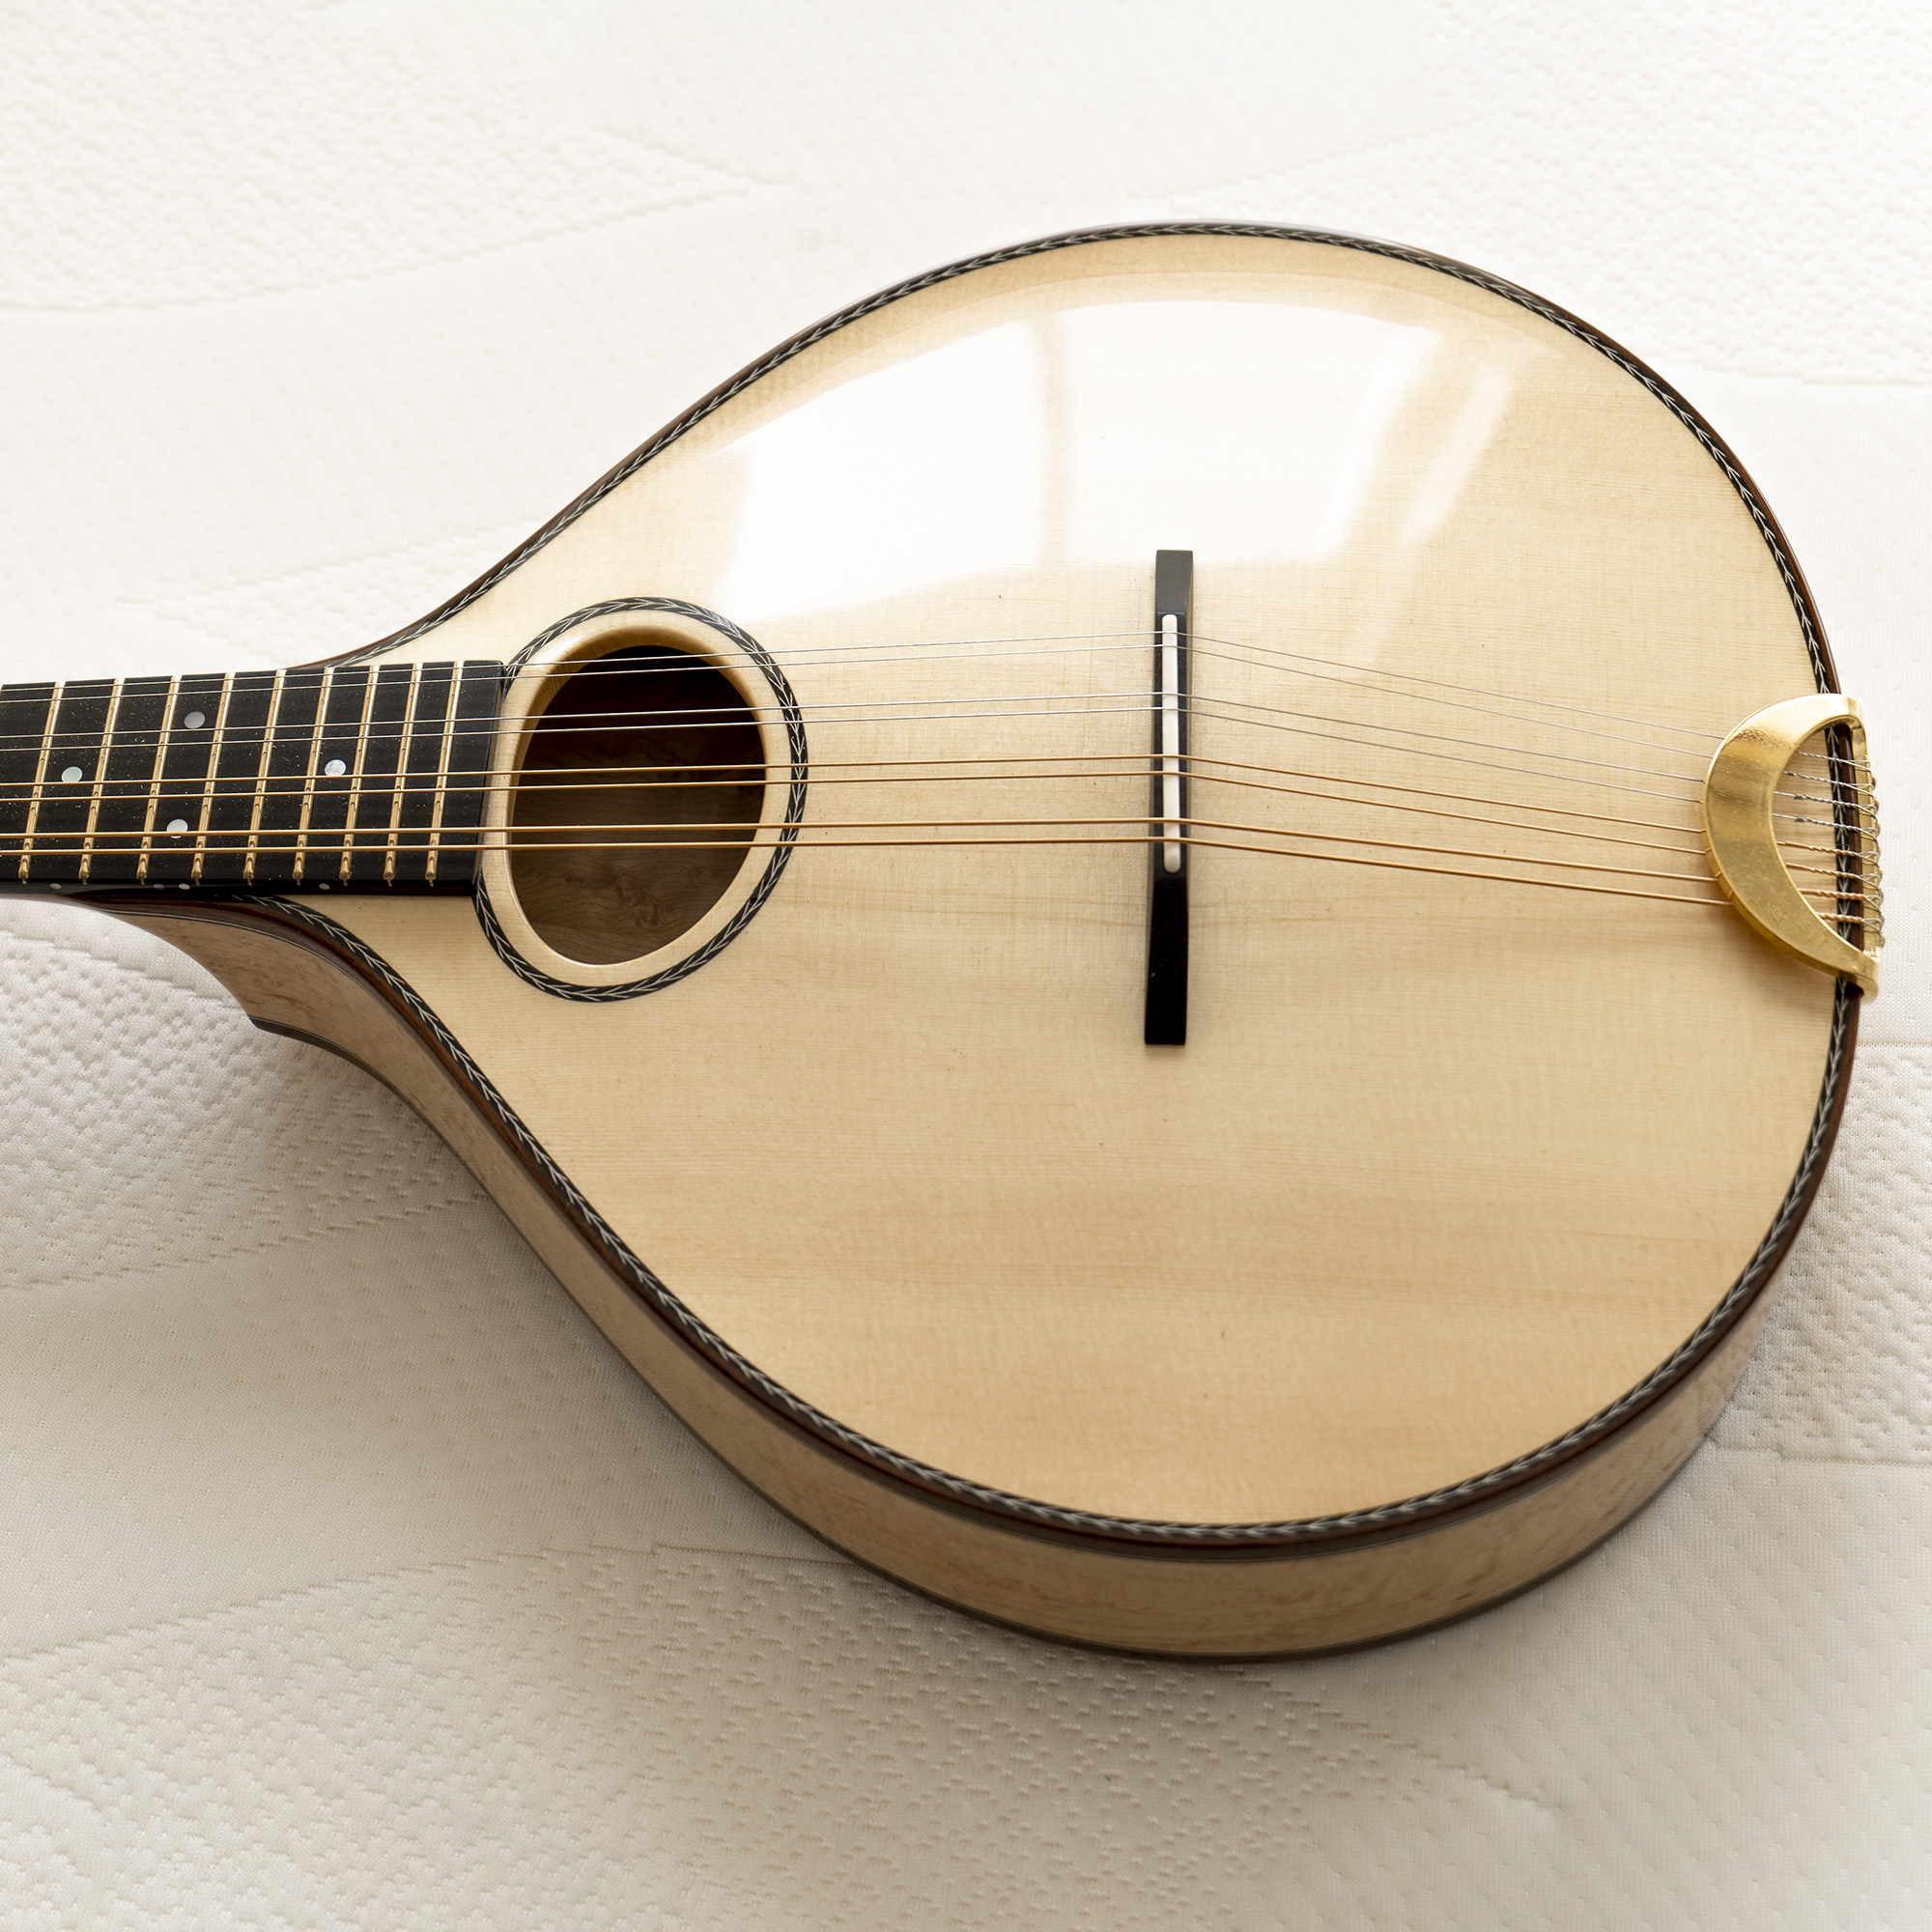
New 5 course cittern for sale
Now sold
Colin Keefe and I have been collaborating for over two years now. It’s been effortless; Colin is as likeable and straightforward as he is a consummate craftsman, we have an excellent understanding and get on particularly well. And we have the same aim – perfection.
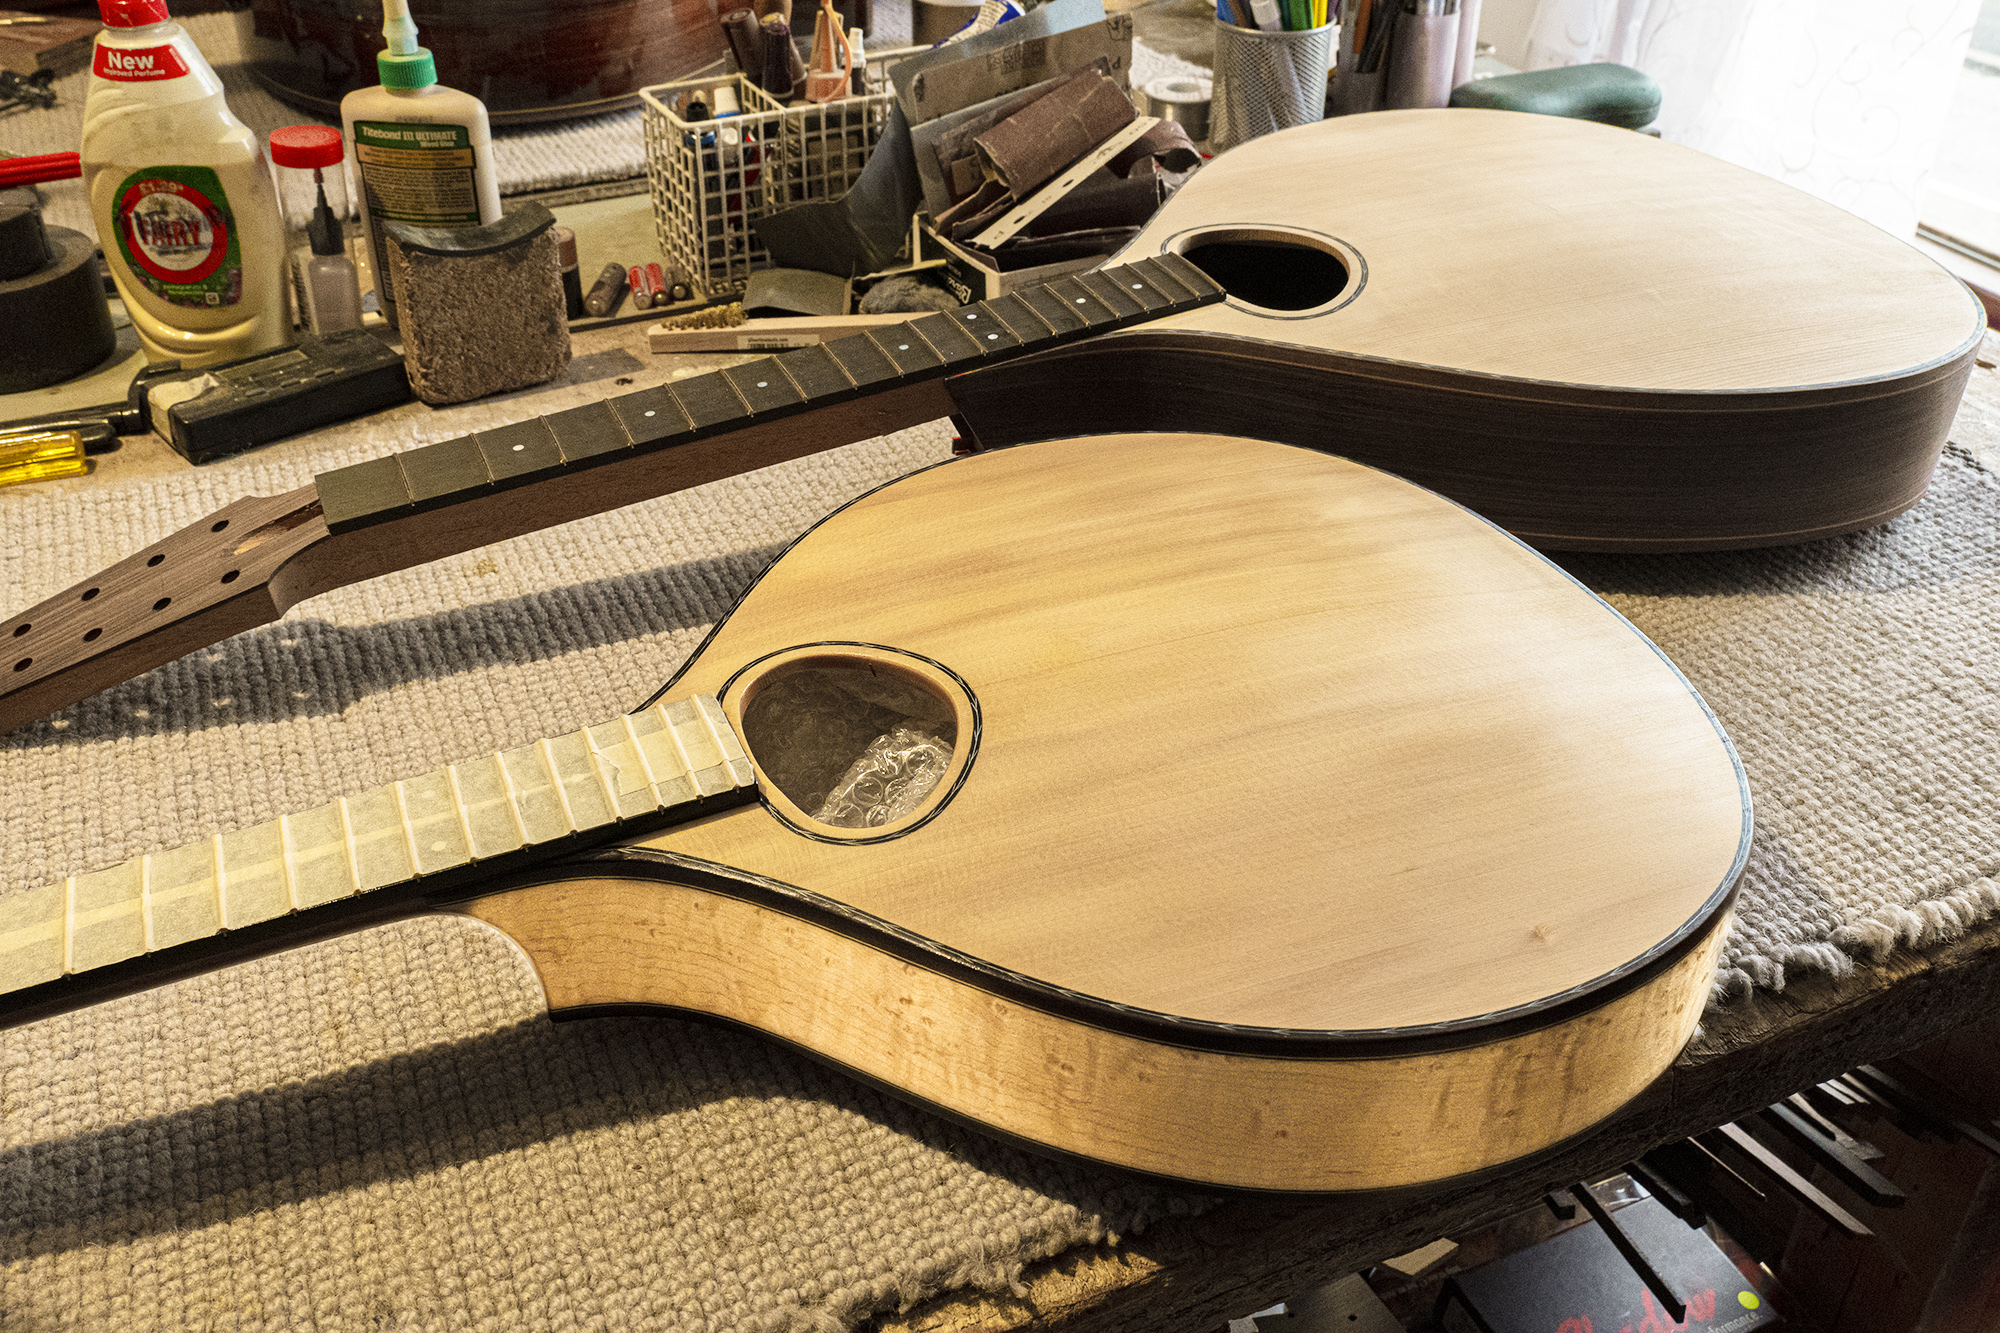
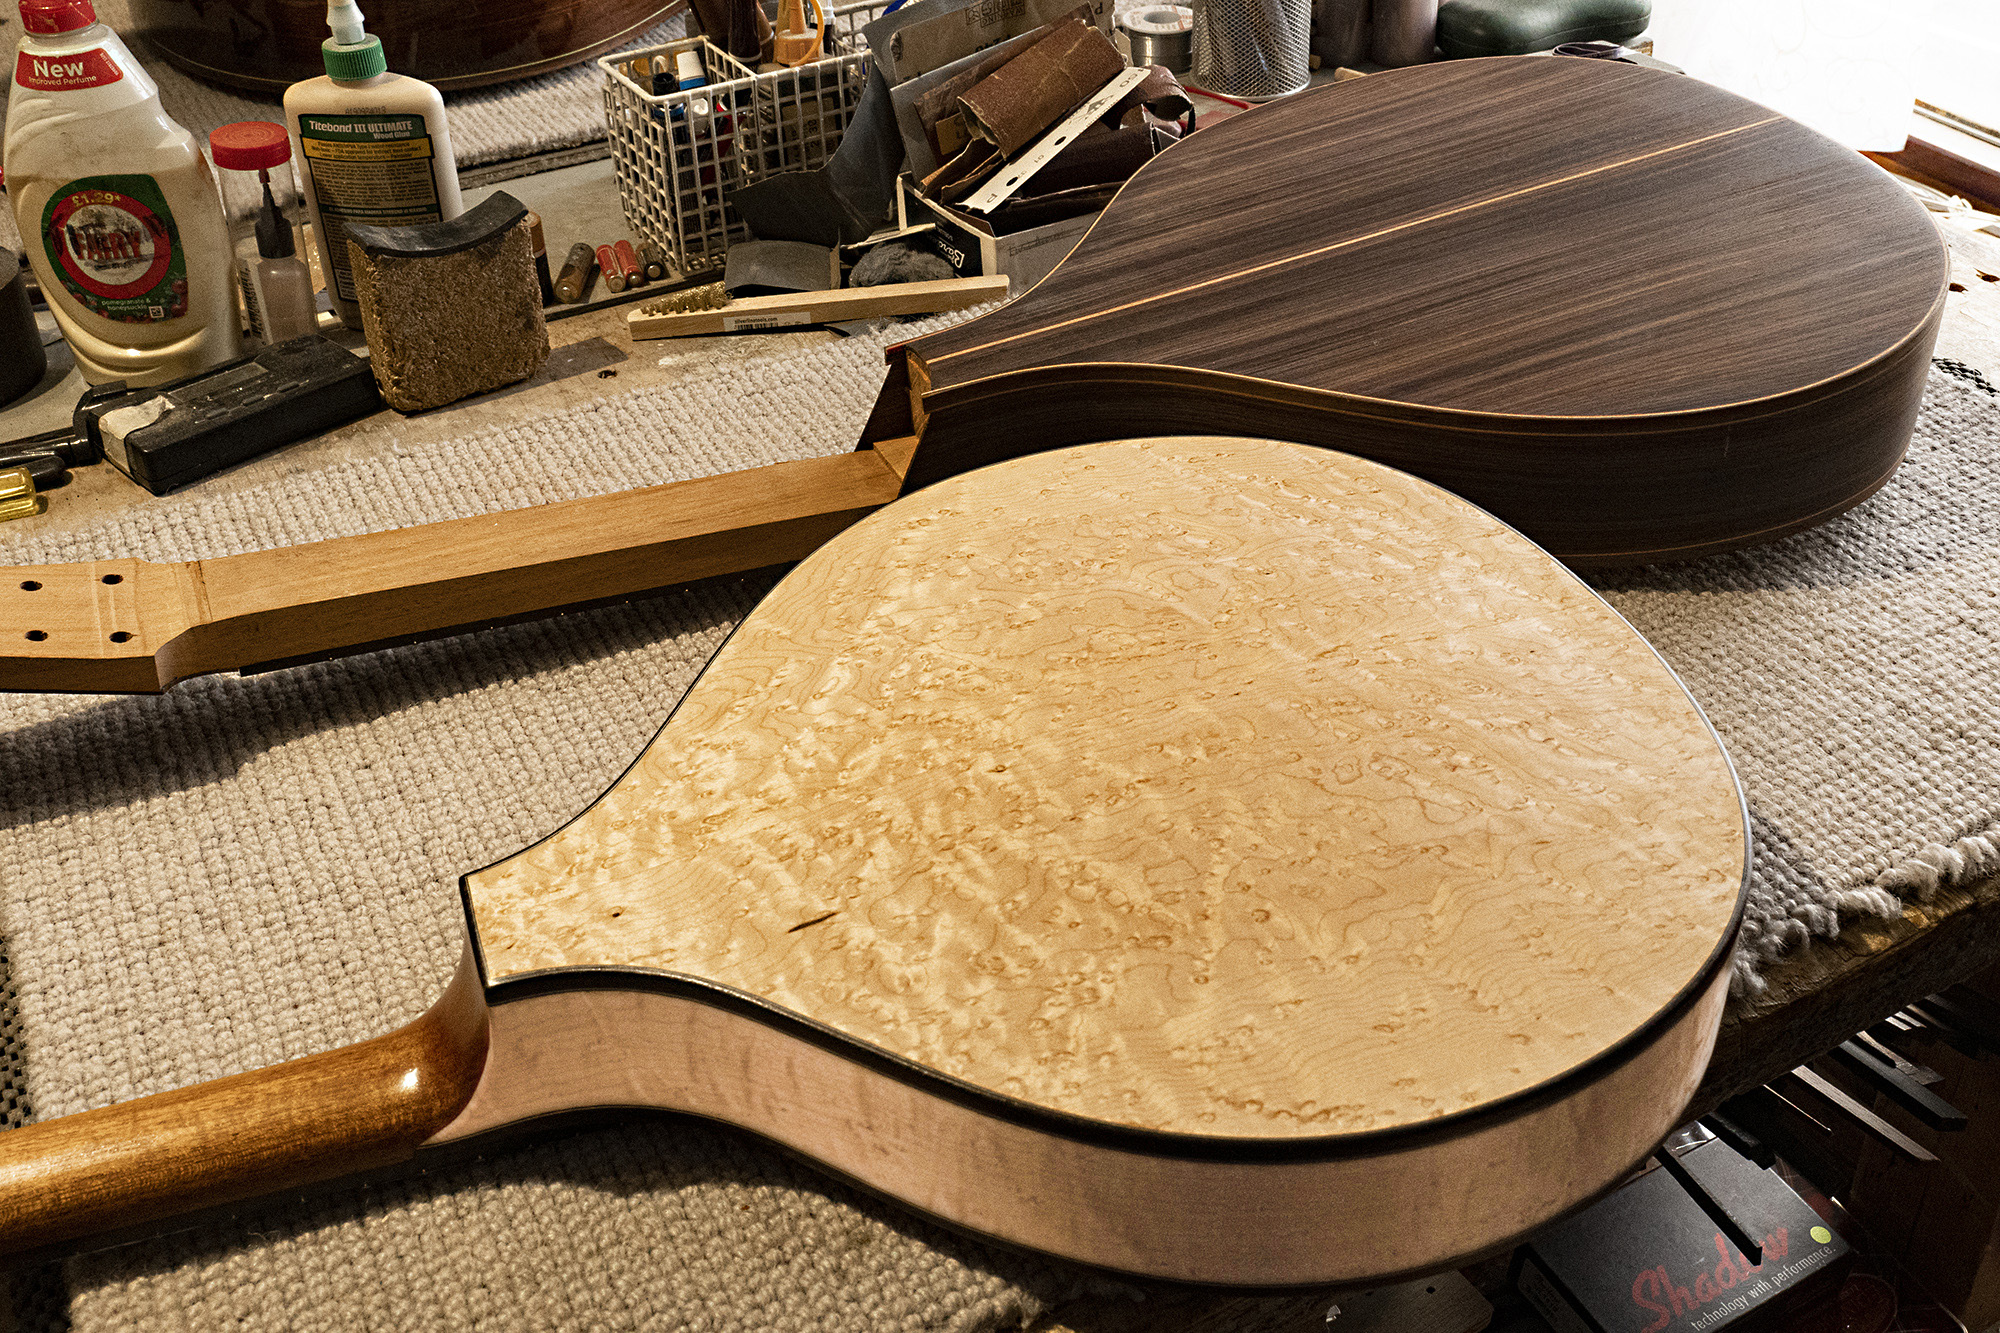
Together we have now completed six instruments; a preliminary cittern and five more for customers, each of which has been received enthusiastically. Some of their (completely unsolicited ) comments below.
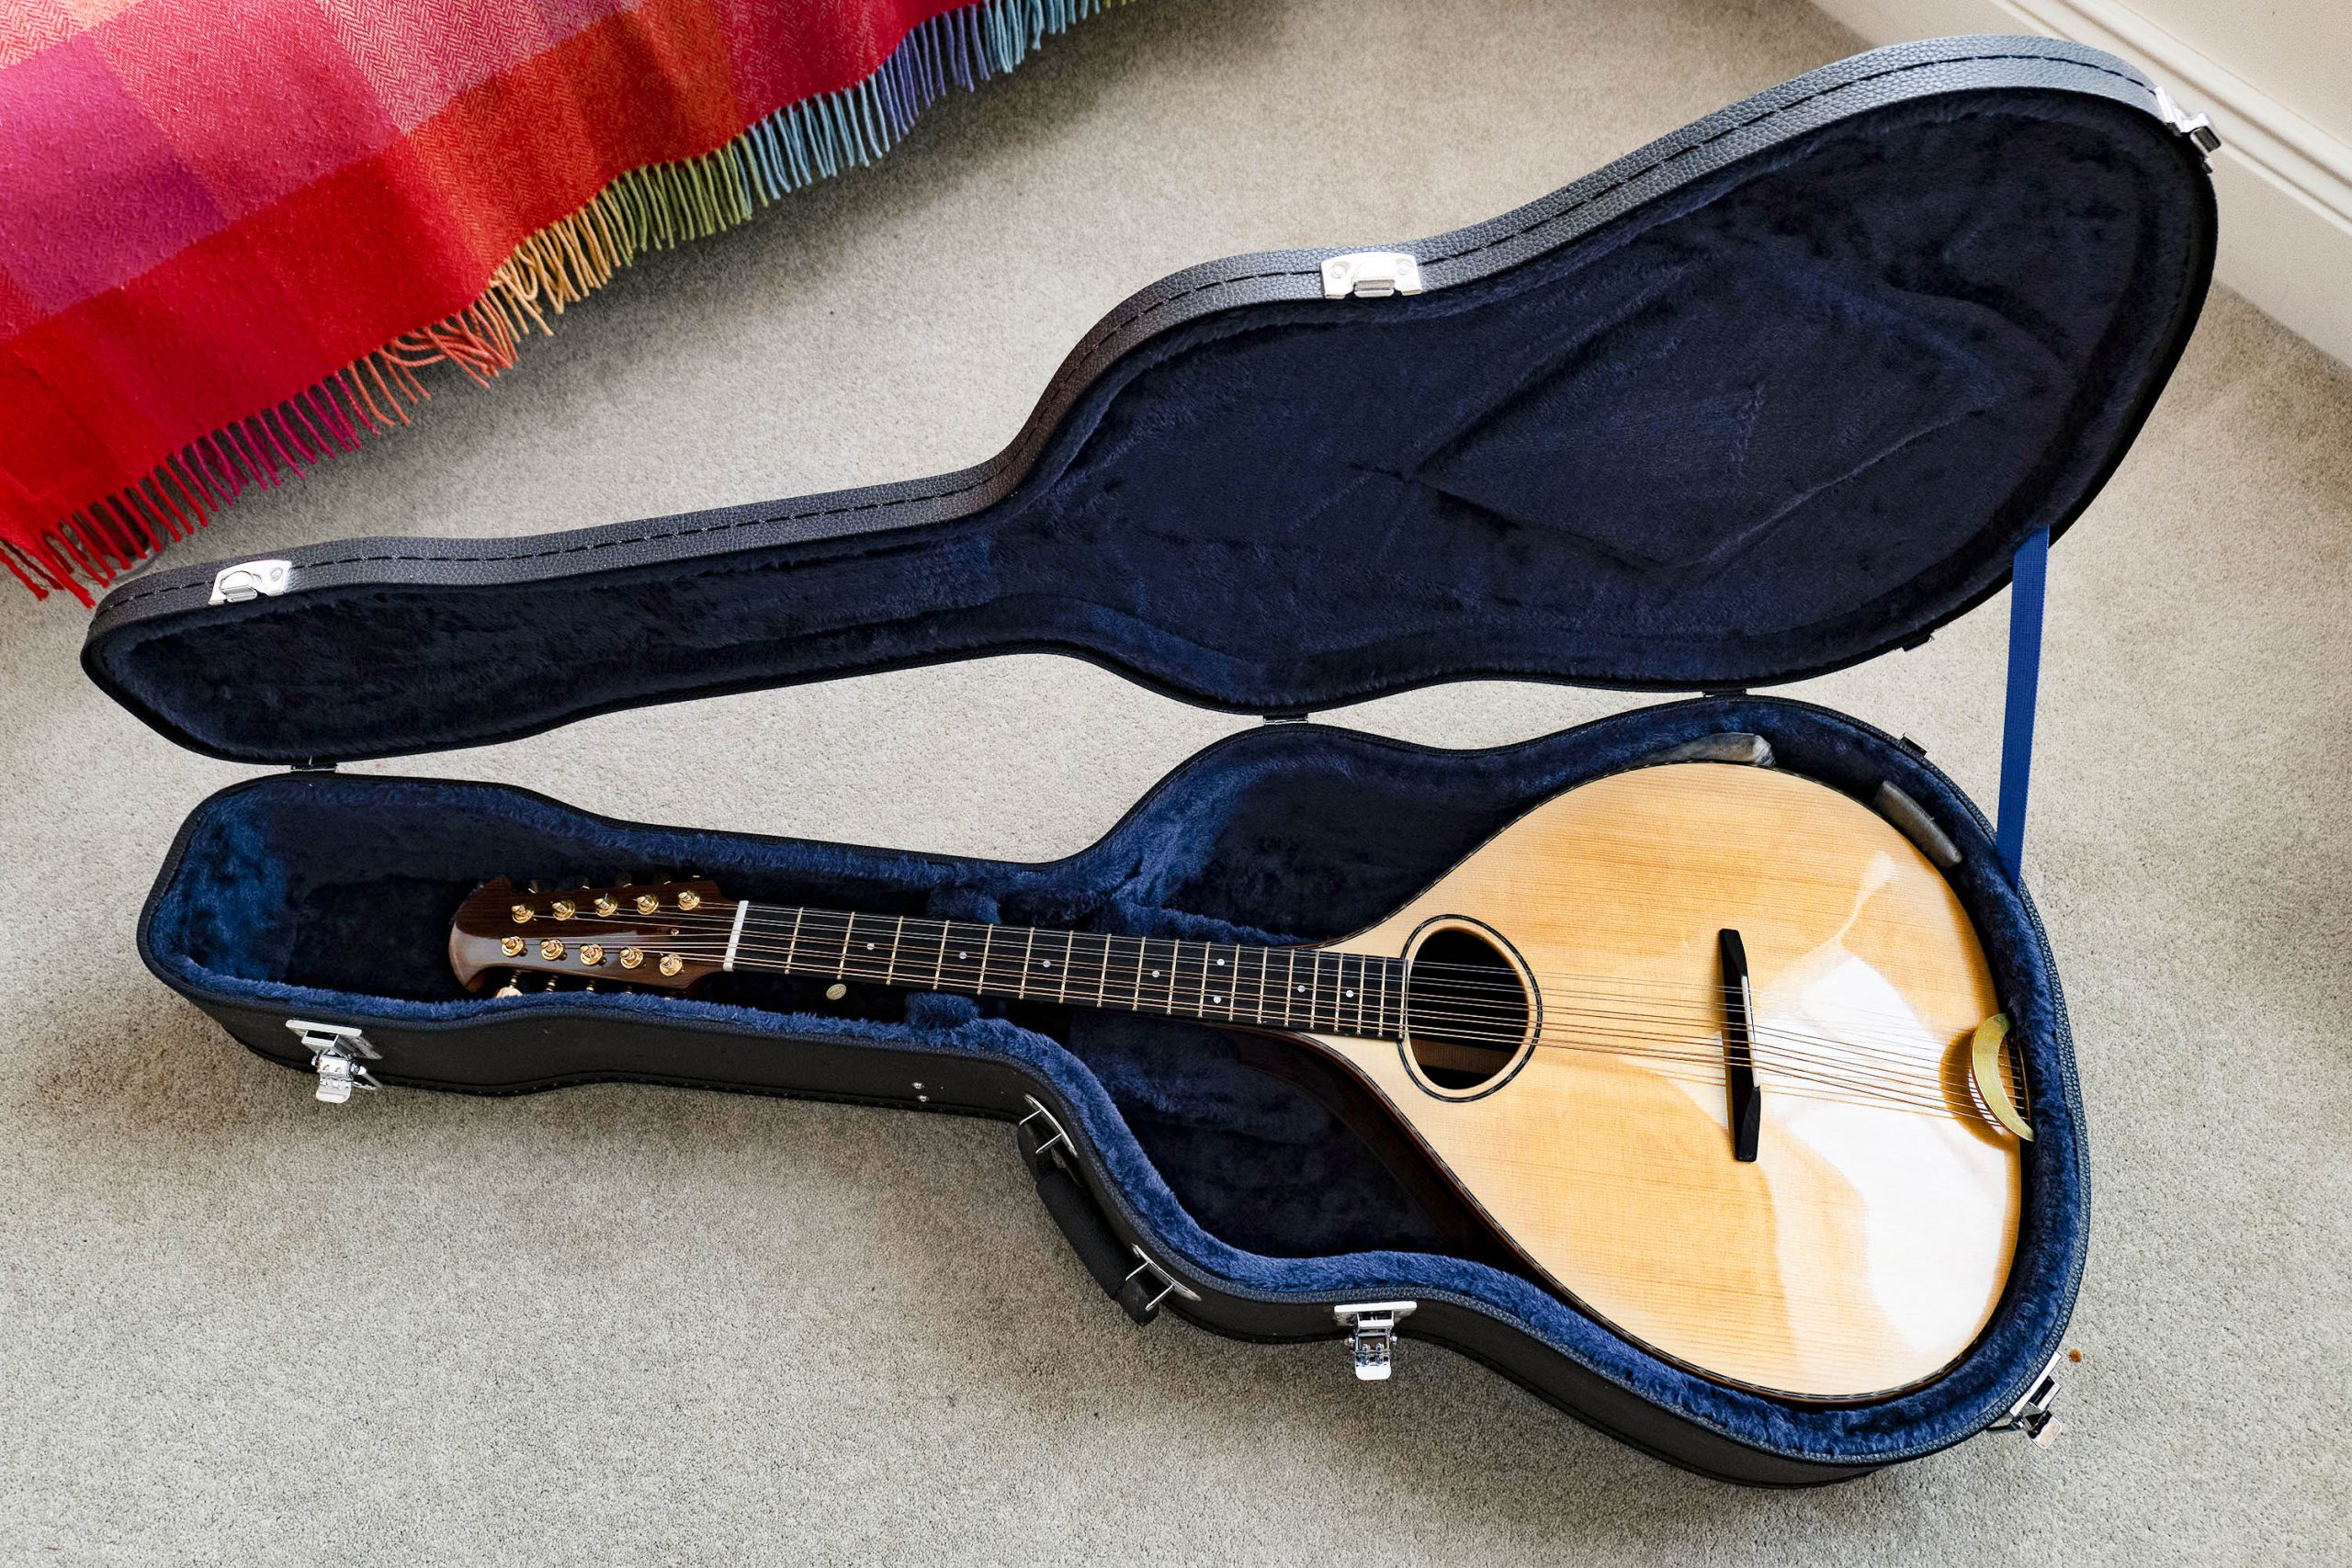
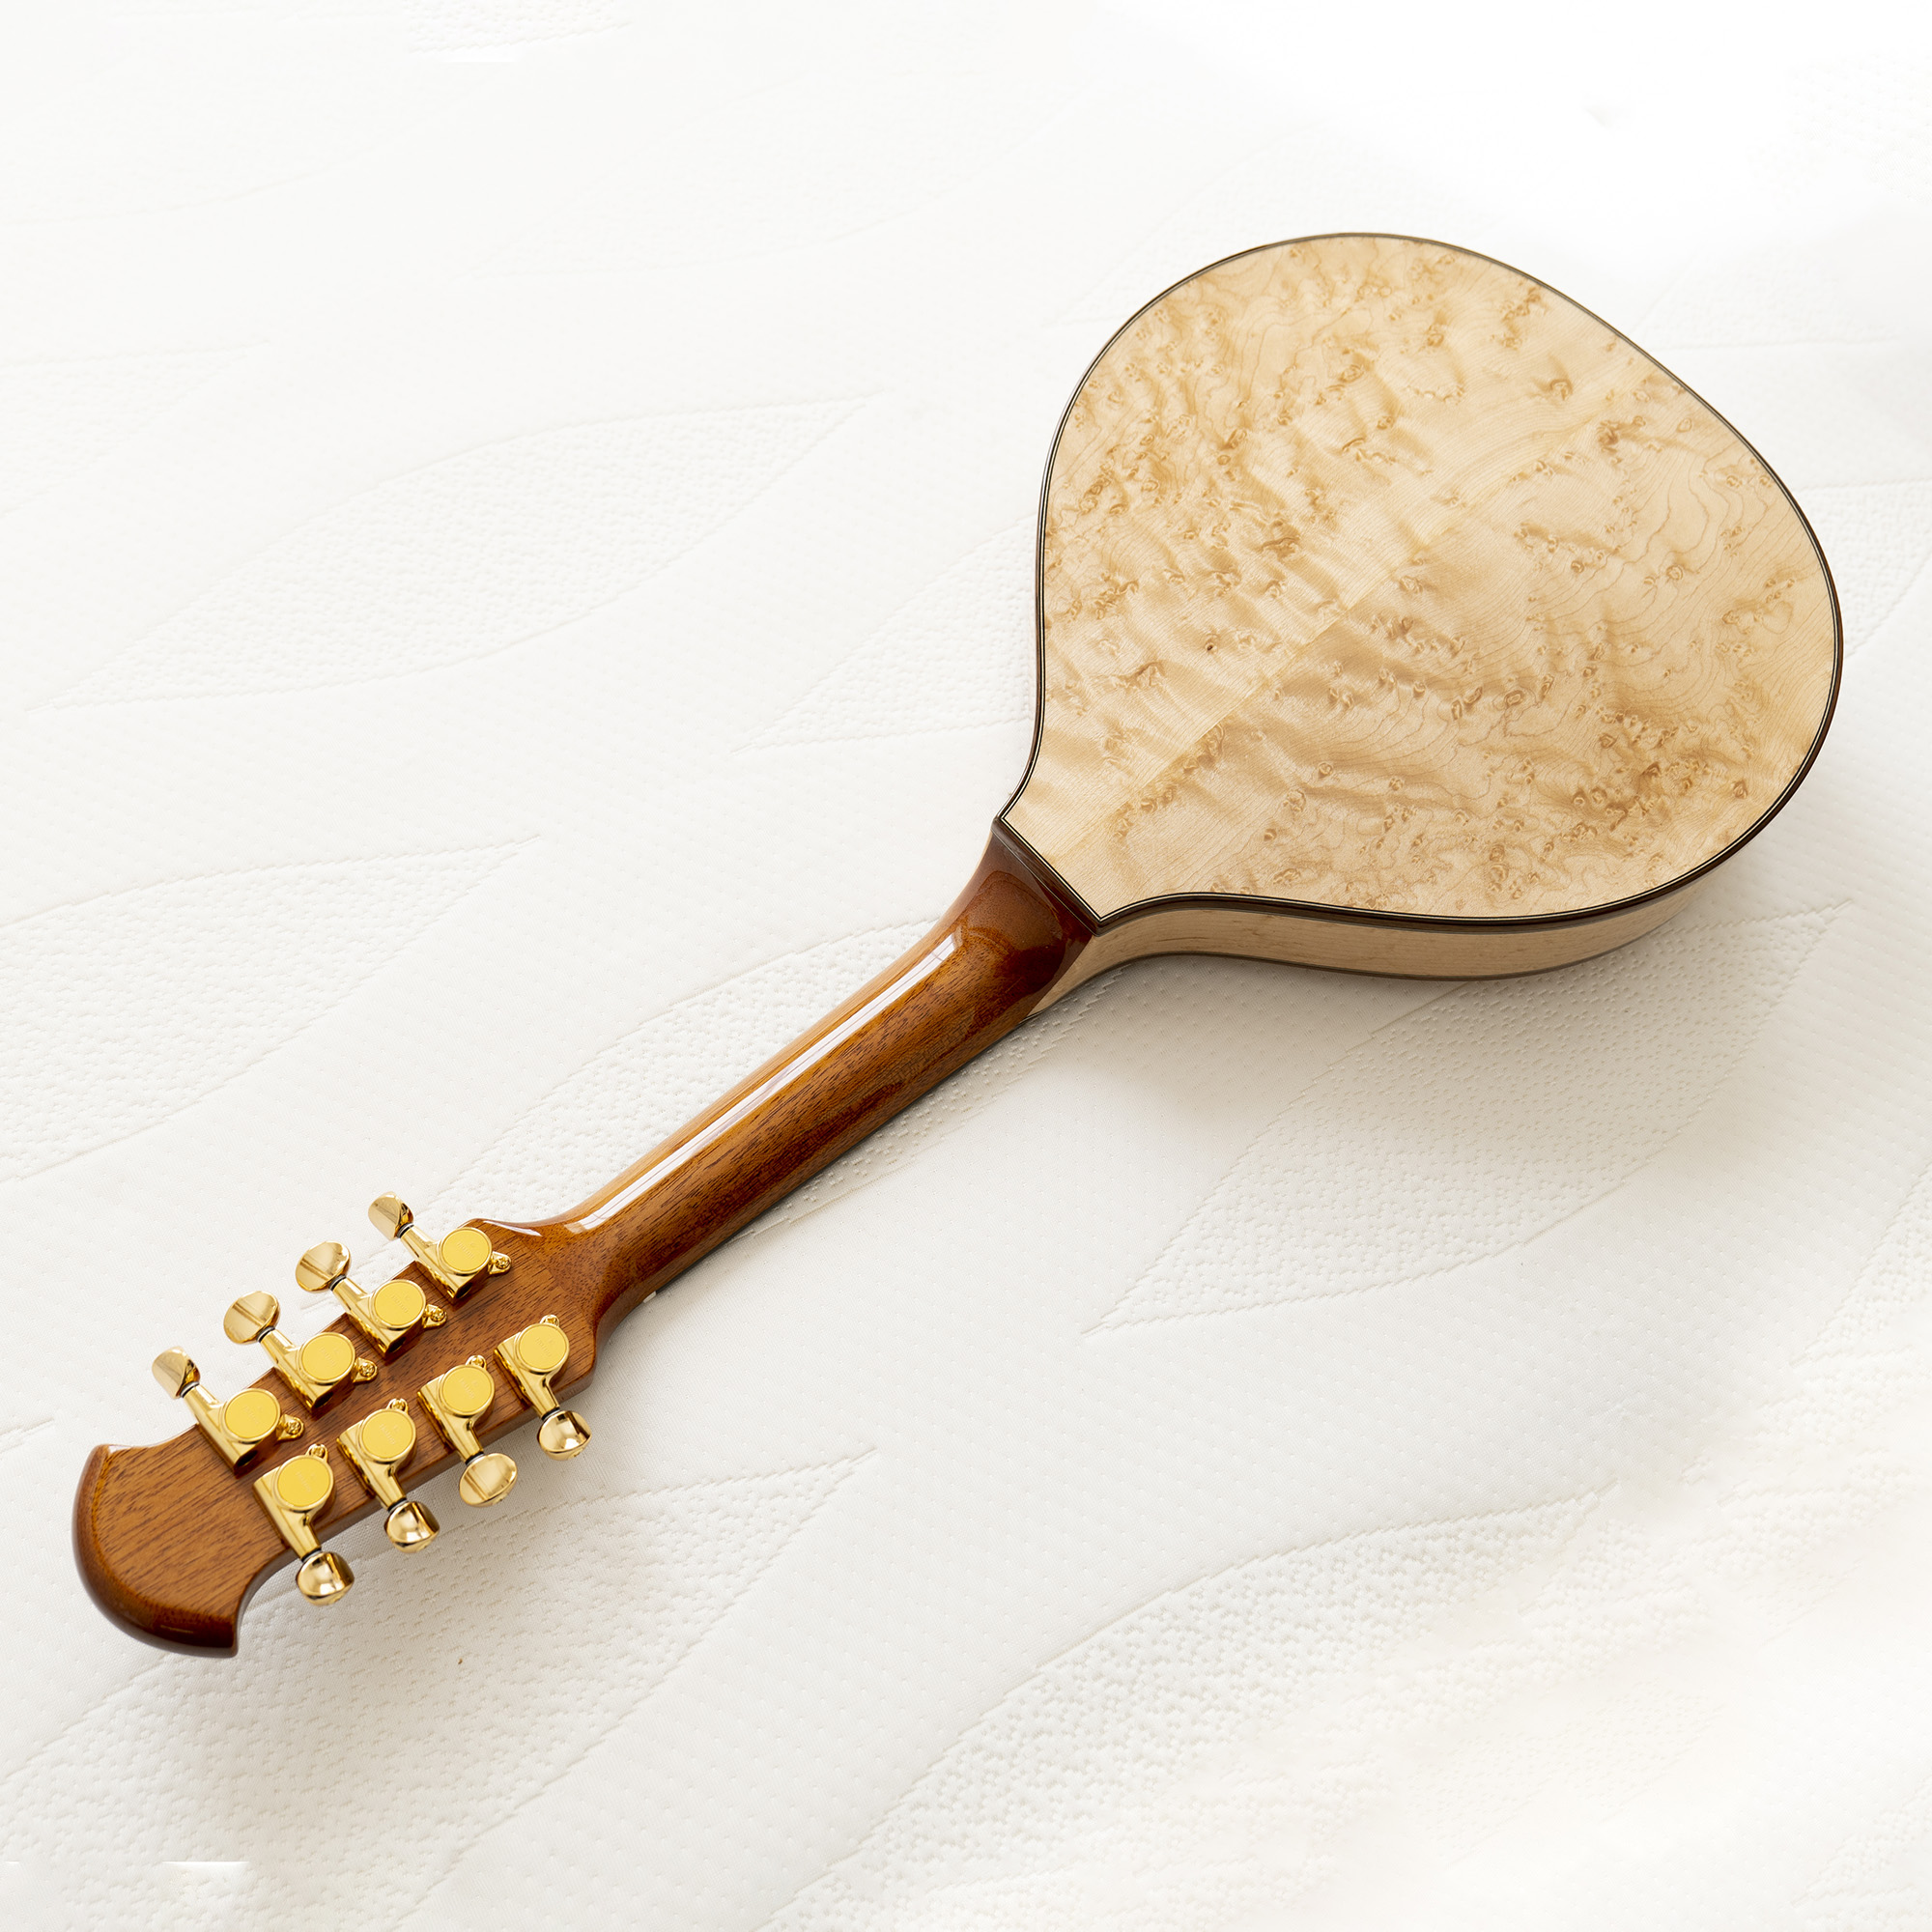
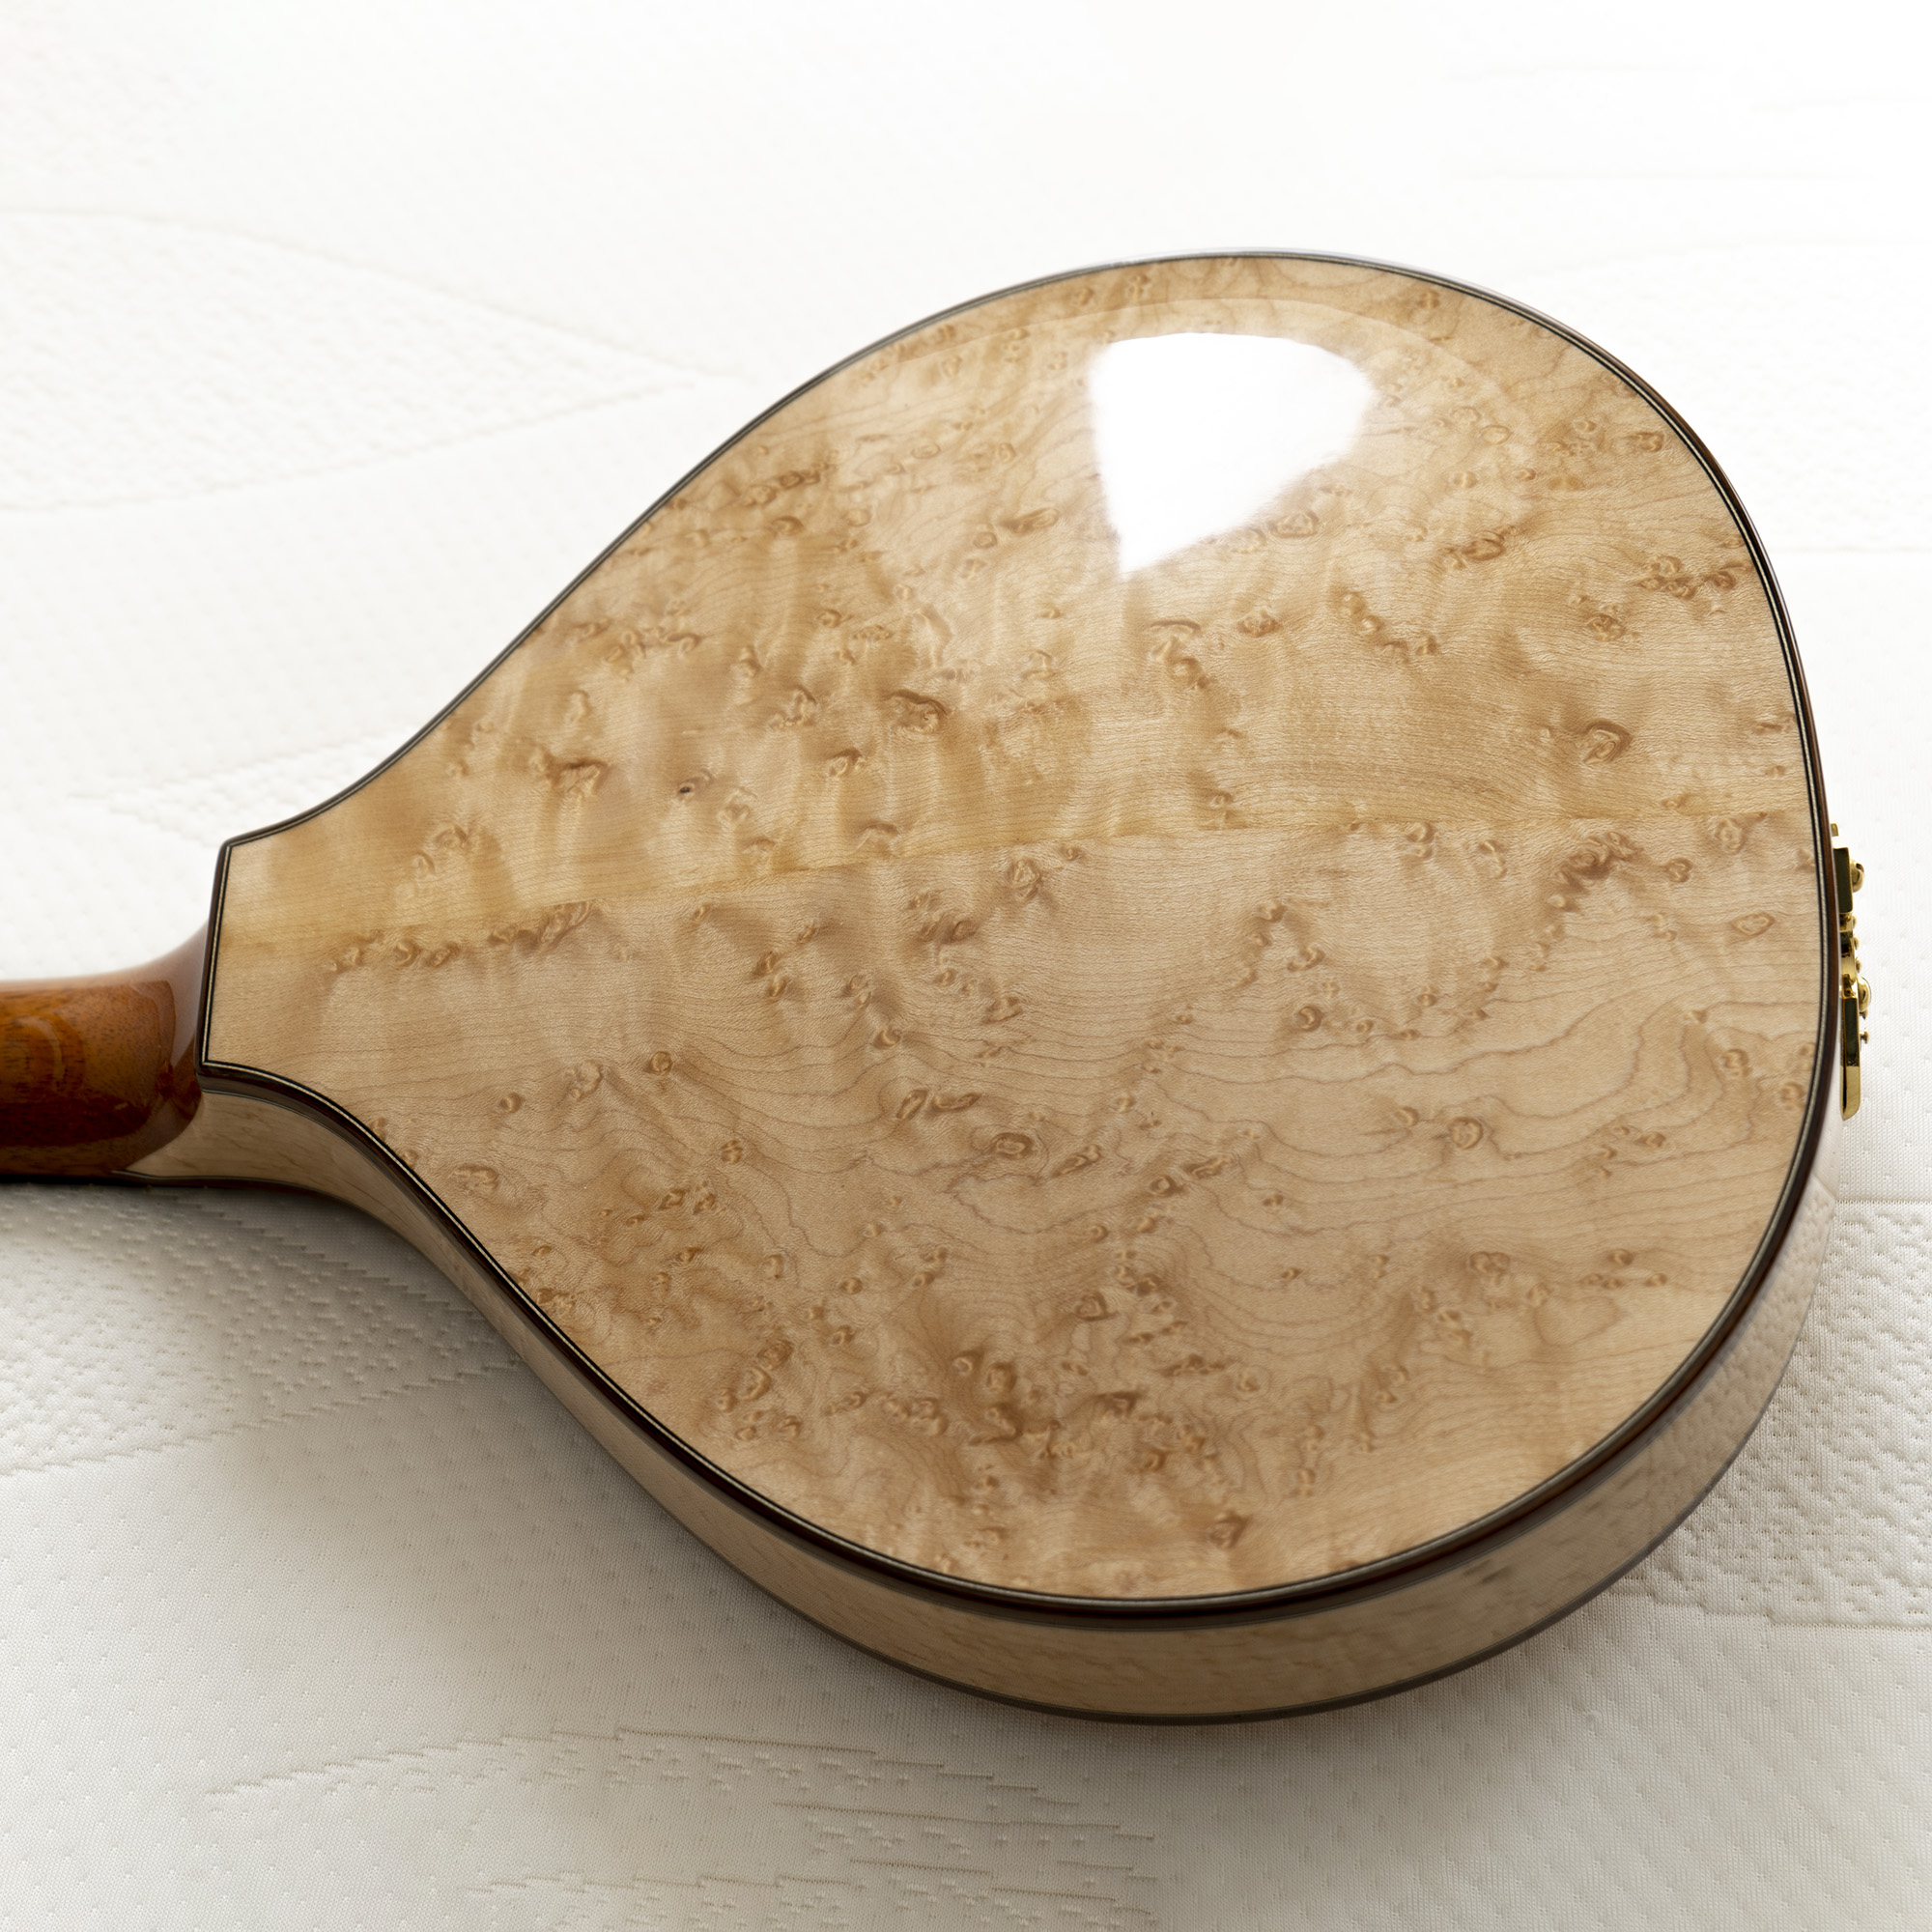
We are now making the first (five course large bodied cittern available). Available for immediate delivery or collection, it comes in a mildly adapted guitar case. Price, including case, is £6600.
It looks and sounds wonderful. Call me on 01434 673567 or email stefan@sobellguitars.com for more information.

Some recent customer comments
Jens Schneider on his mandola:
…Later I had the chance for a closer look, the mandola is in perfect shape, looks great and has a sweet but also super rich and resonant tone with a lot of sustain and nice balance between treble and bass. Playability is fully effortless and any note I fret is just precisely to the point where-ever, even up the neck…
Sean Holden on his bouzouki:
…I played the new bouzouki for 10 seconds and my jaw hit the floor. This is the best bouzouki I’ve ever played by a country mile. Thanks so much for a brilliant job. :-)…
Gary James Mcgovern:
Just a quick line to say lovely to meet you both yesterday. I’m absolutely delighted with the instrument, it’s a truly commendable piece of work.
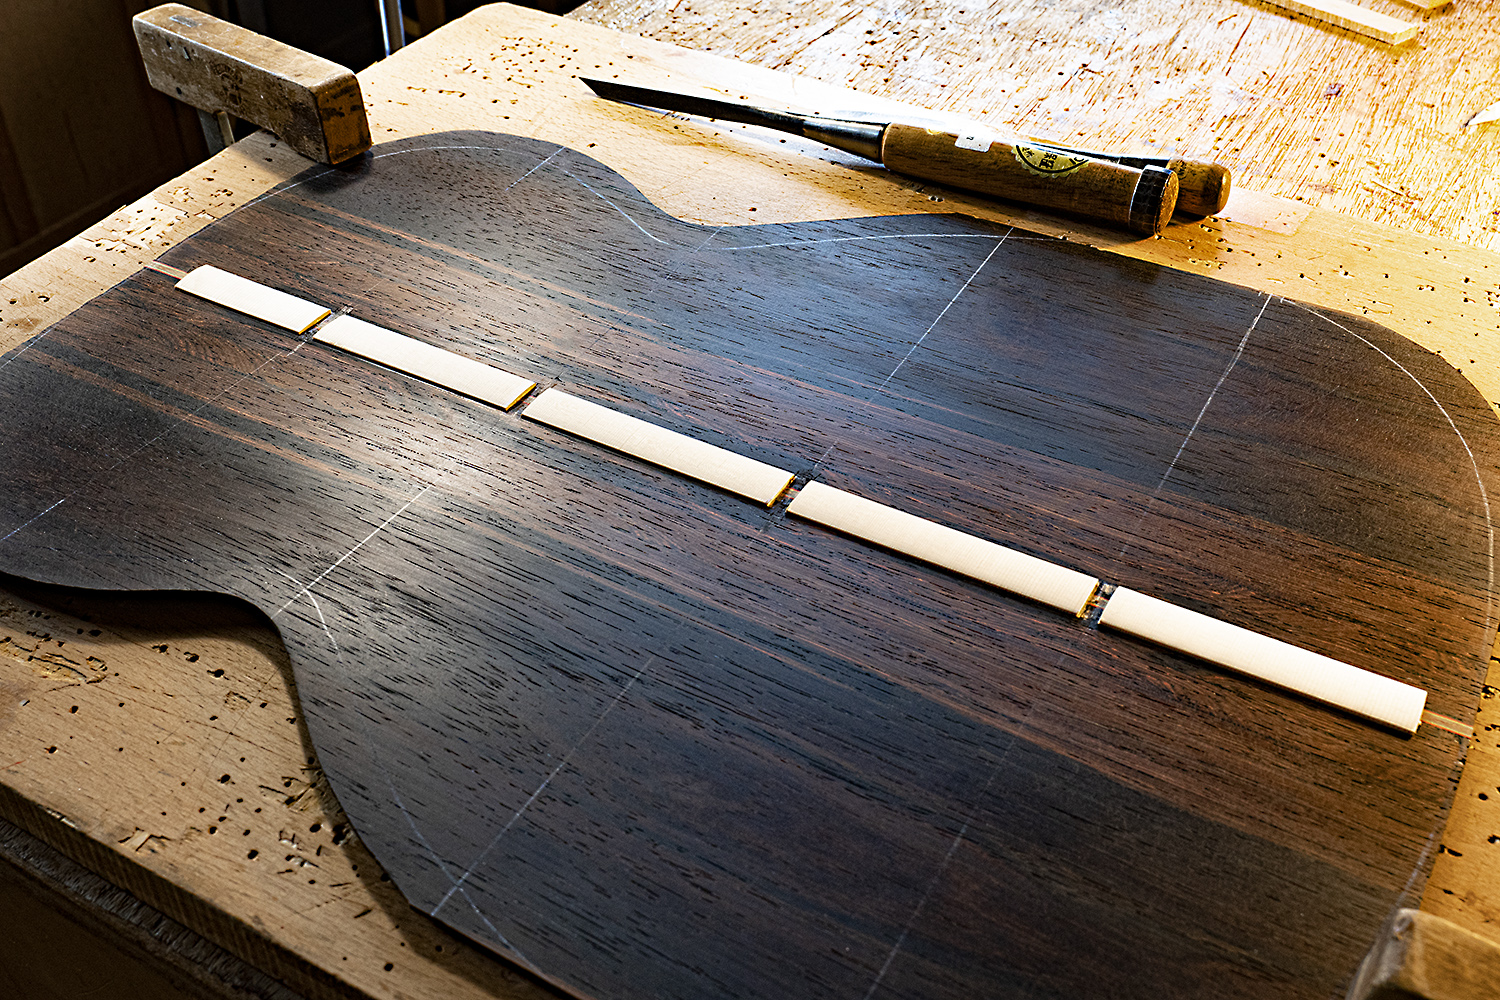
 Click for full size image
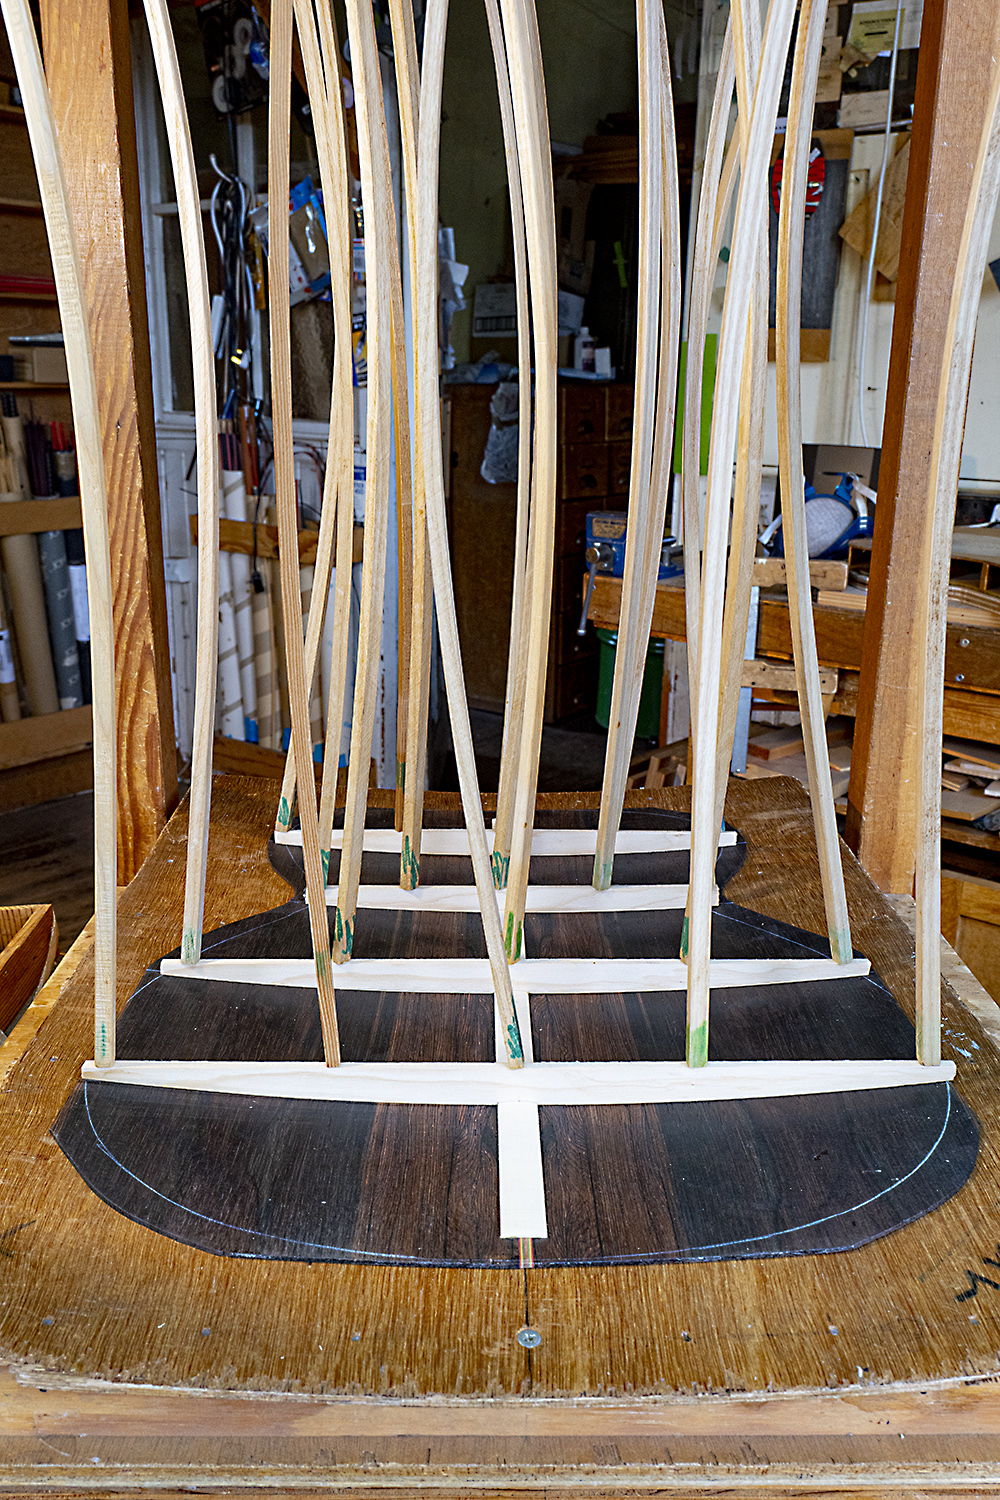
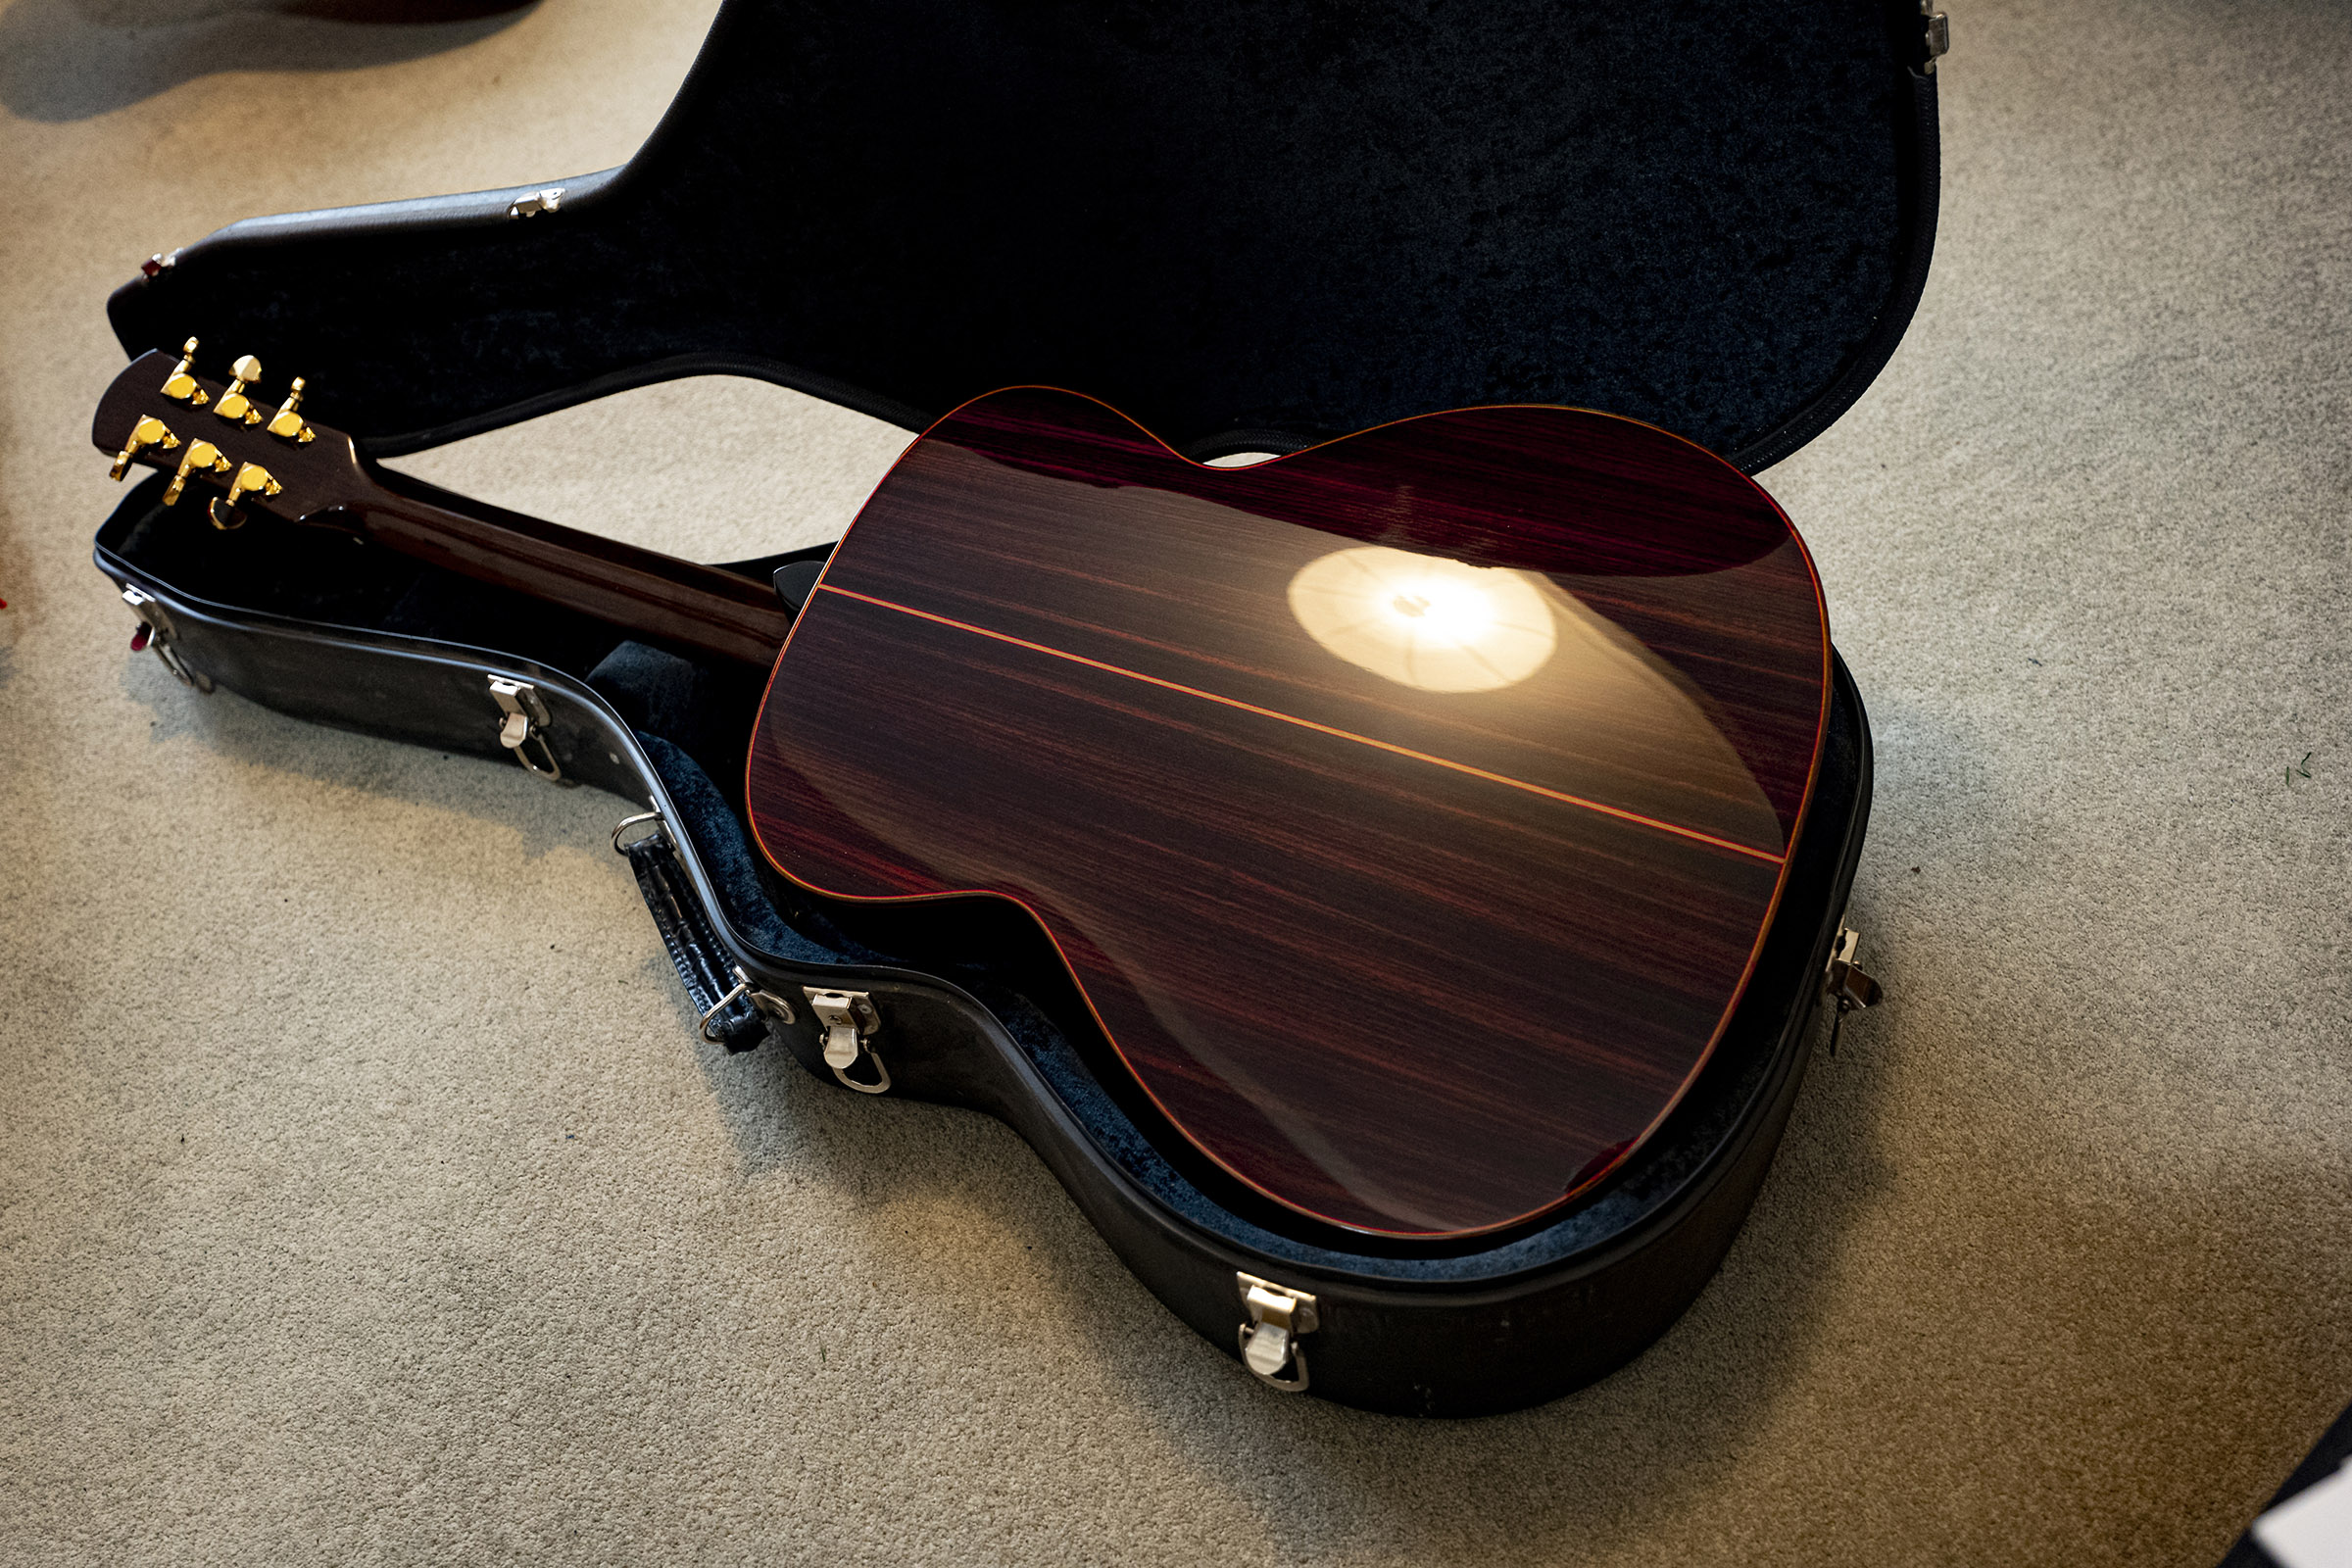 Click for full size image
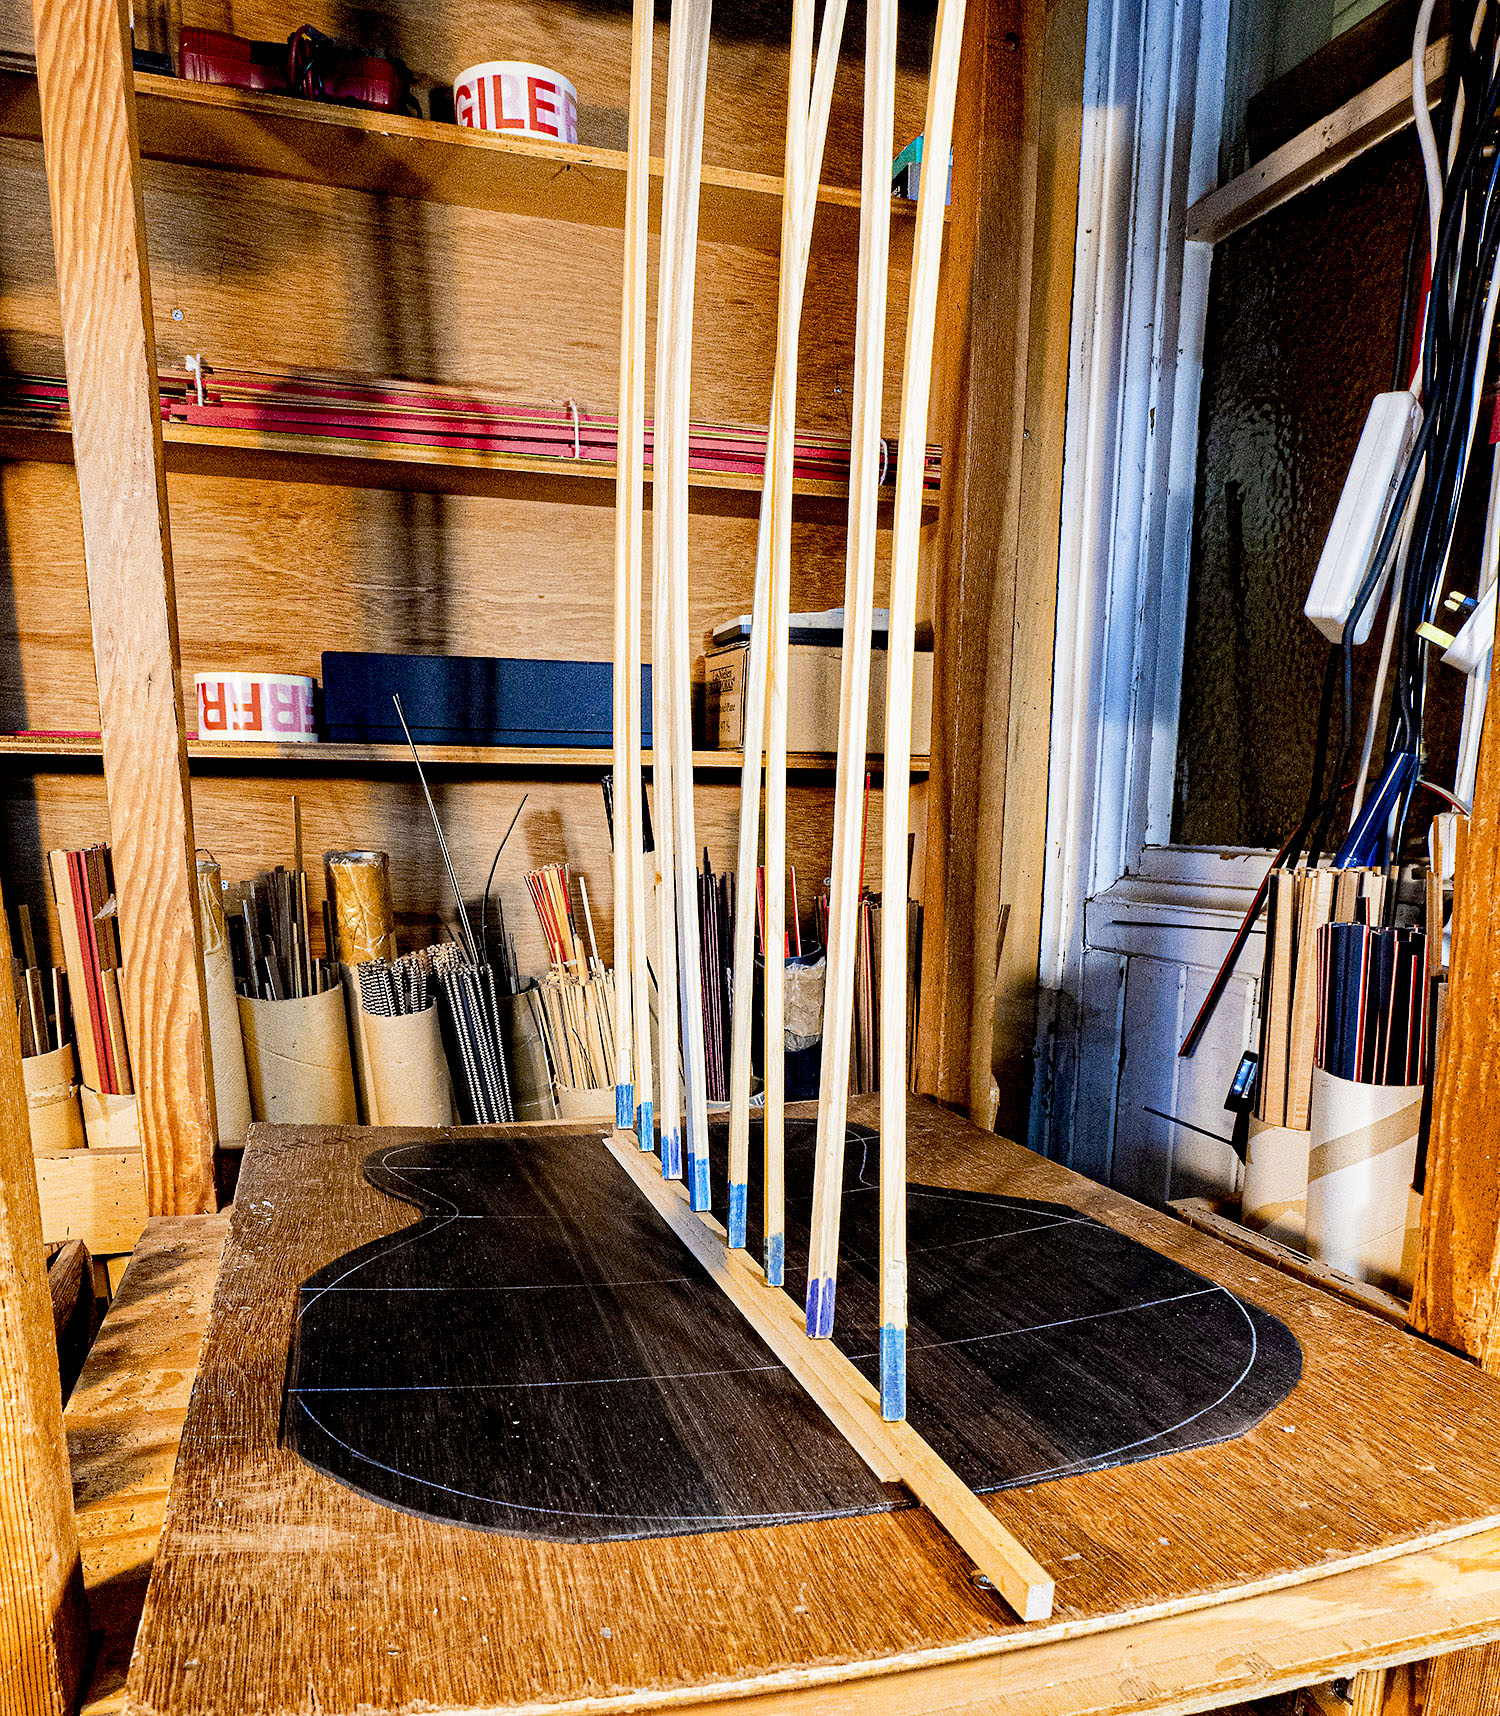
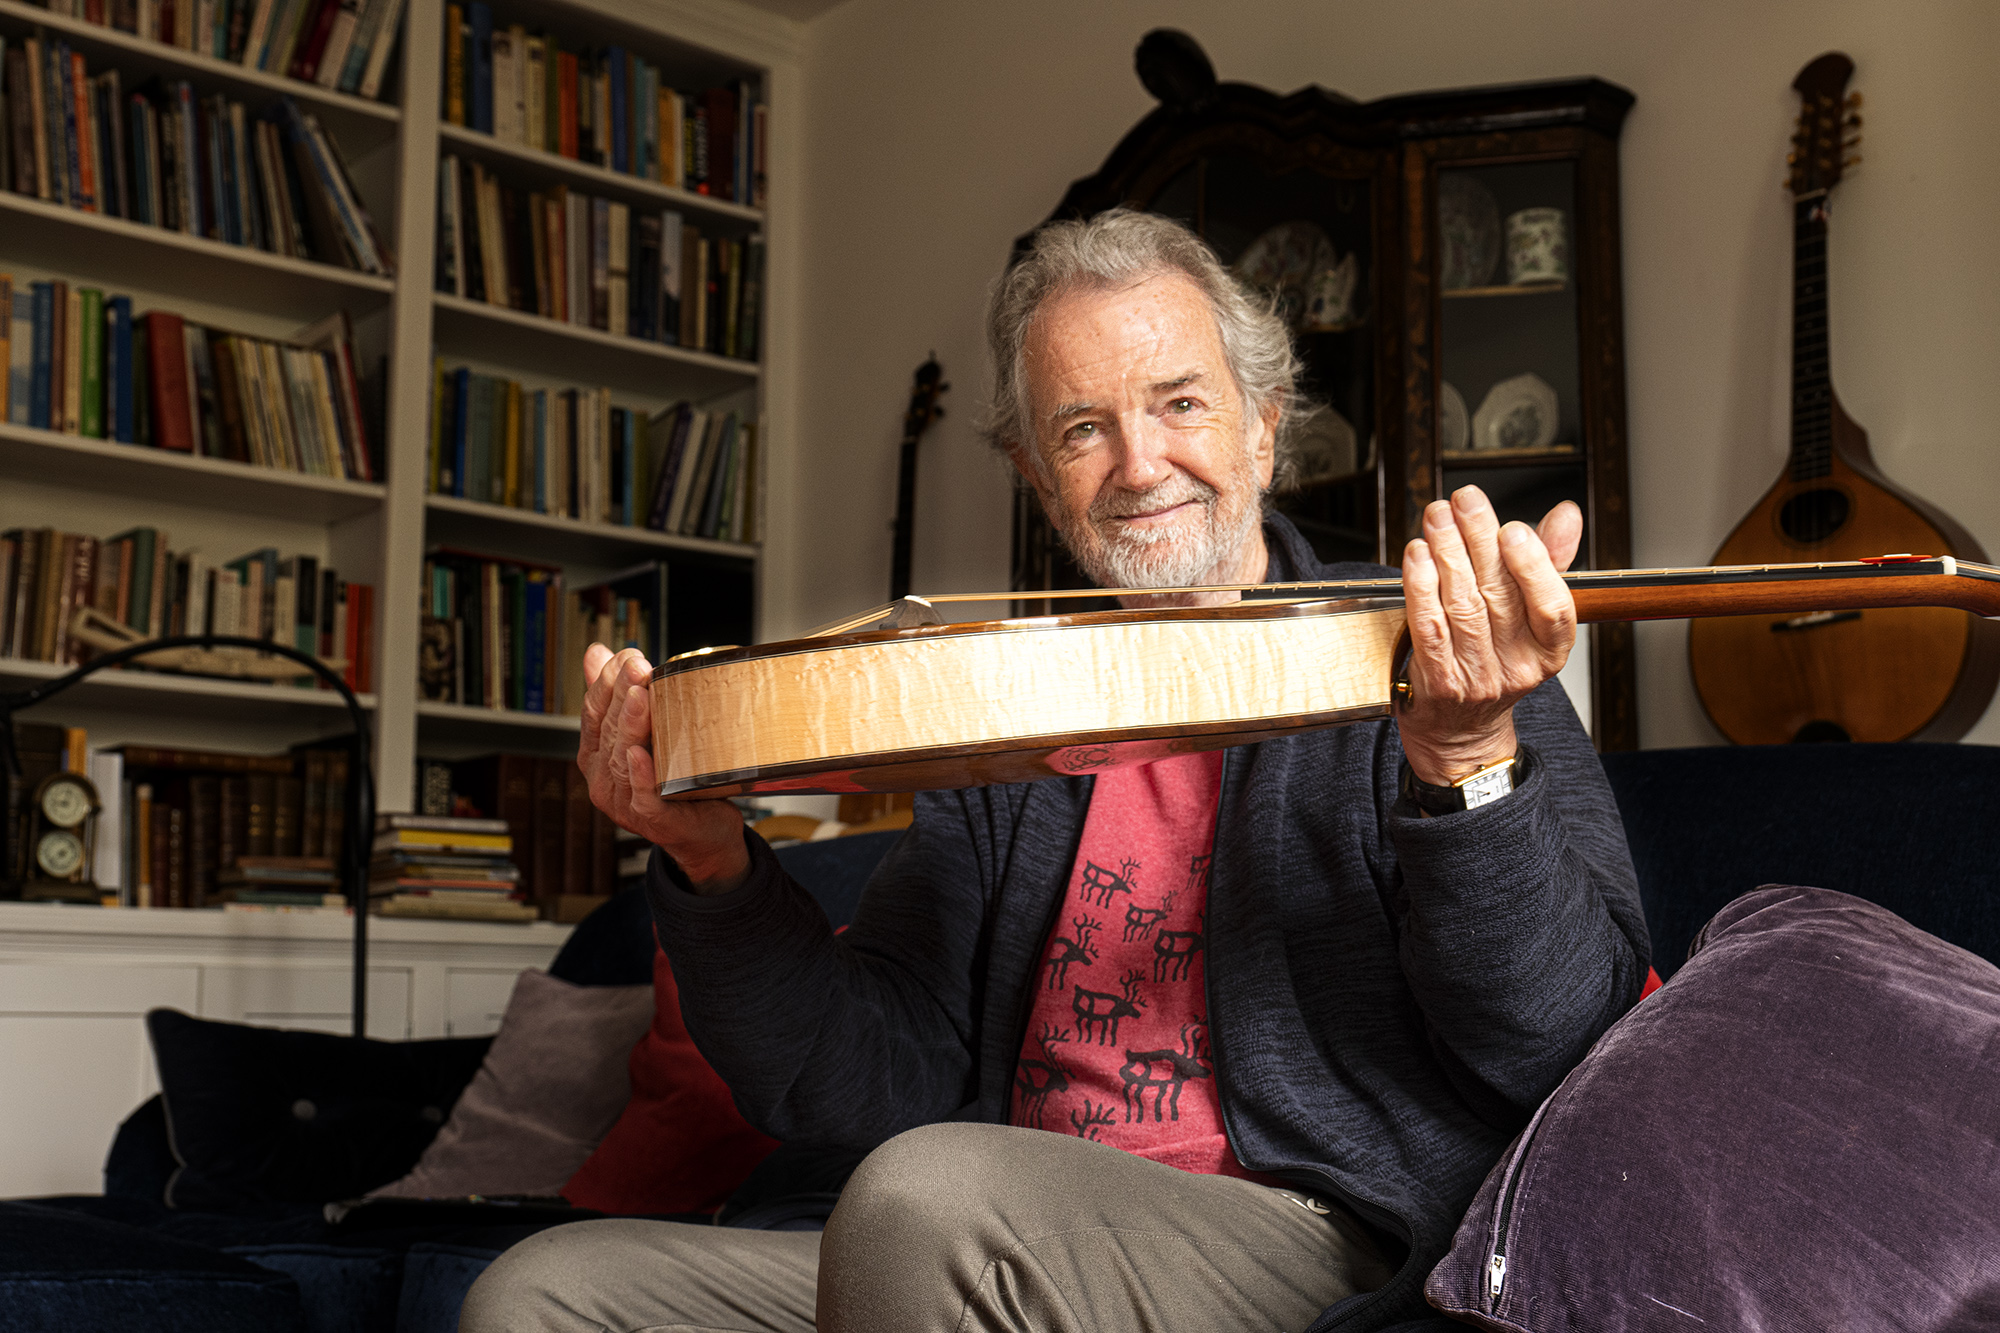
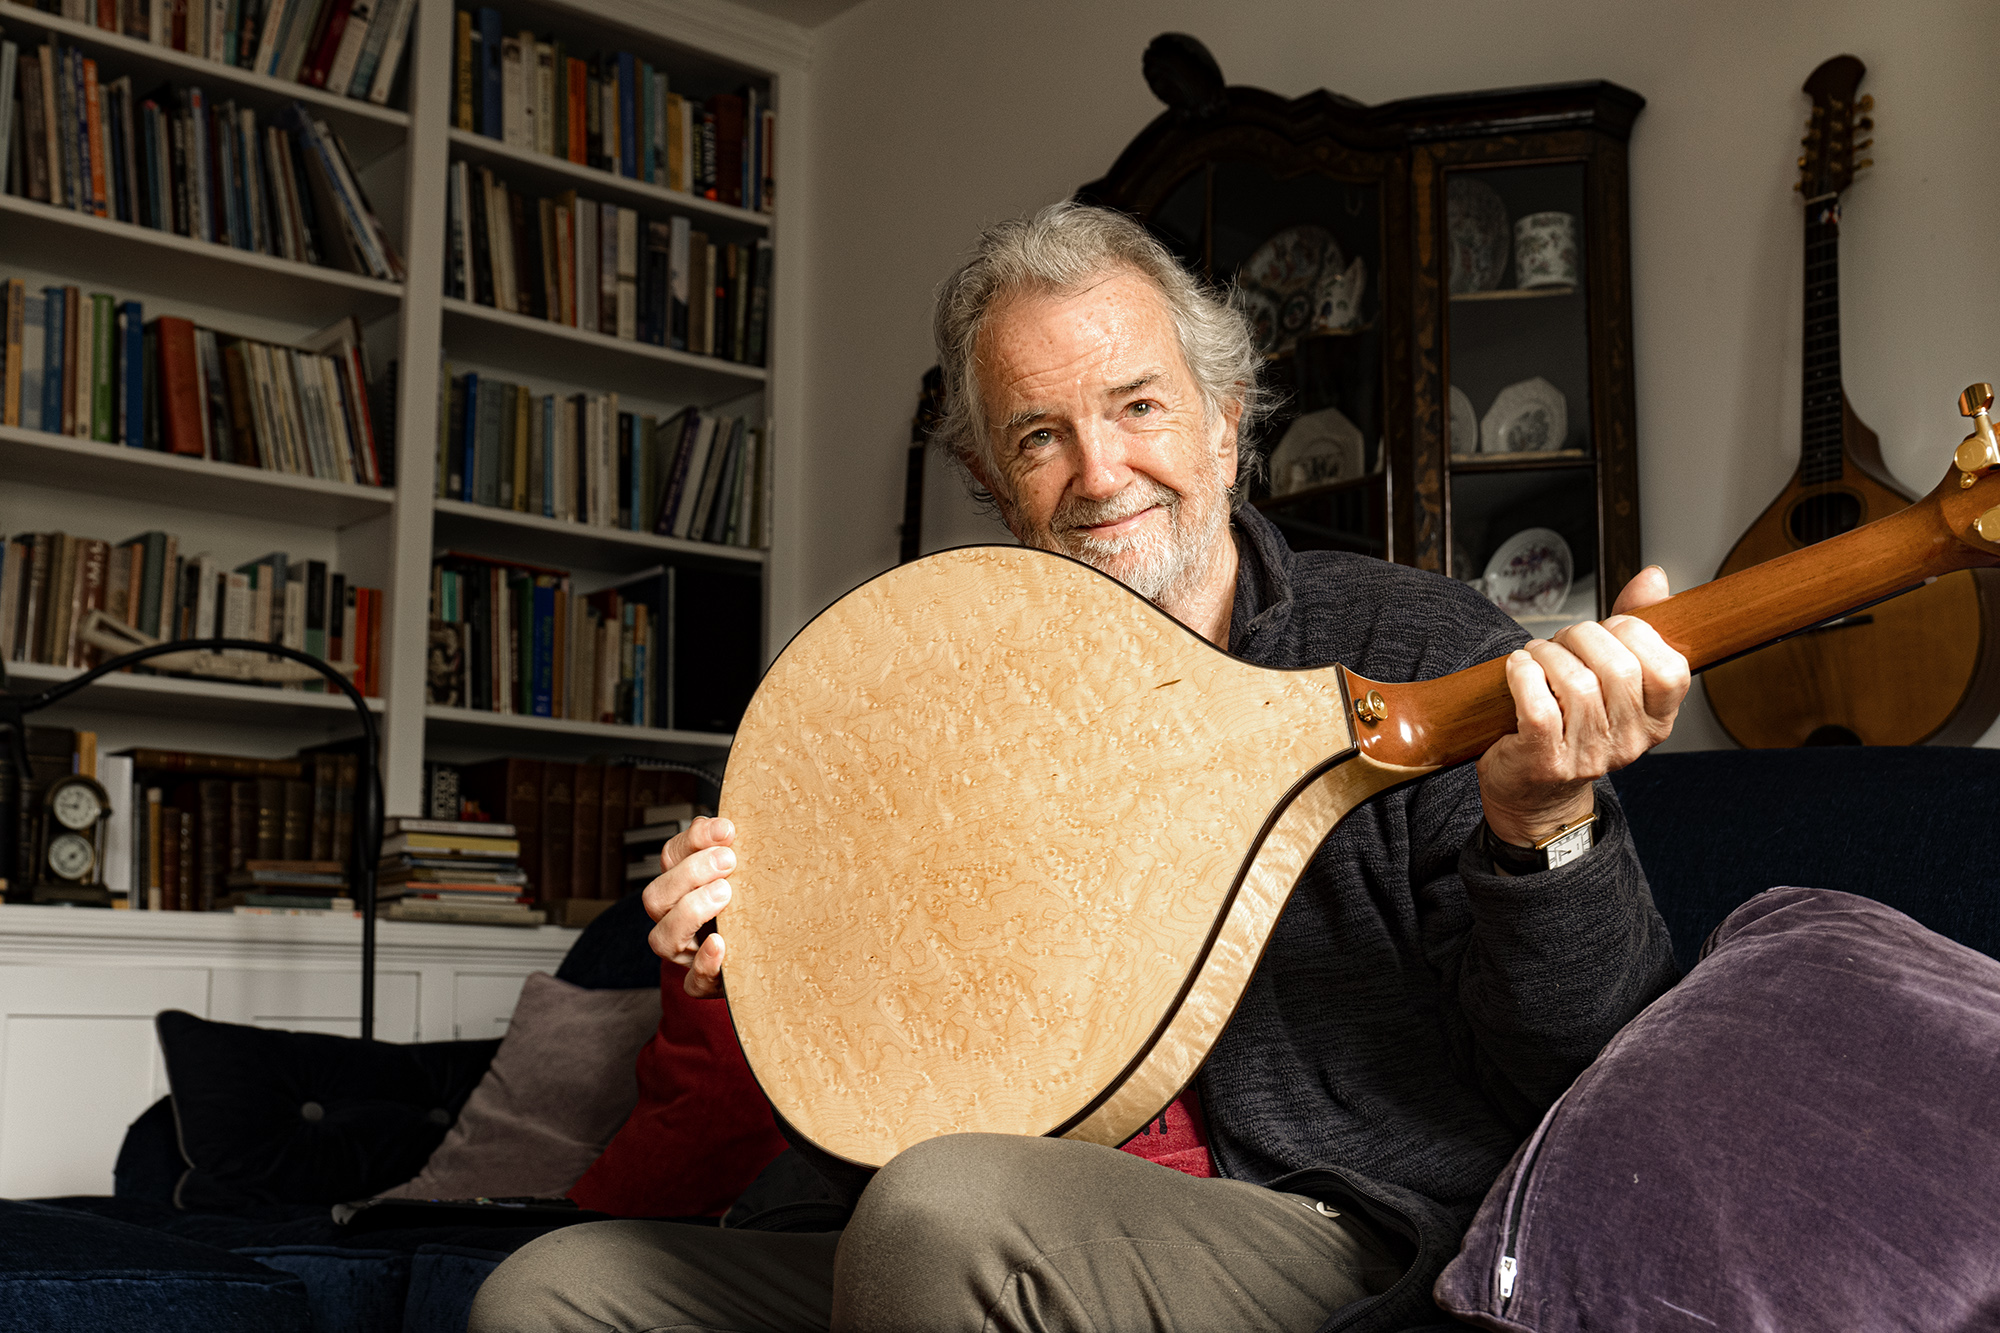
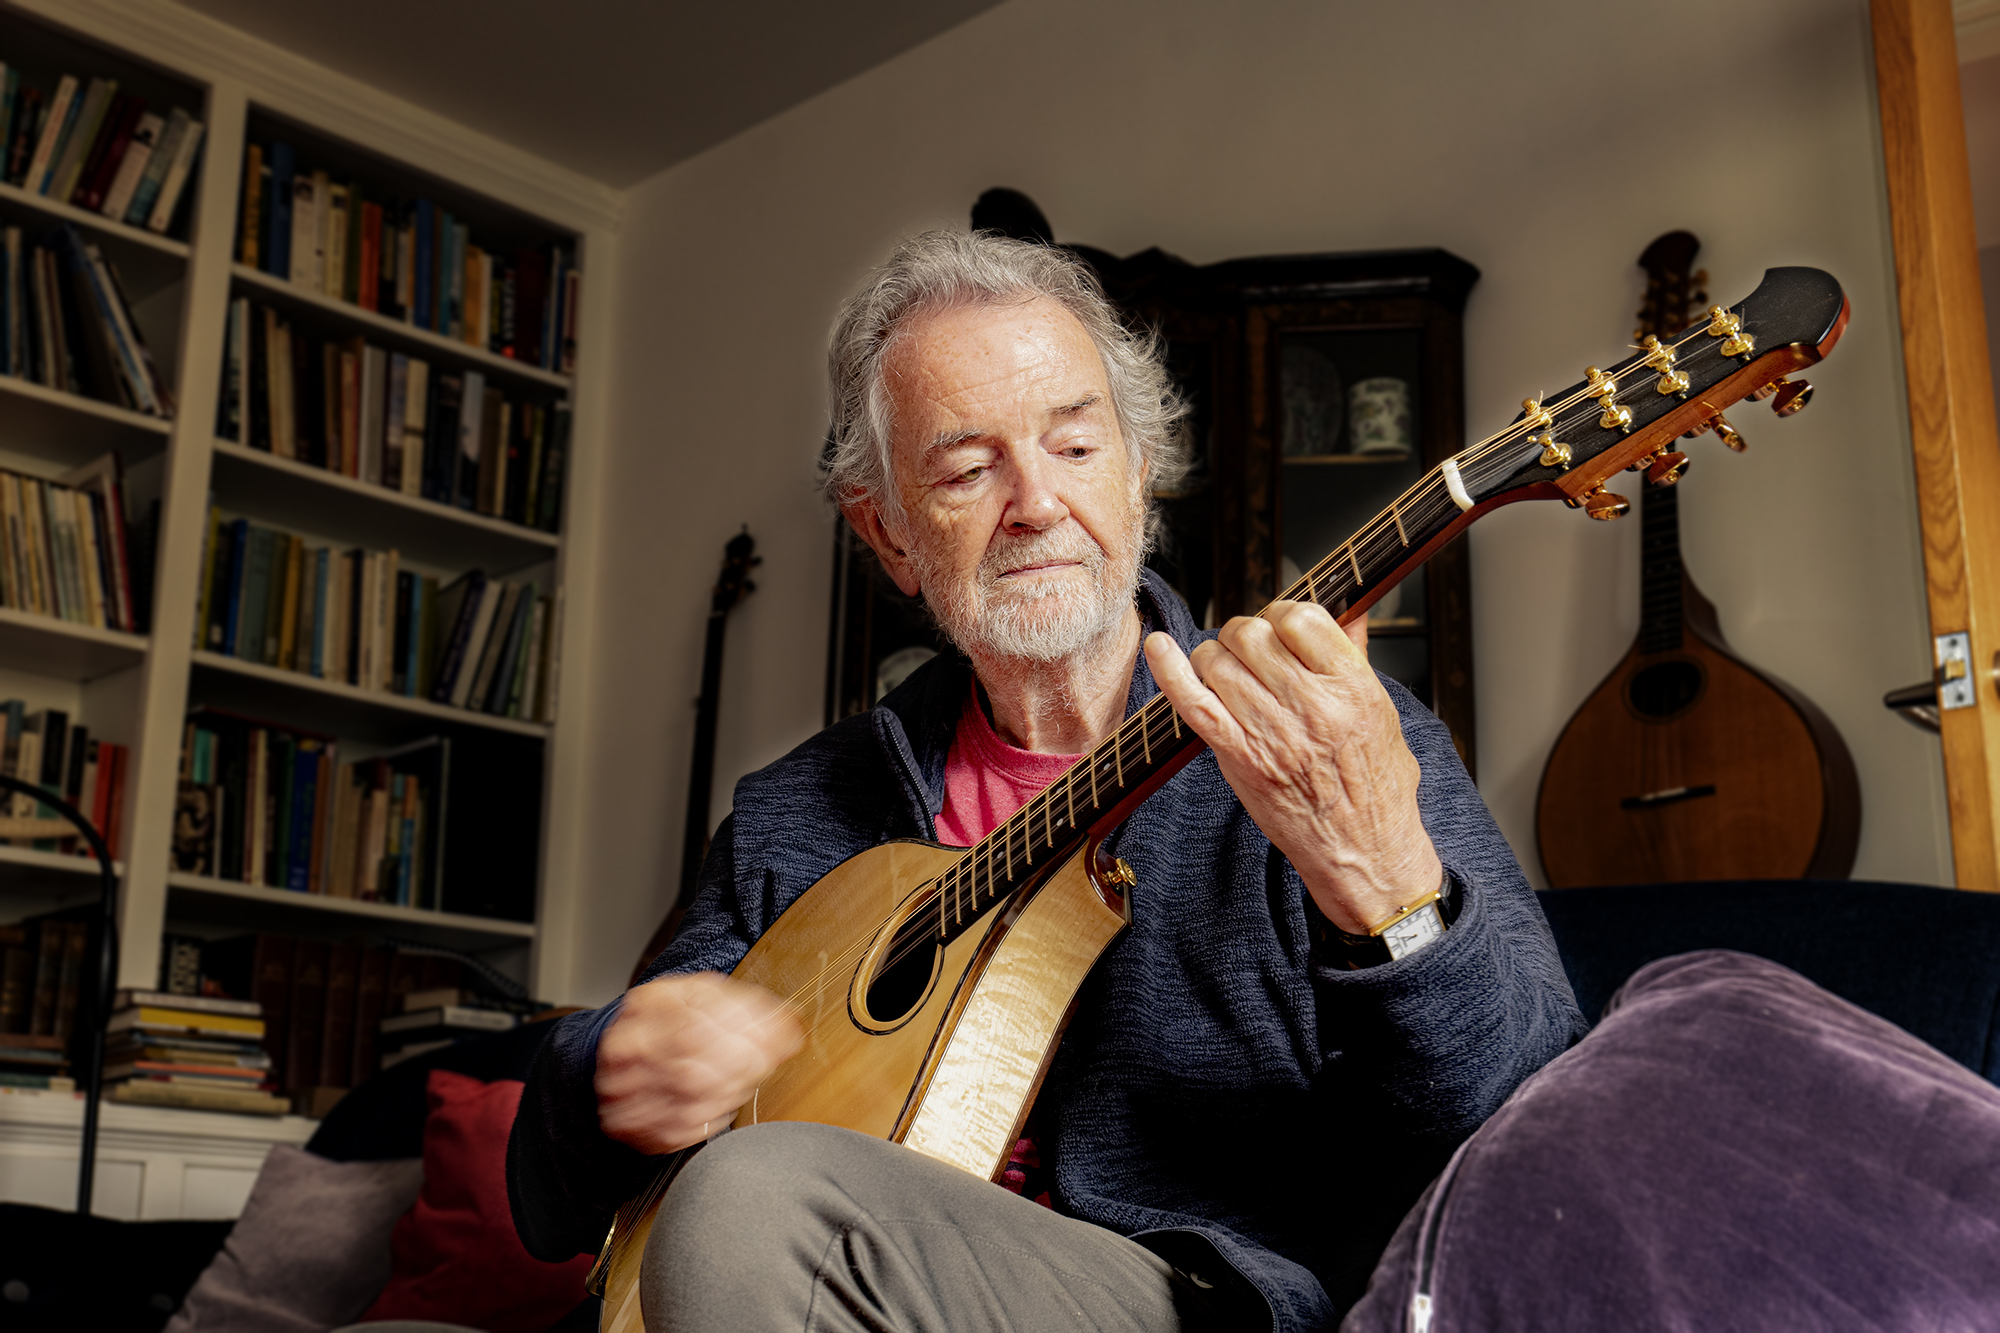
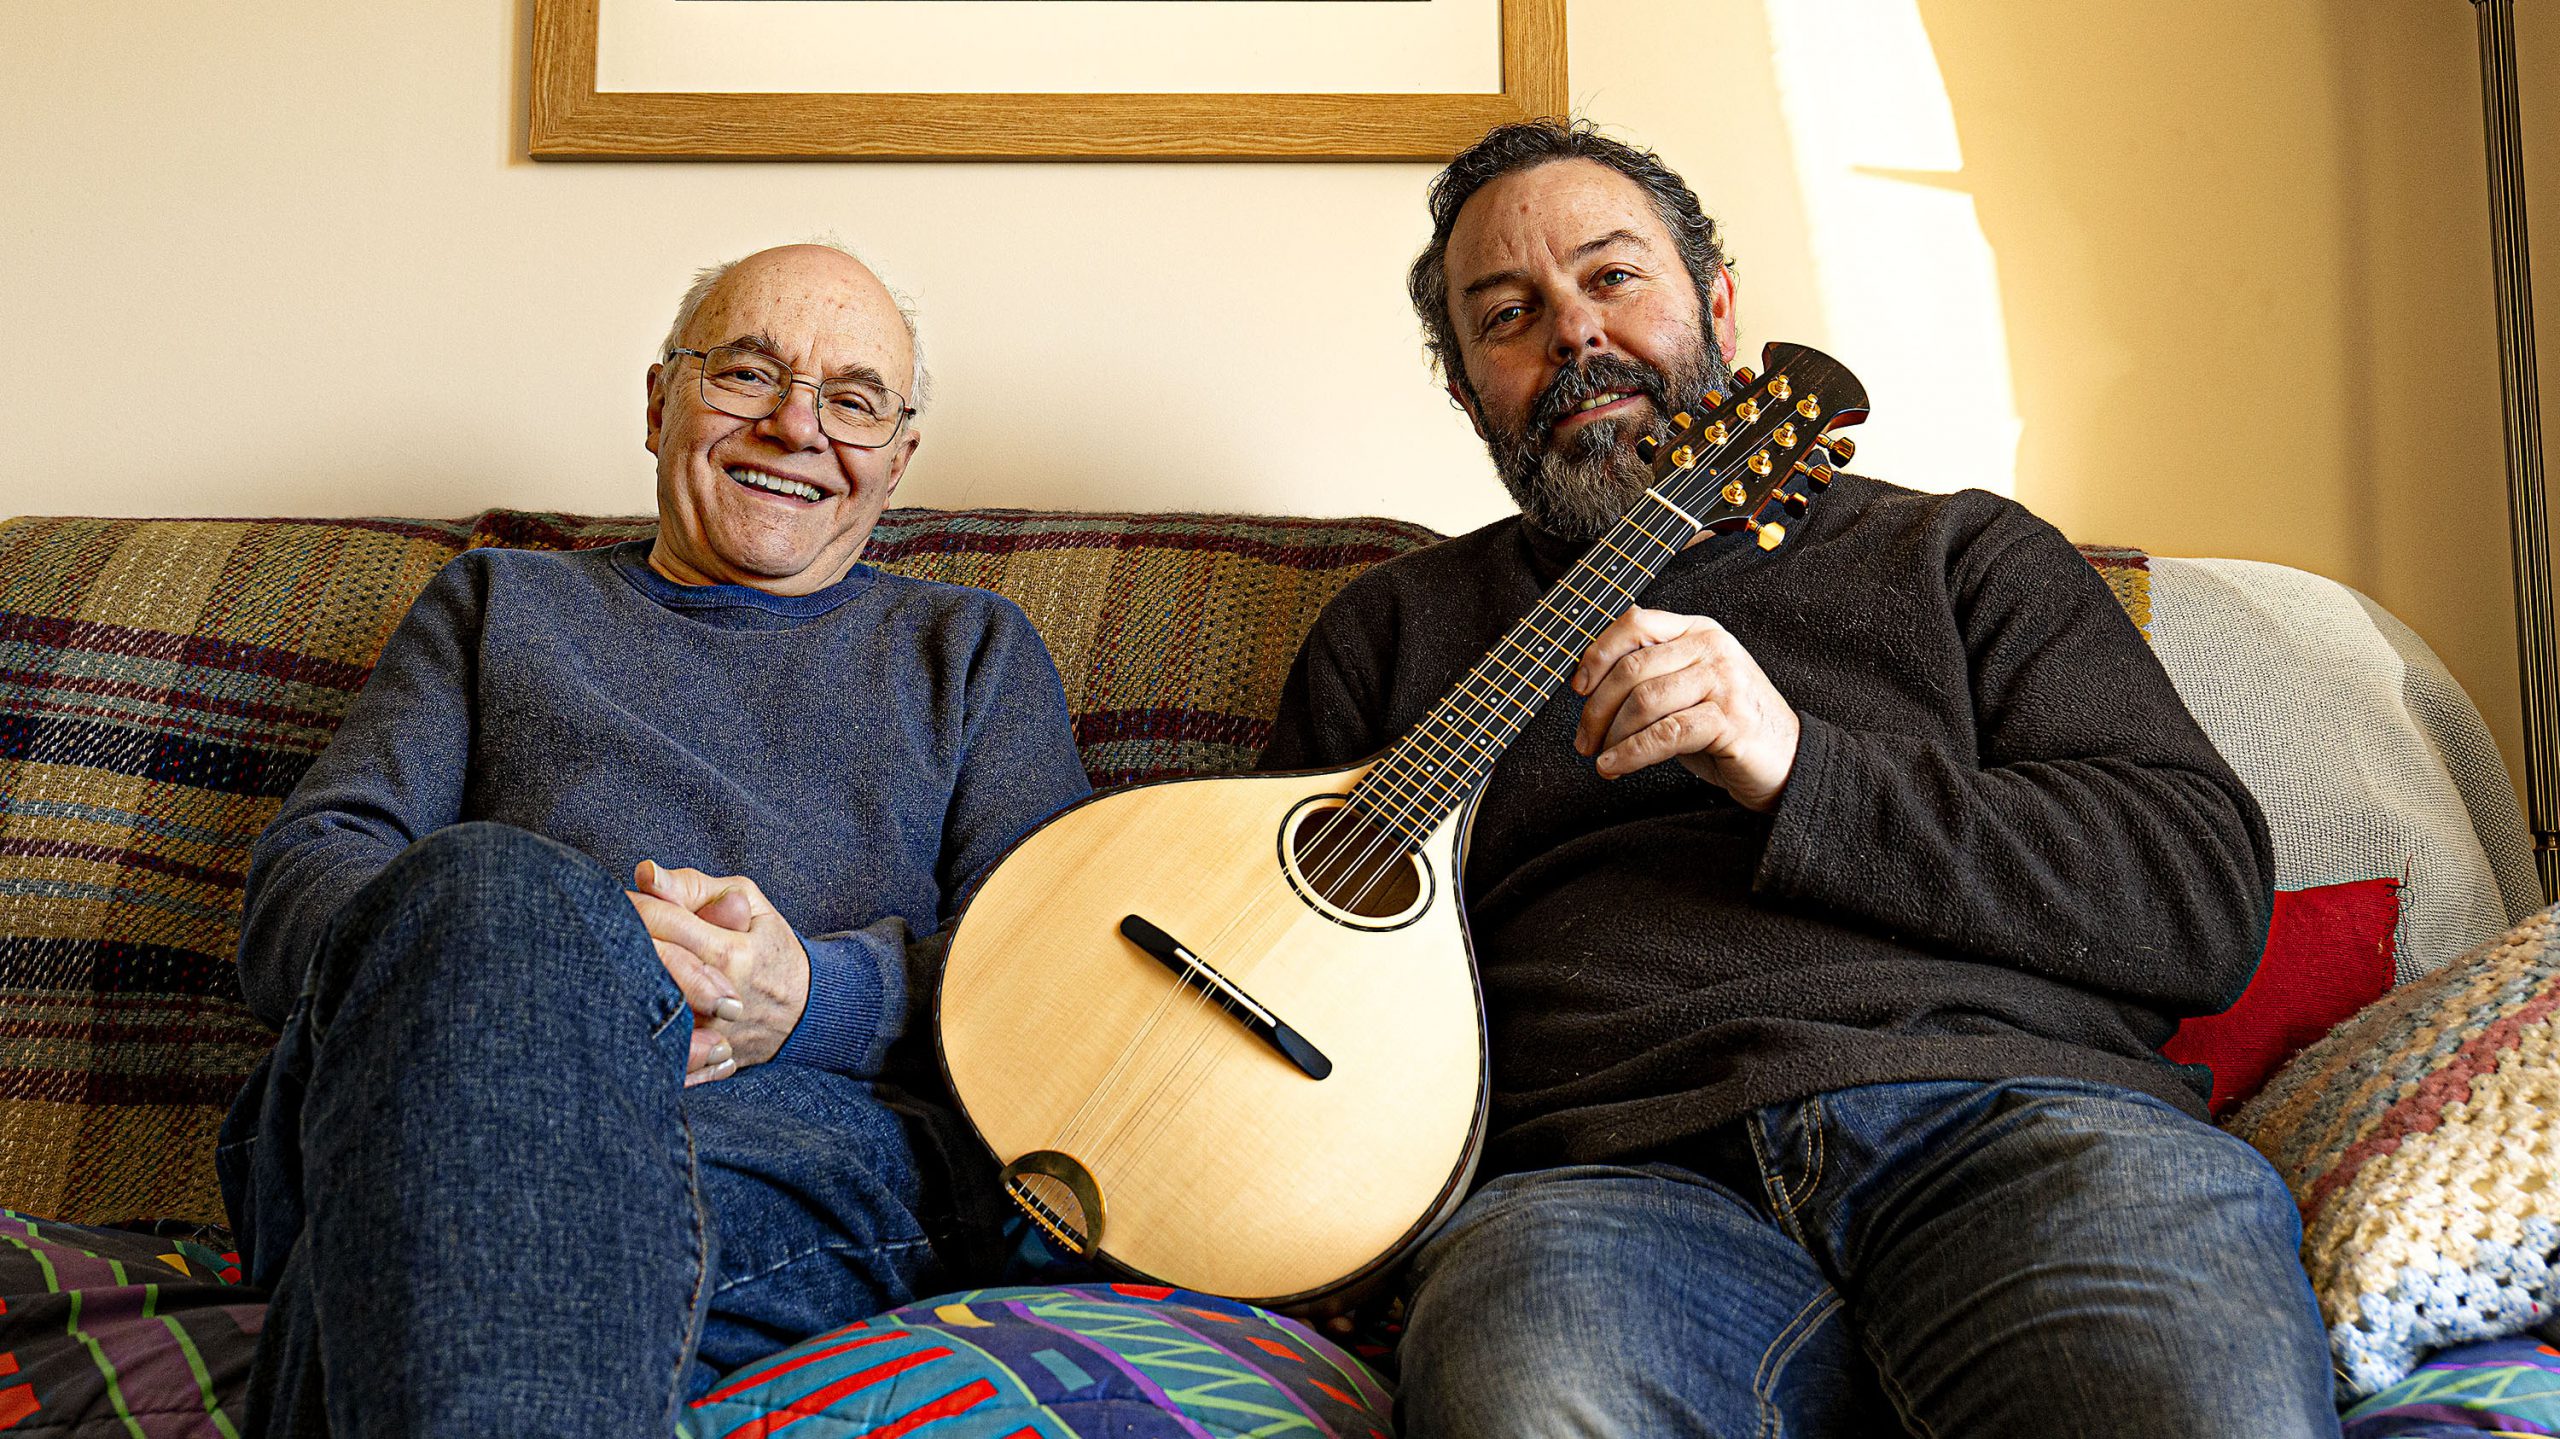 Me, Colin, and the mandolin photo: Janet Fellows