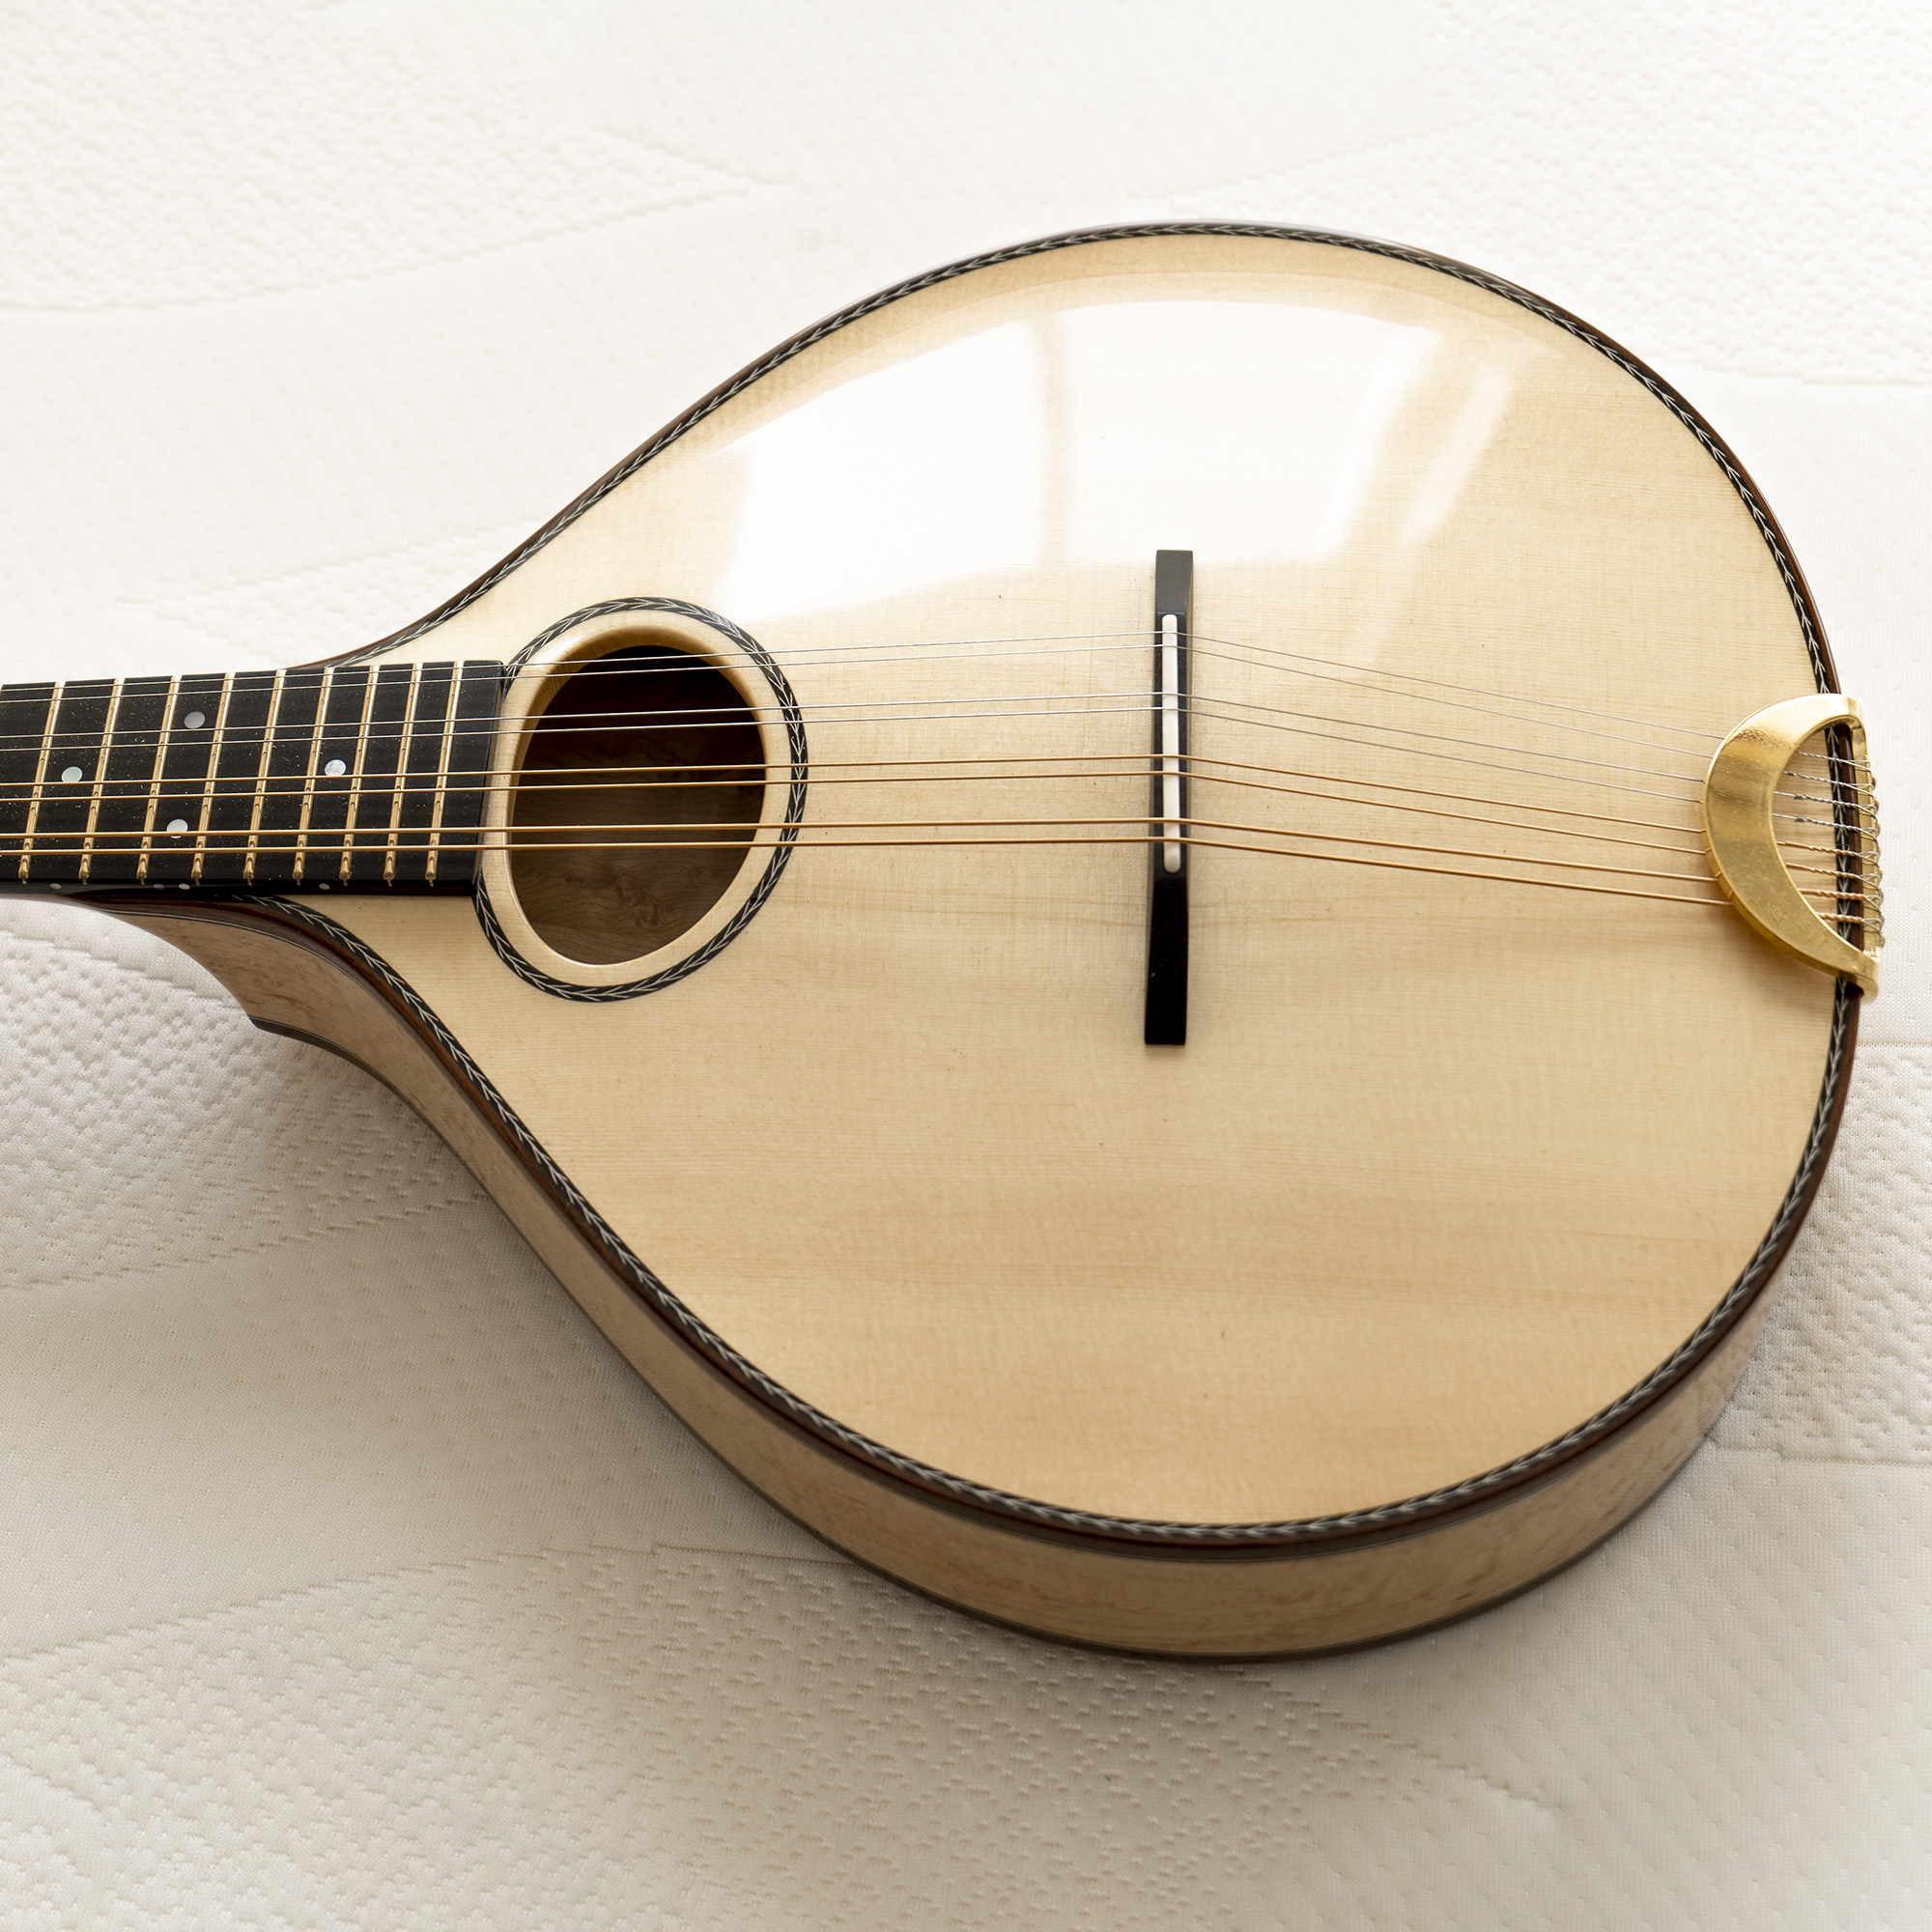
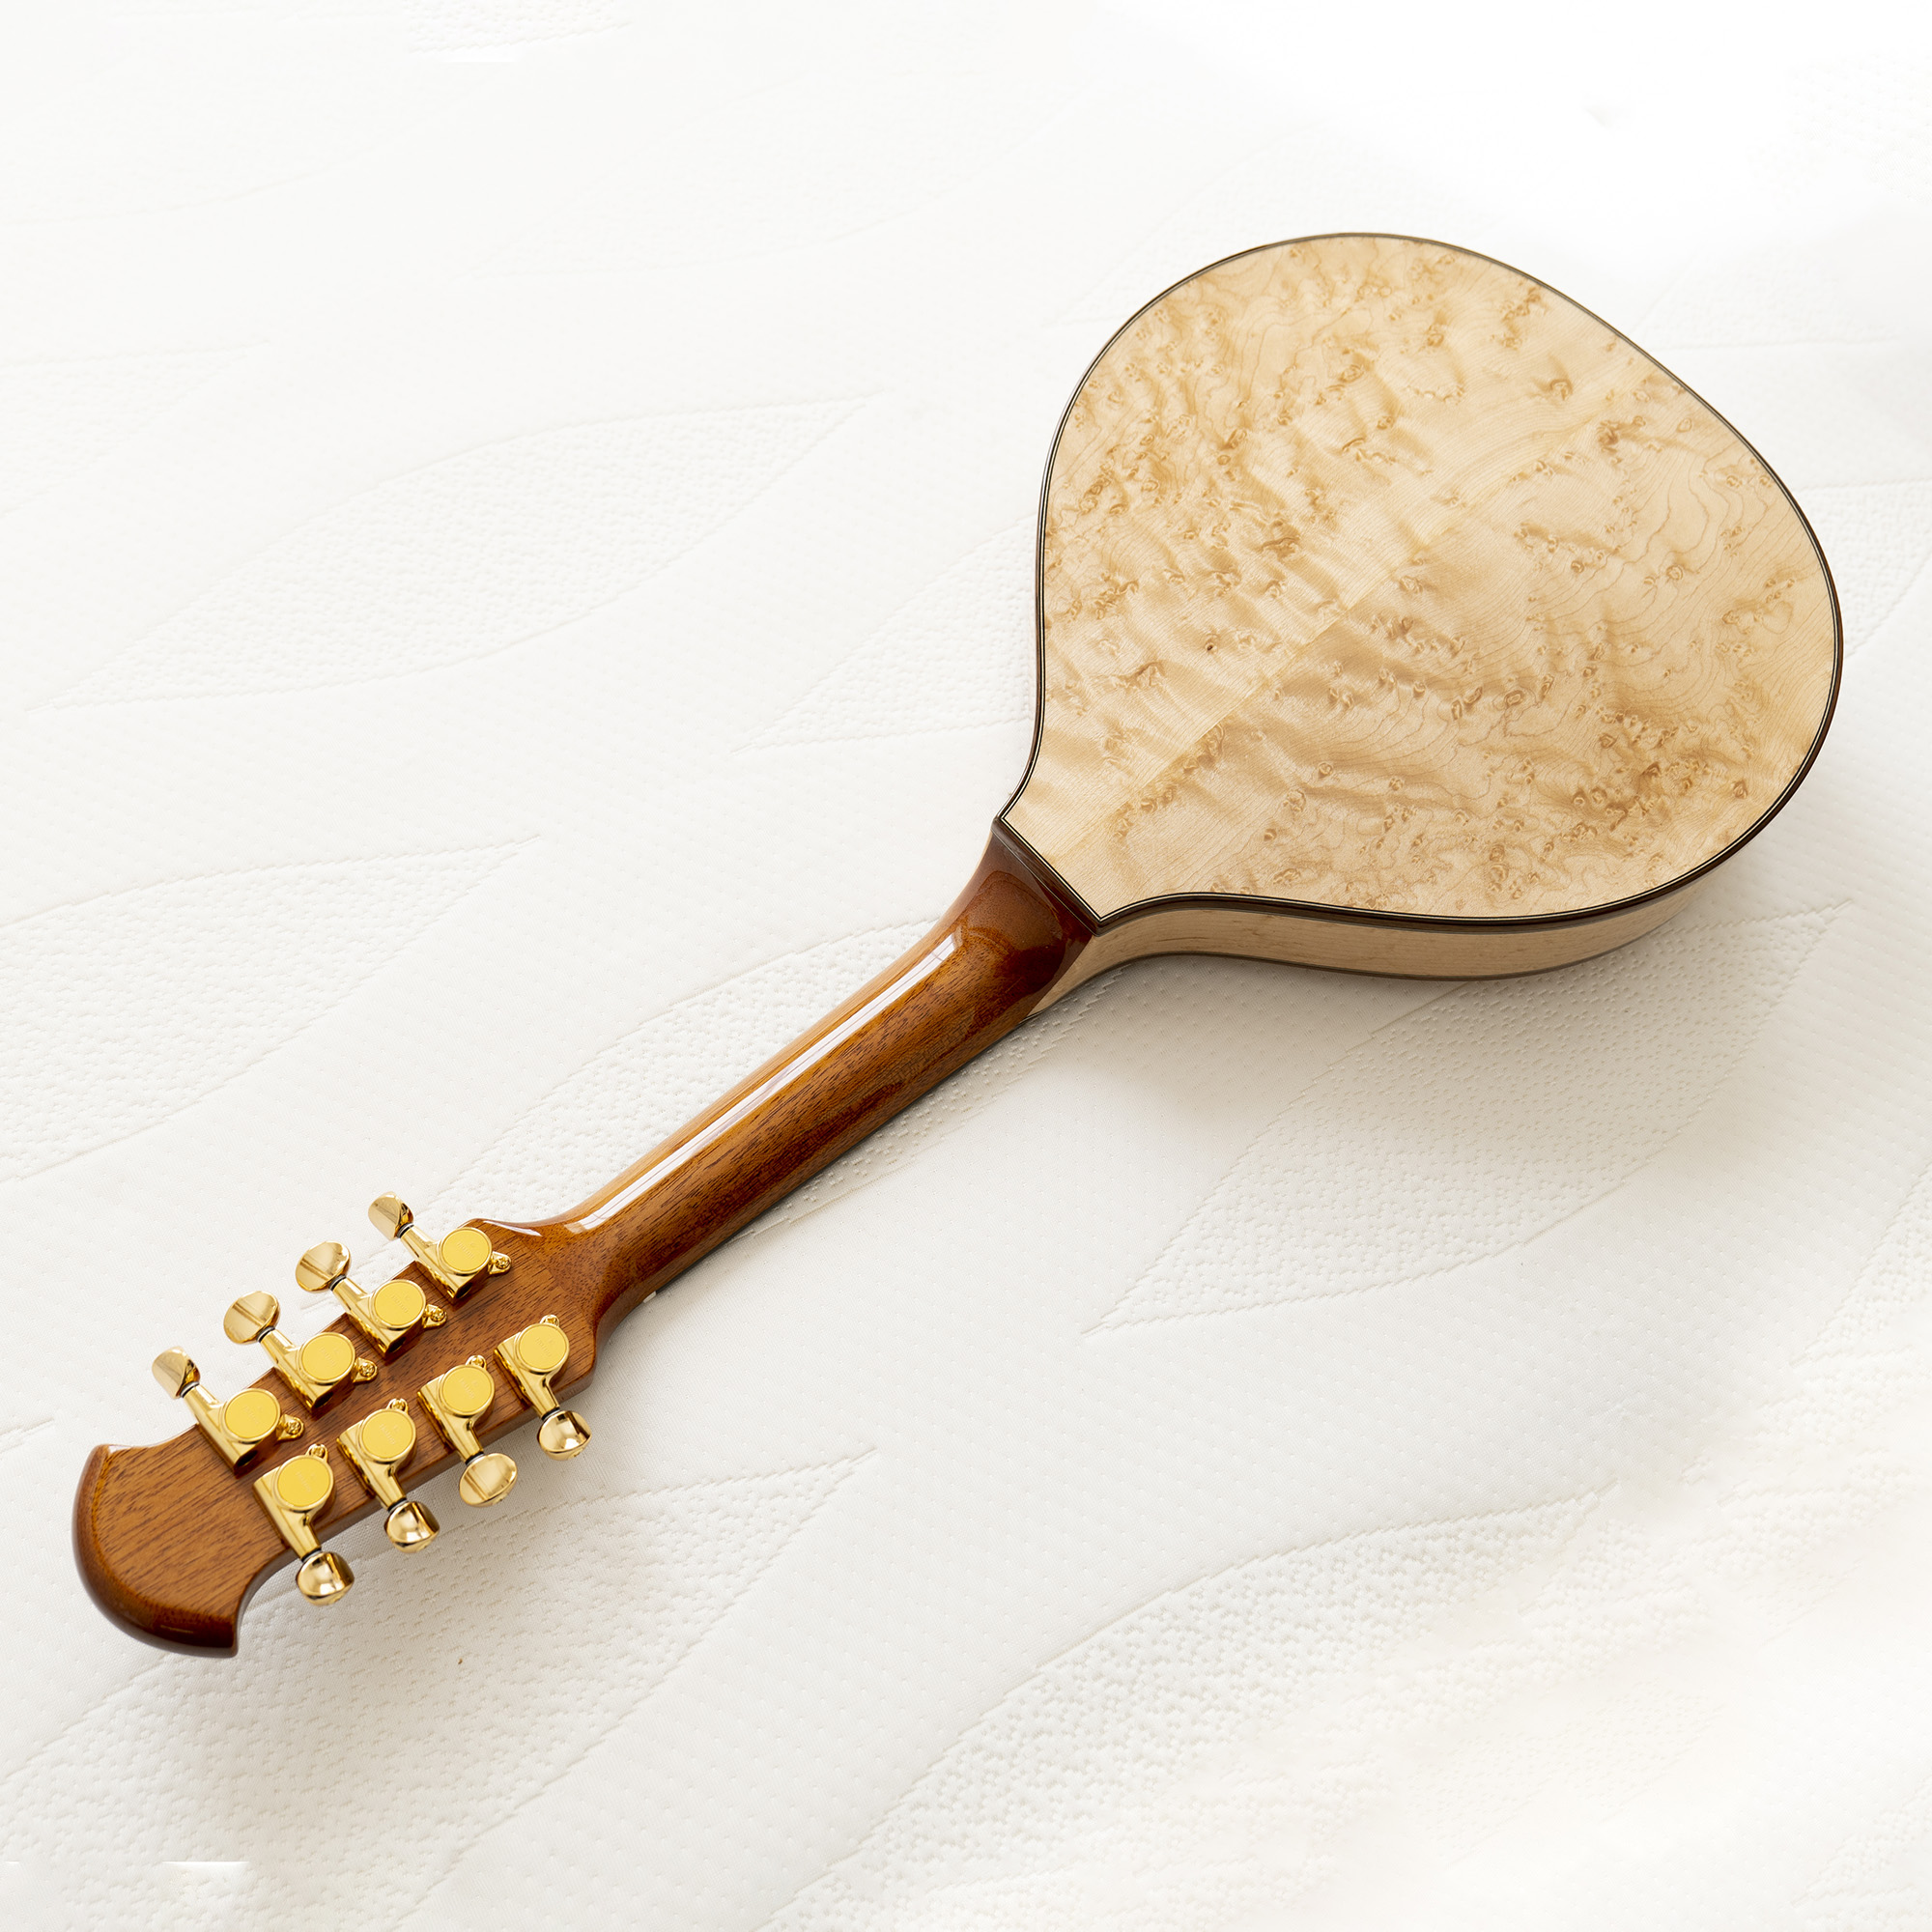
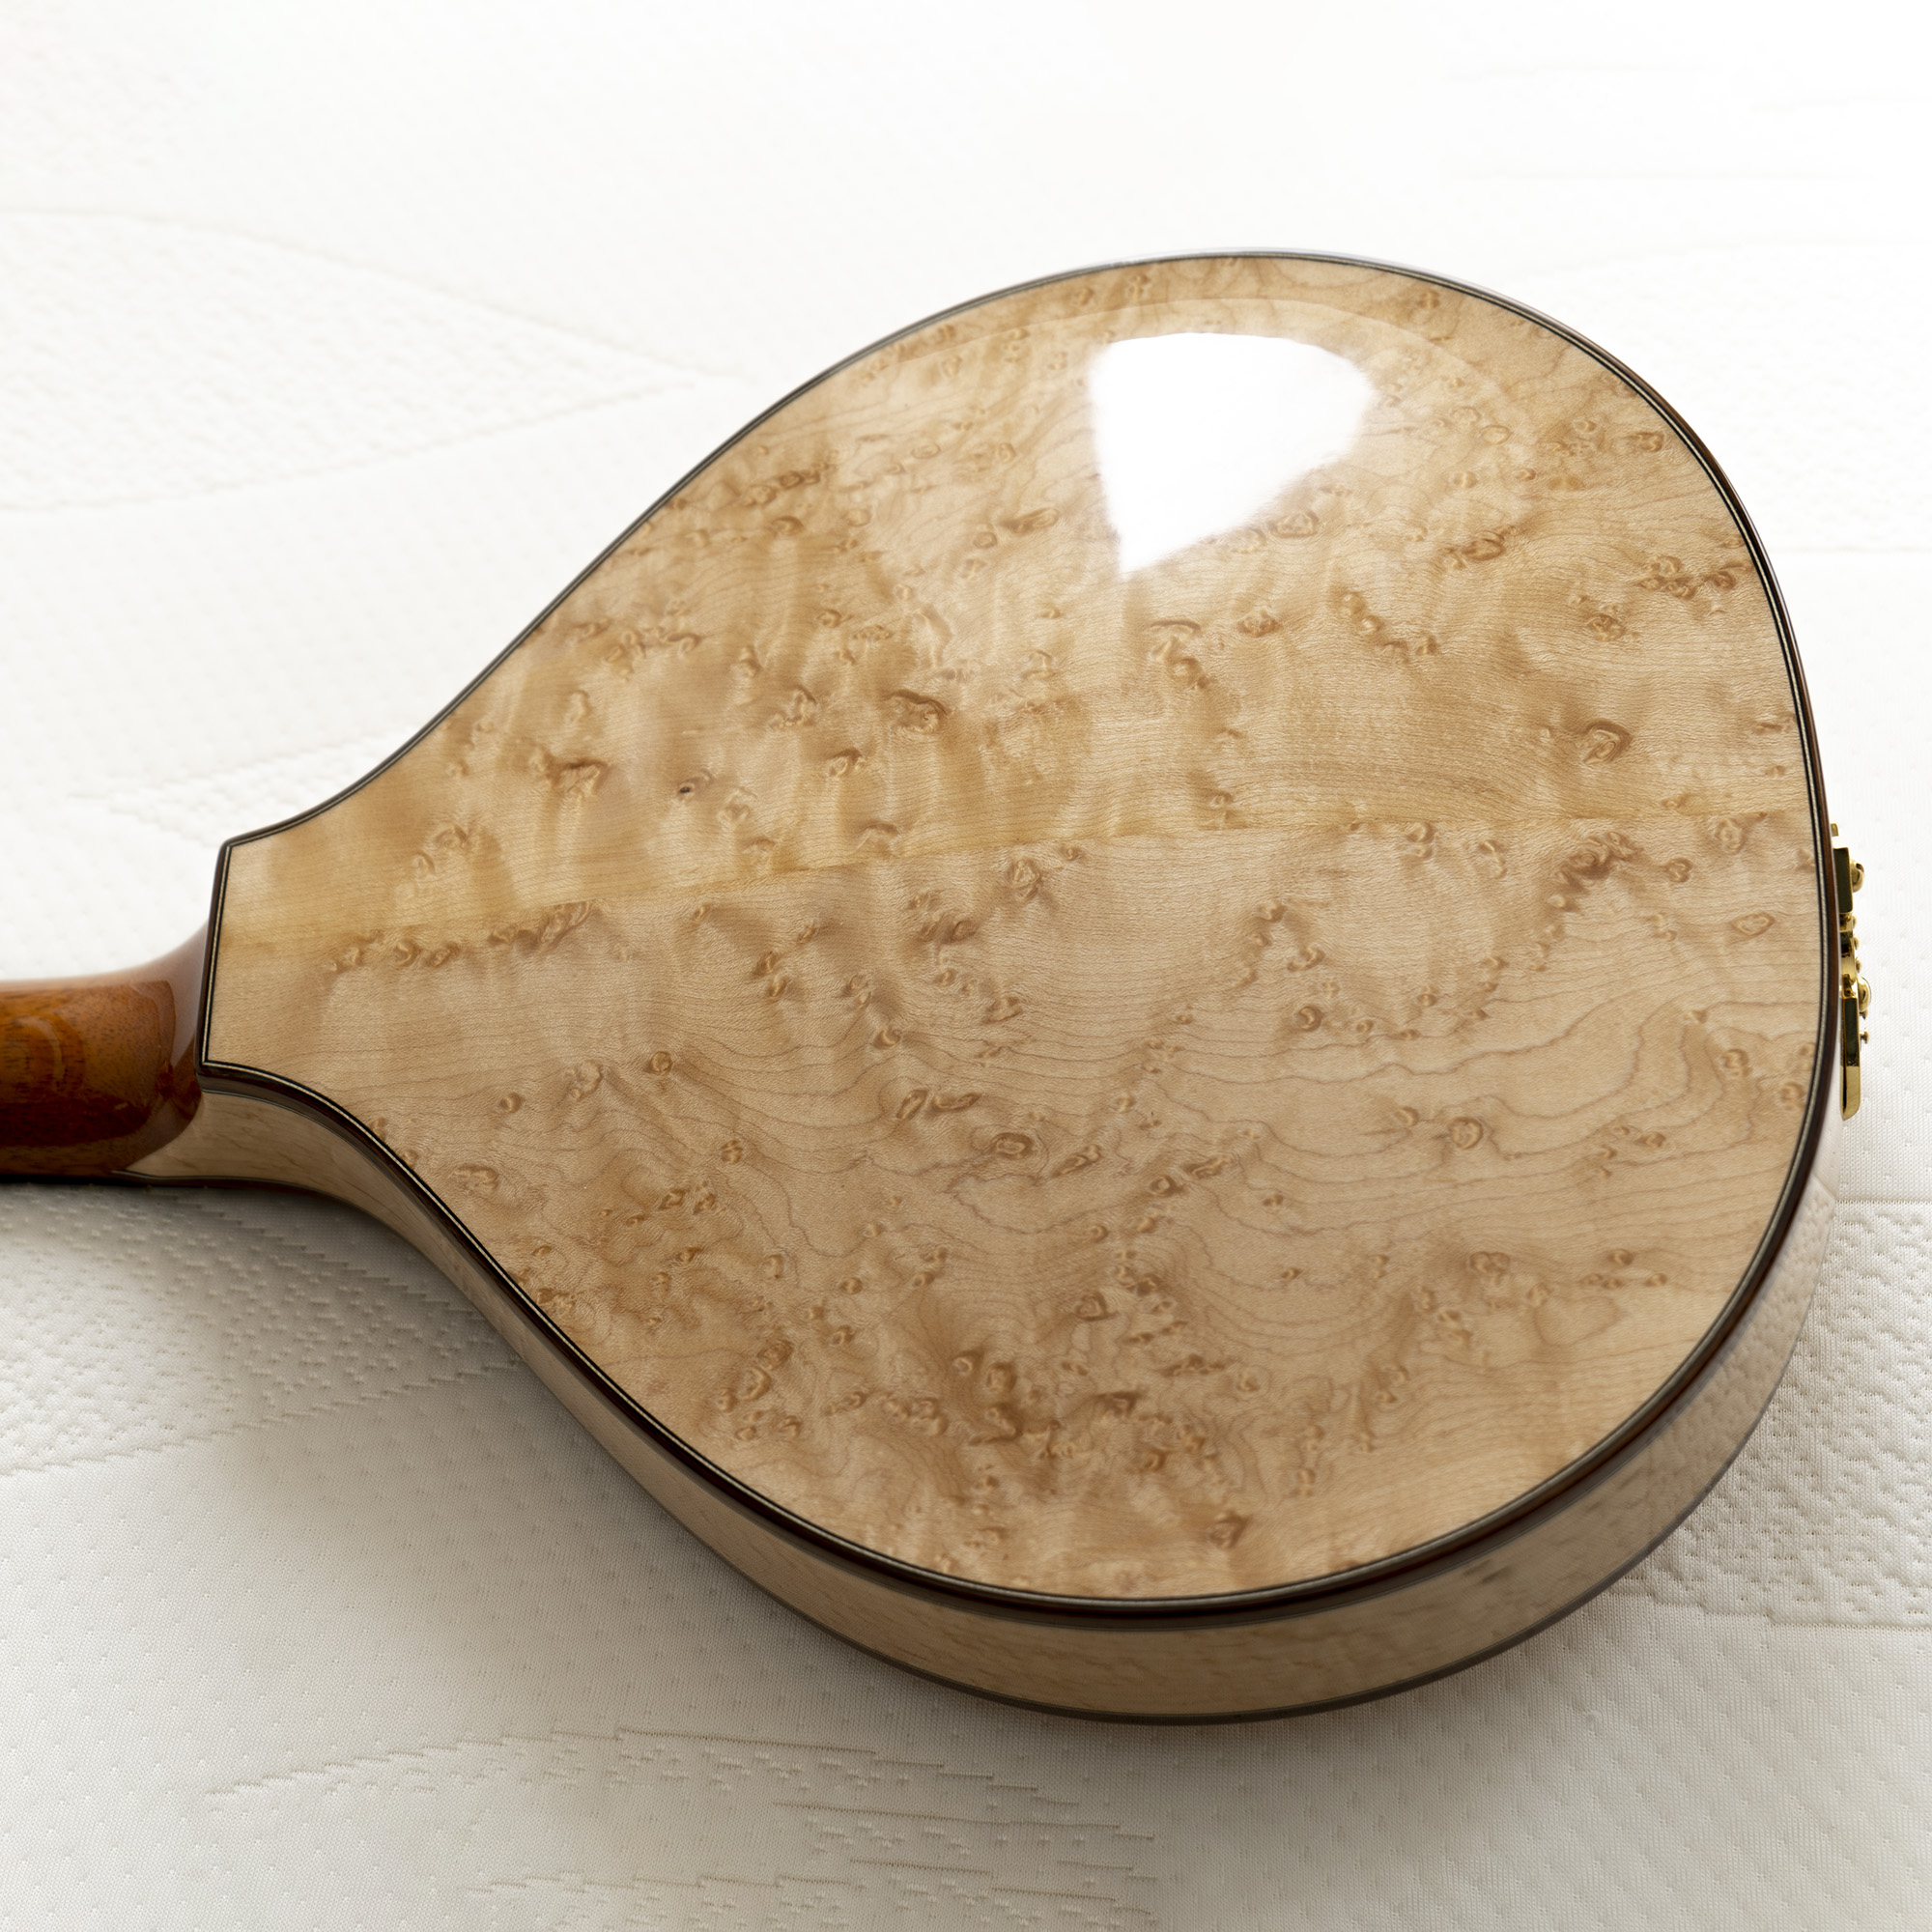
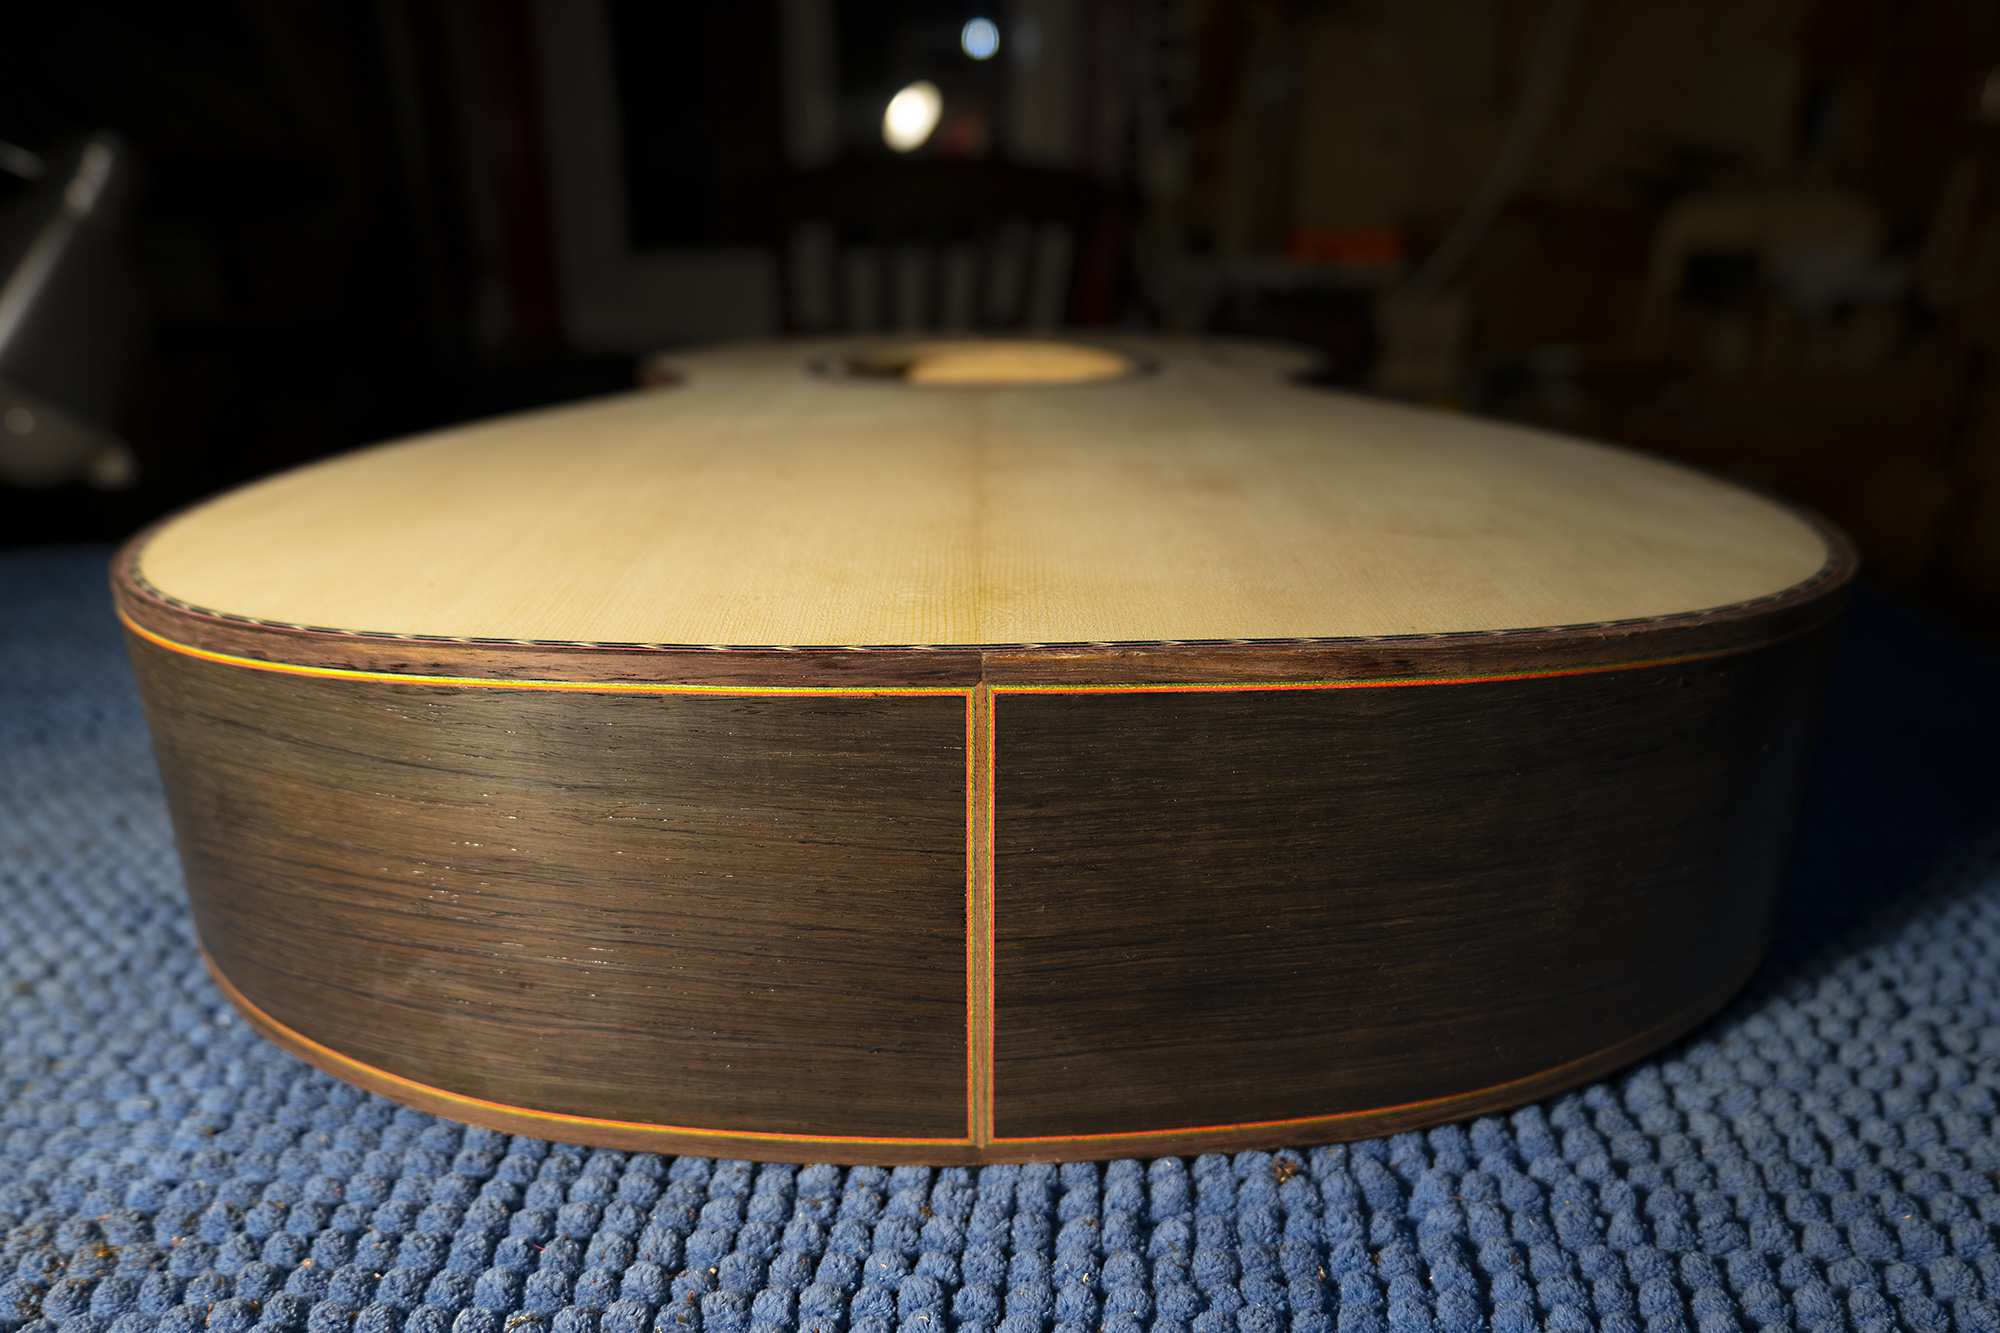
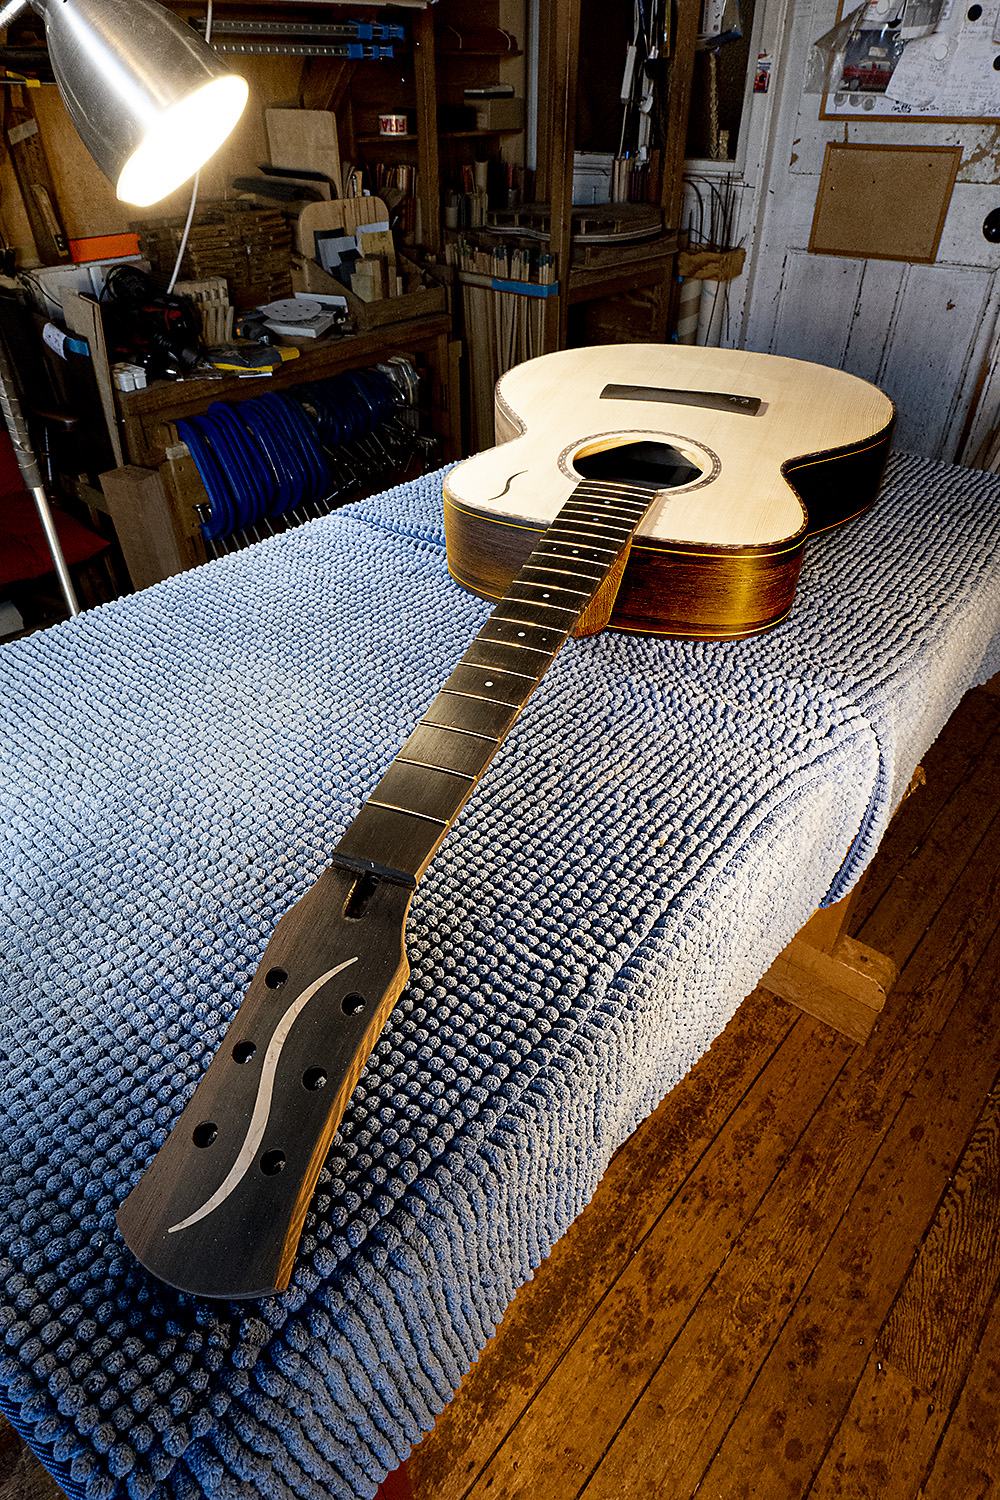
New World D guitar
.
Just starting
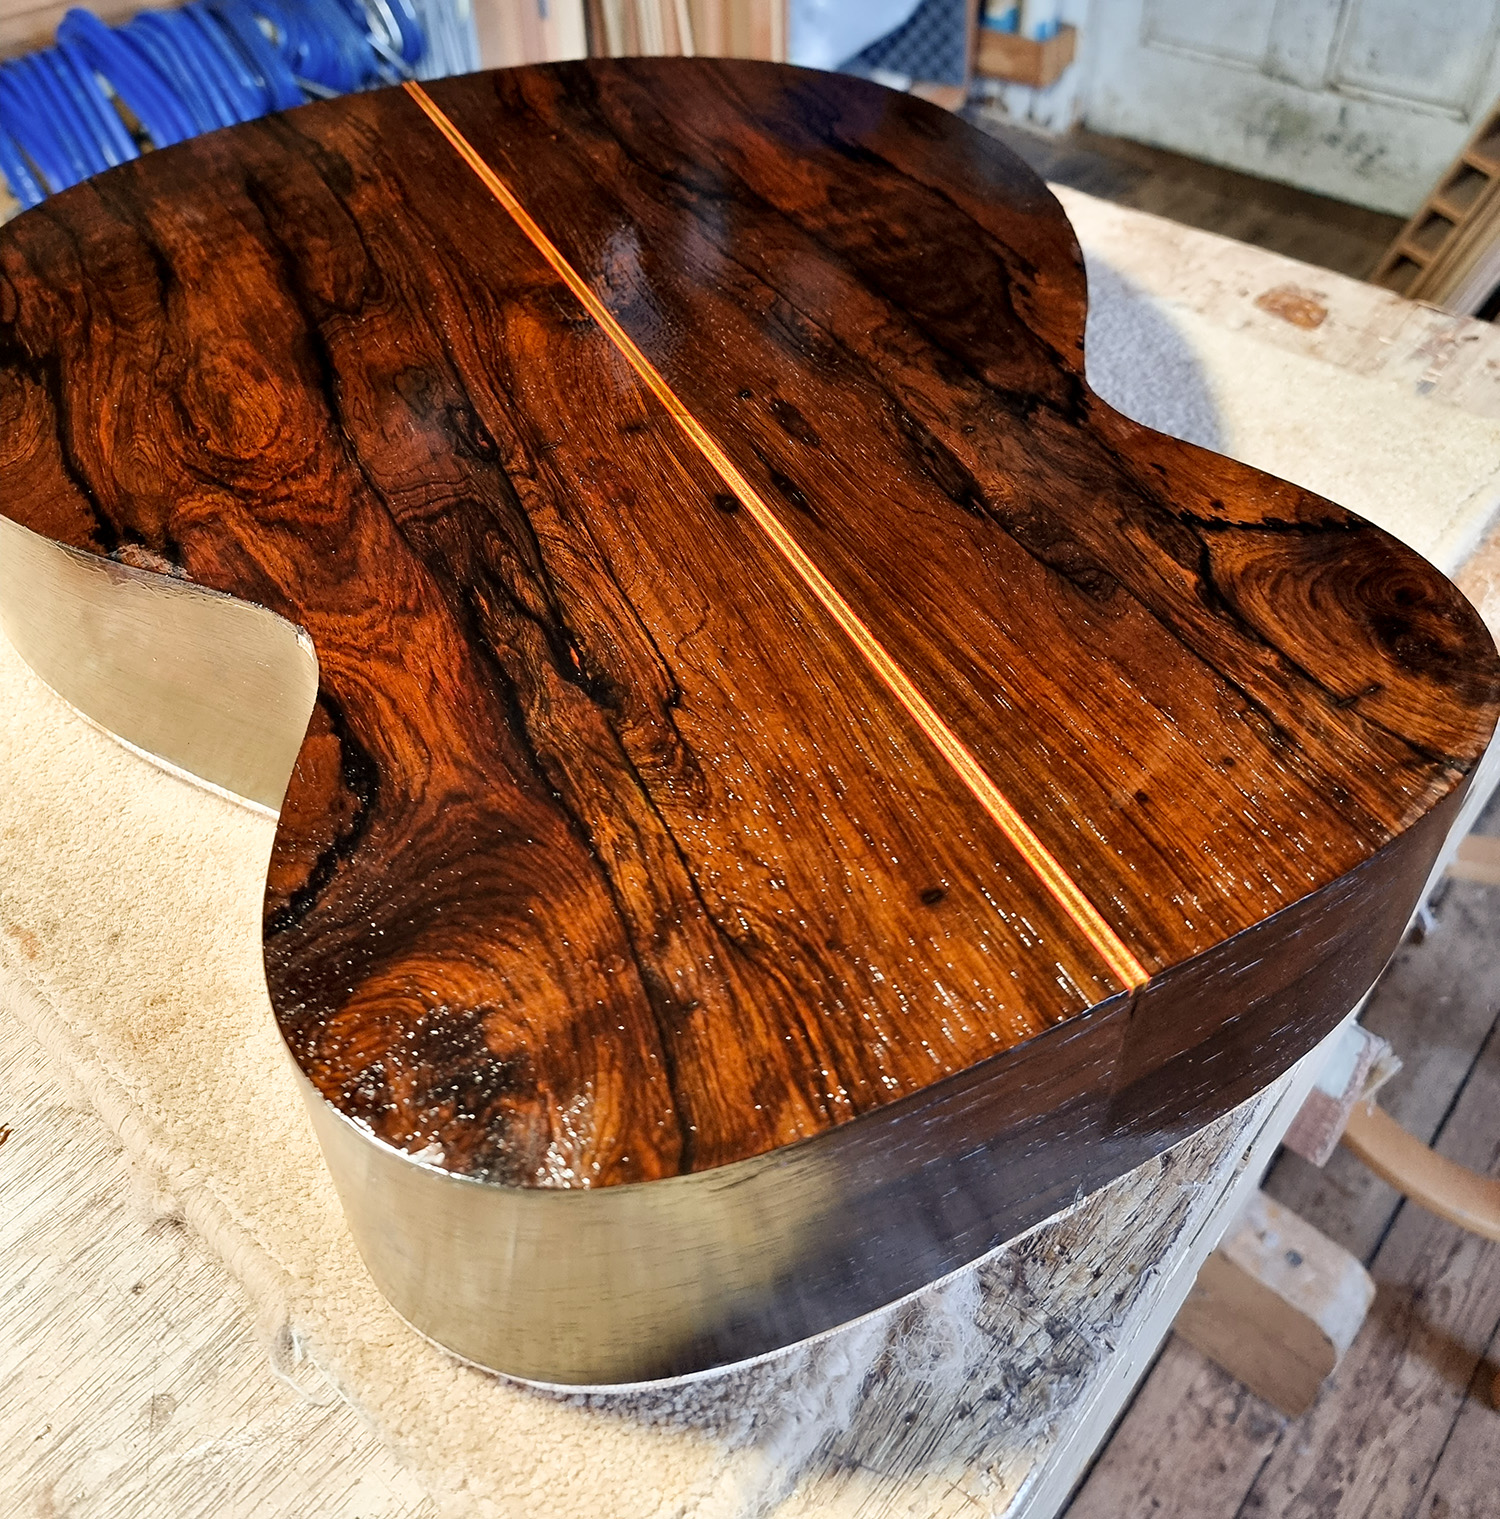
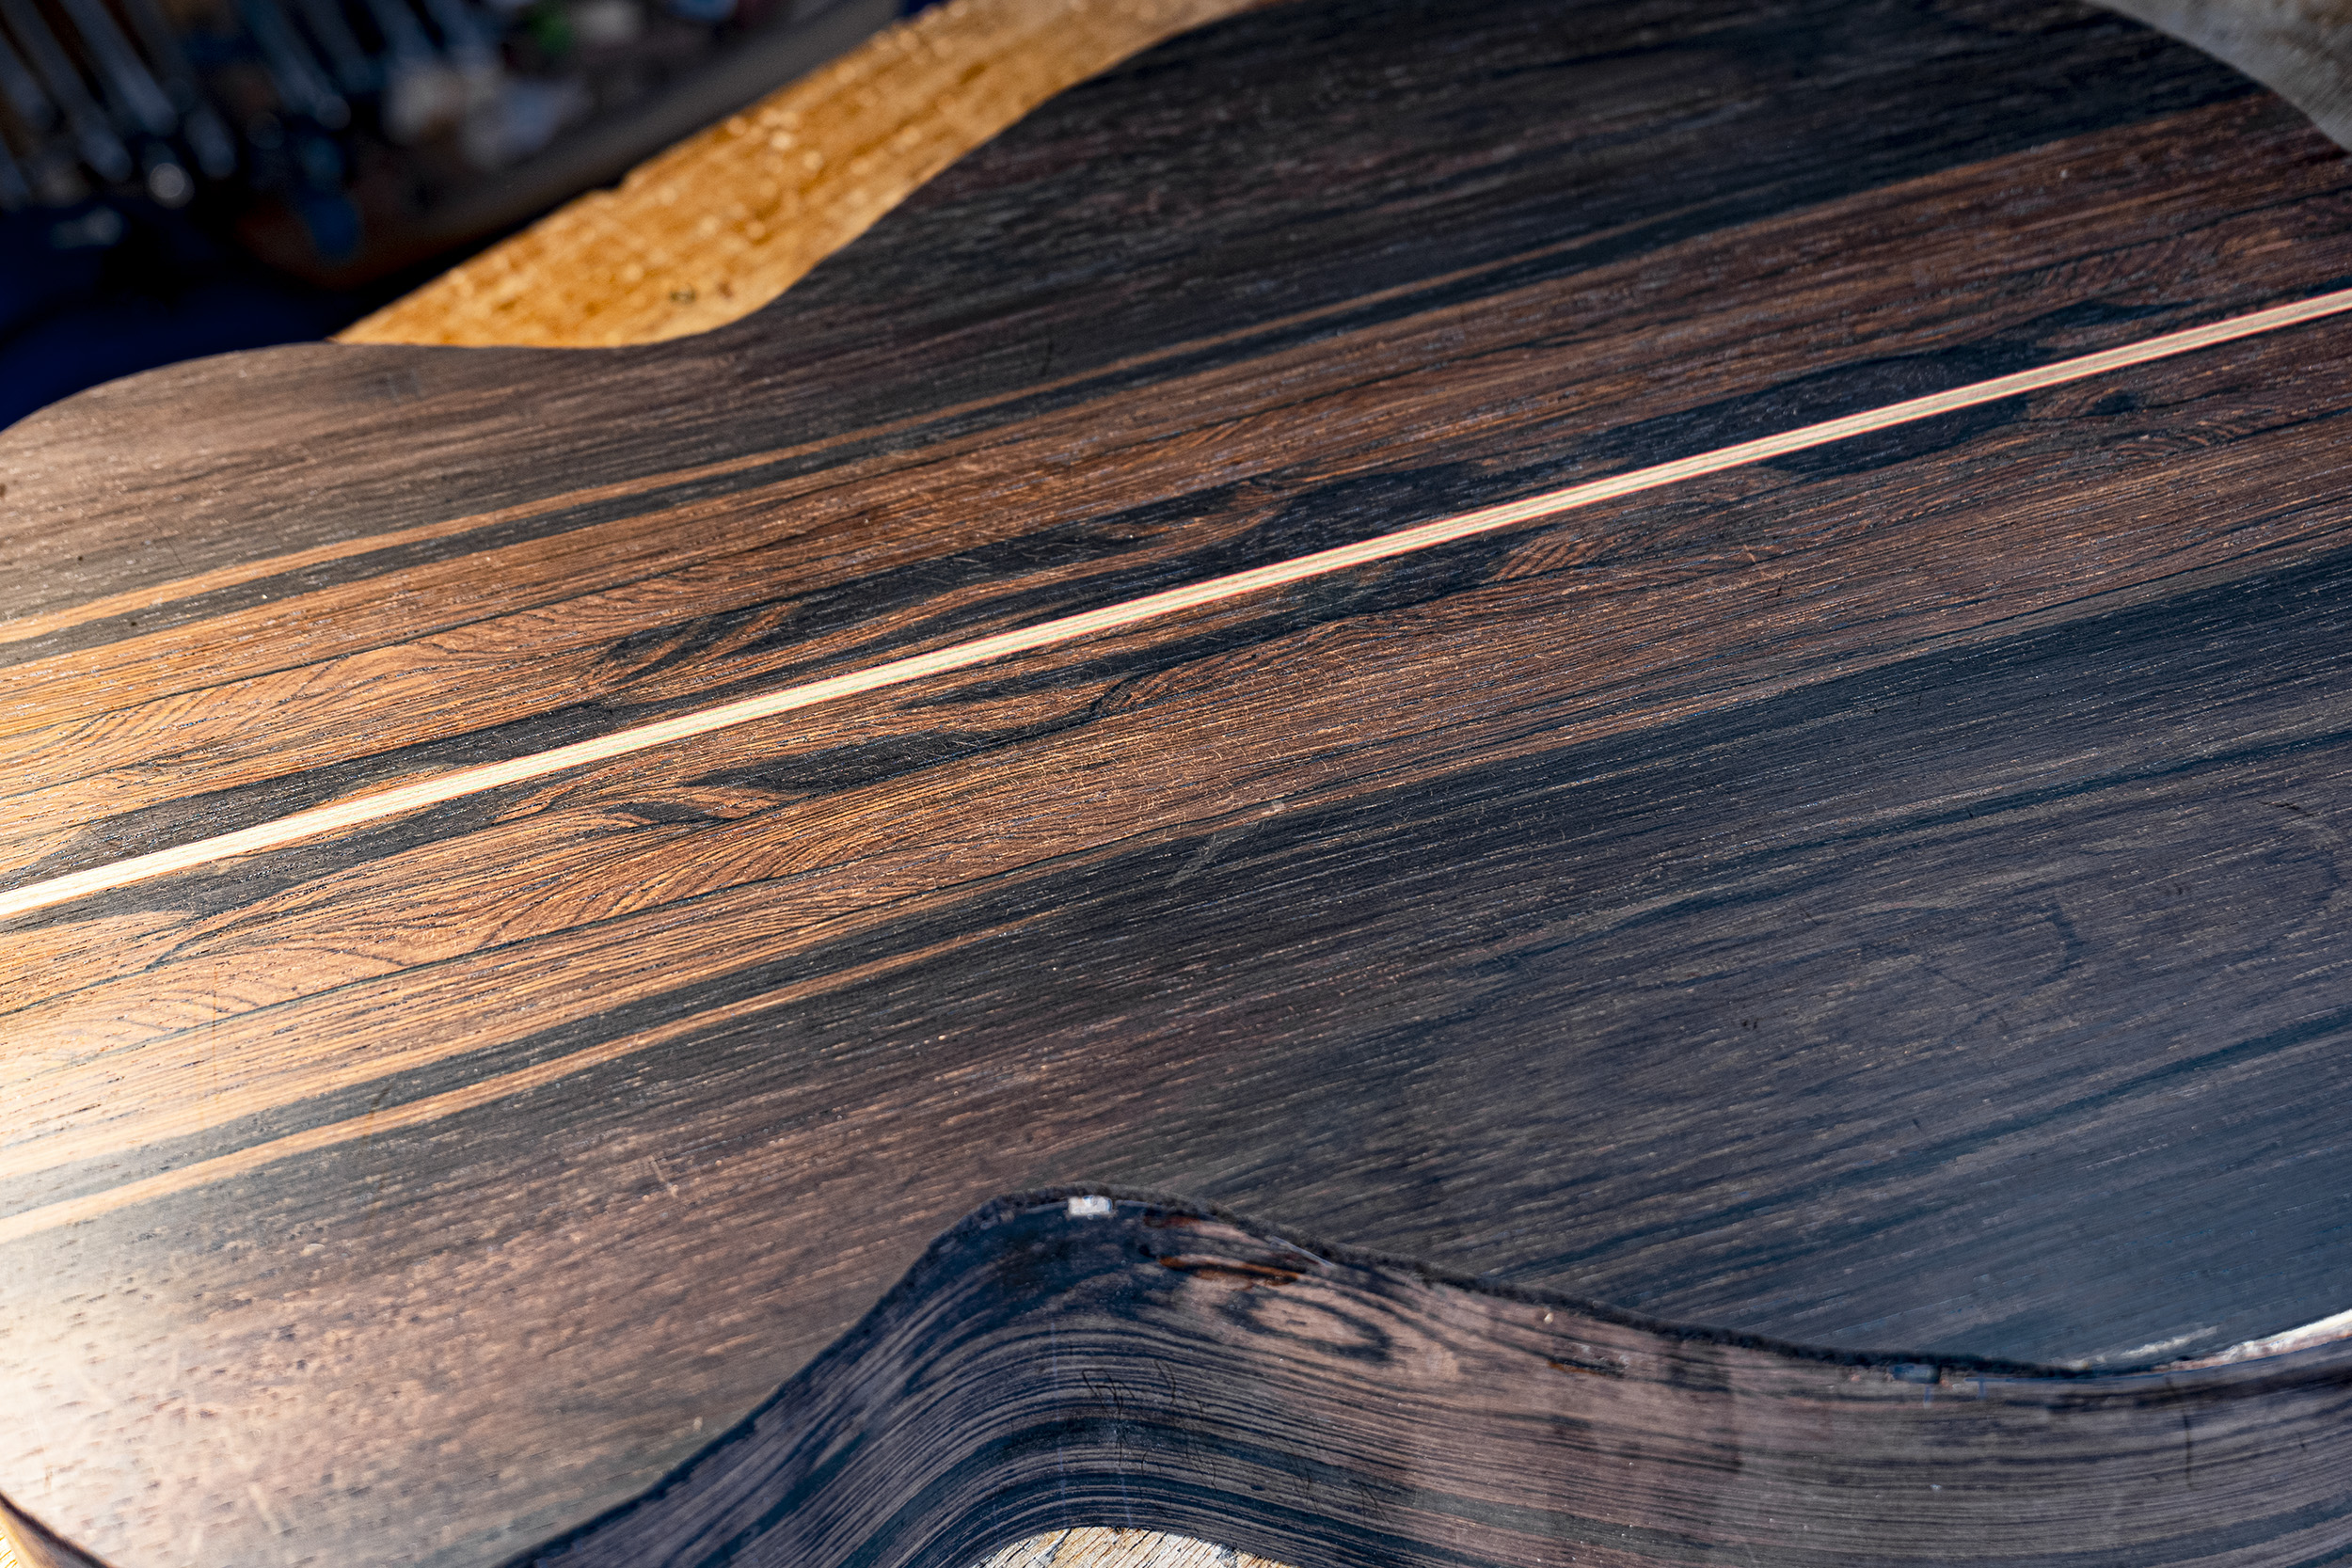
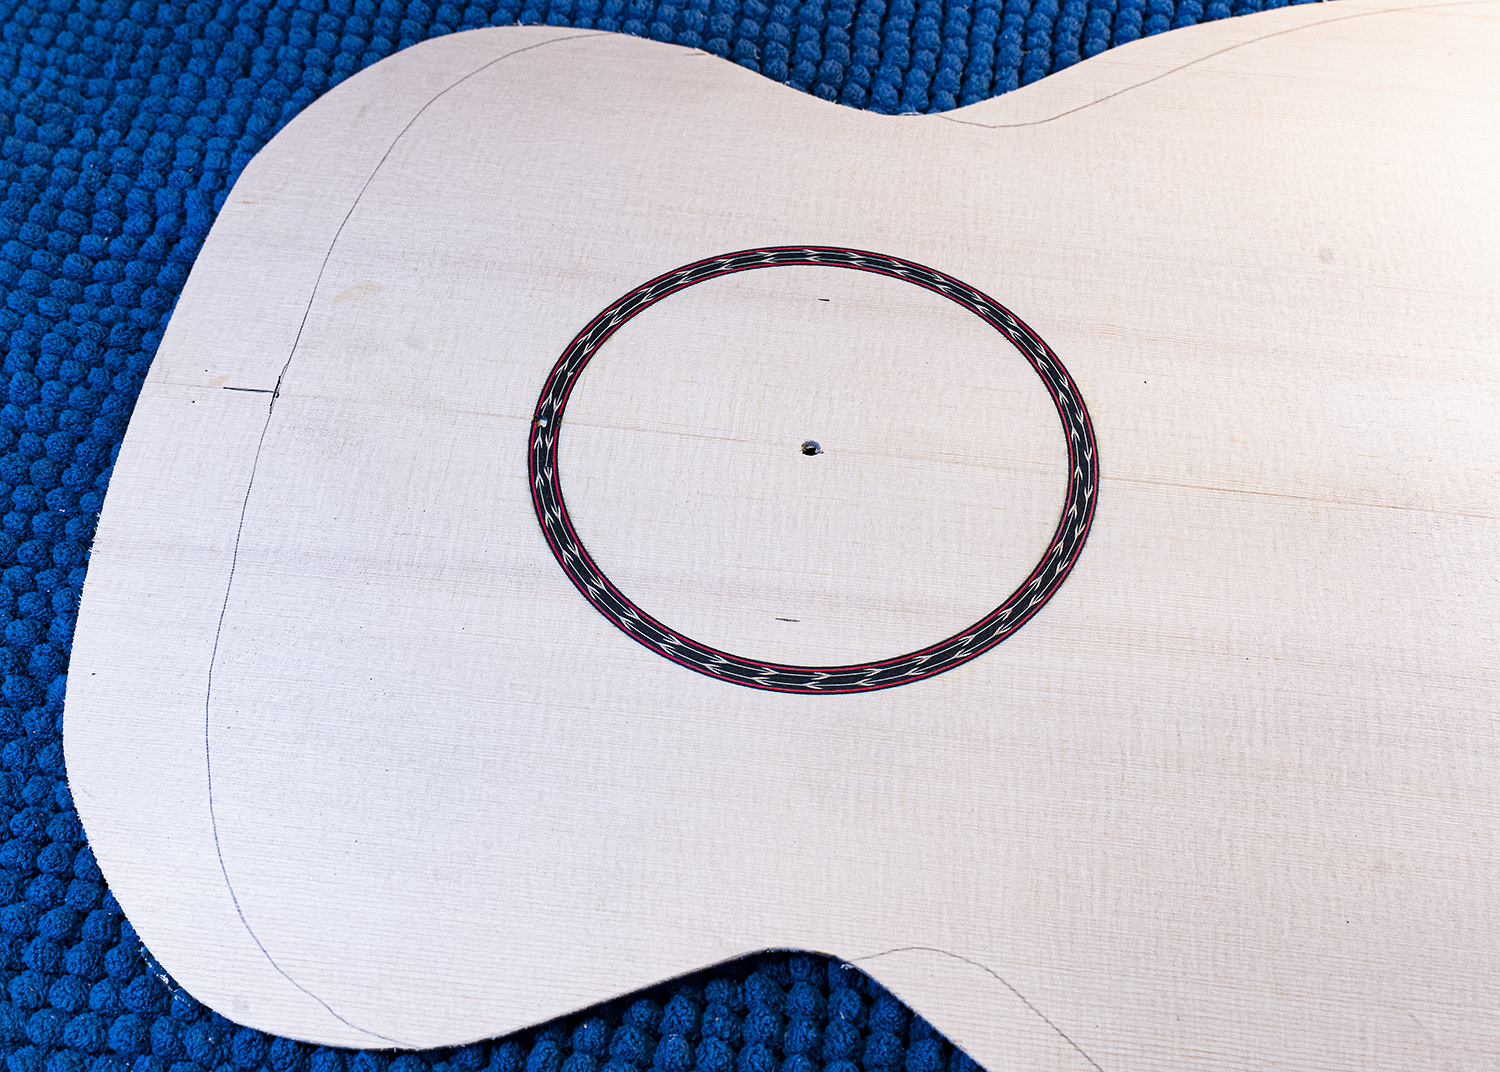
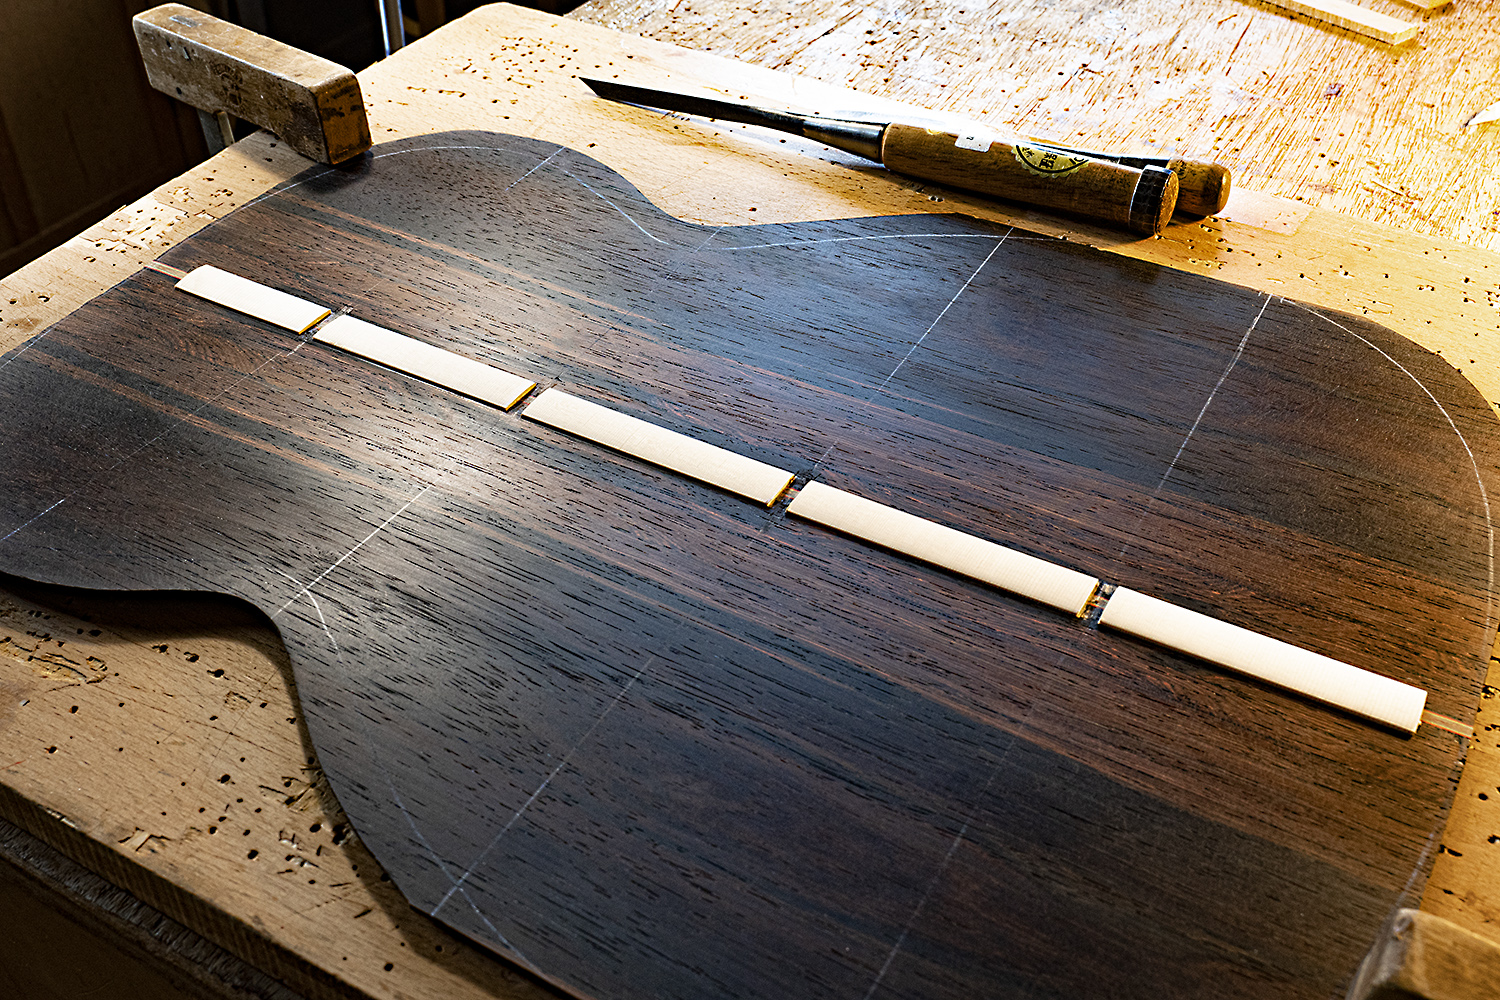
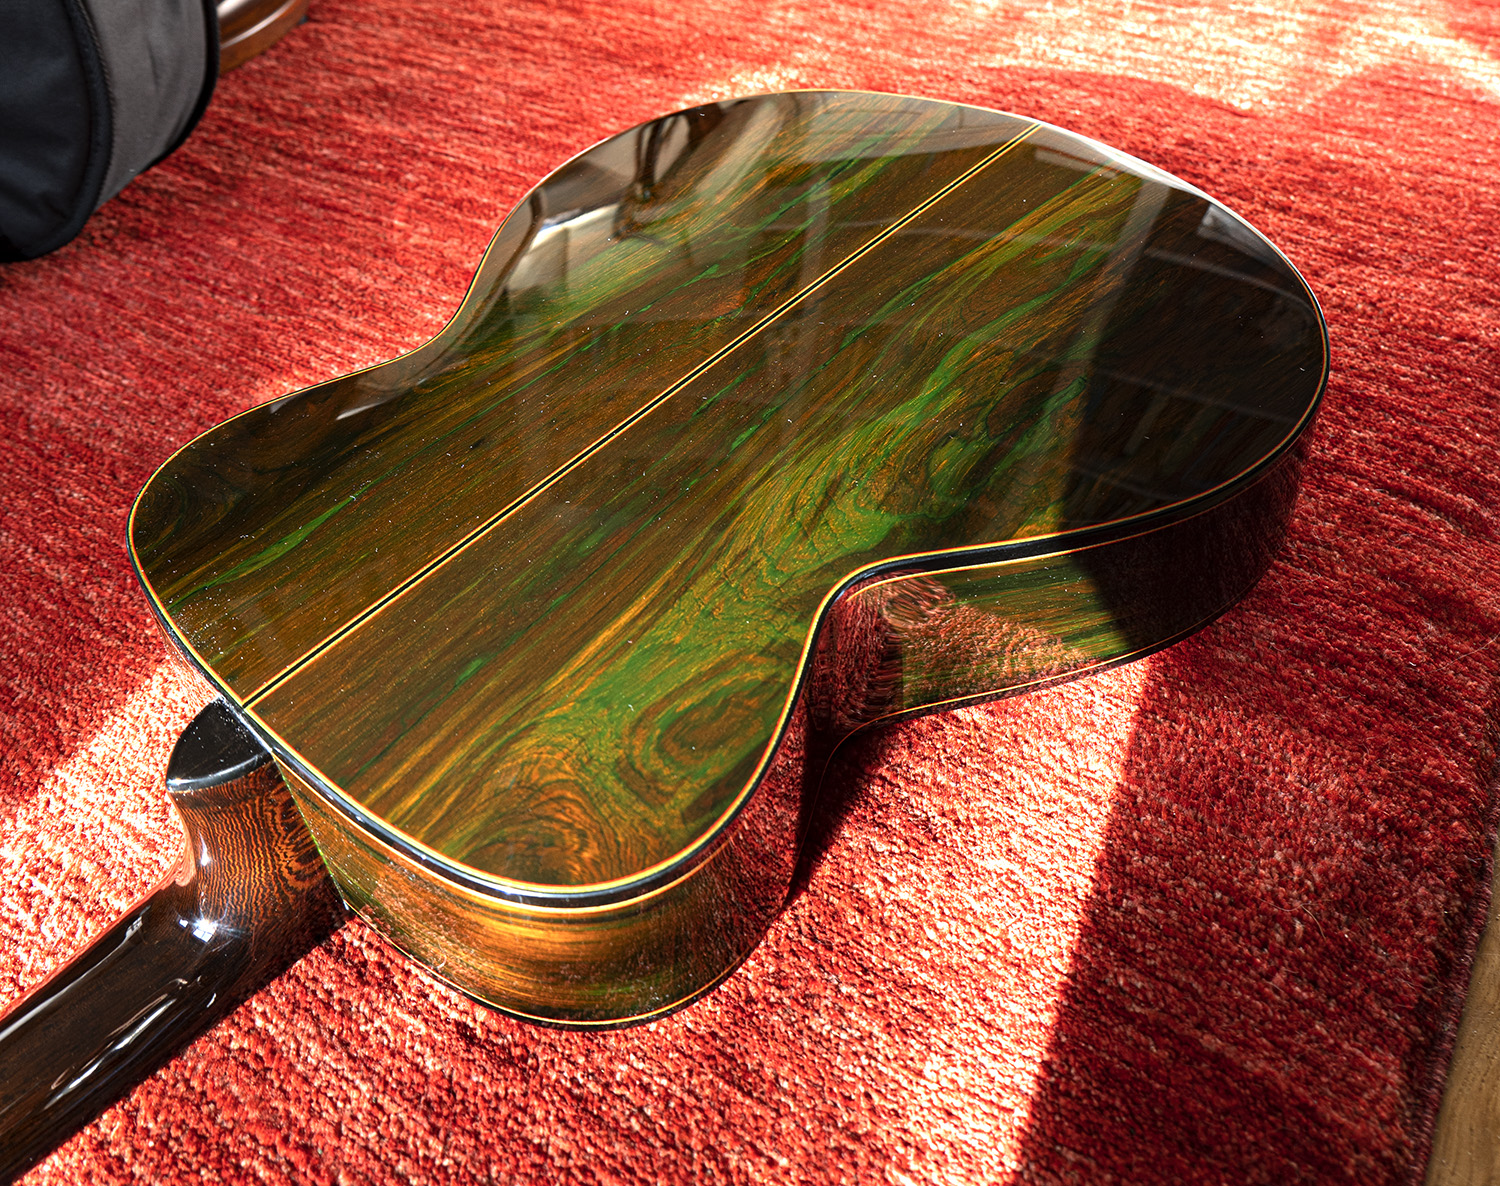
Starting a new guitar is always a special event. I build one at a time, and the first real woodwork has a good feel. Previous to this I’ve picked out suitable back and sides (Brazilian rosewood this time), soundboard (old German spruce) and neck (Wengé). I’ve joined the back, thicknessed back, sides and soundboard, and cut spruce billets into braces. All this is preparation; the first real building processes are reinforcing the back and fitting the rosette.
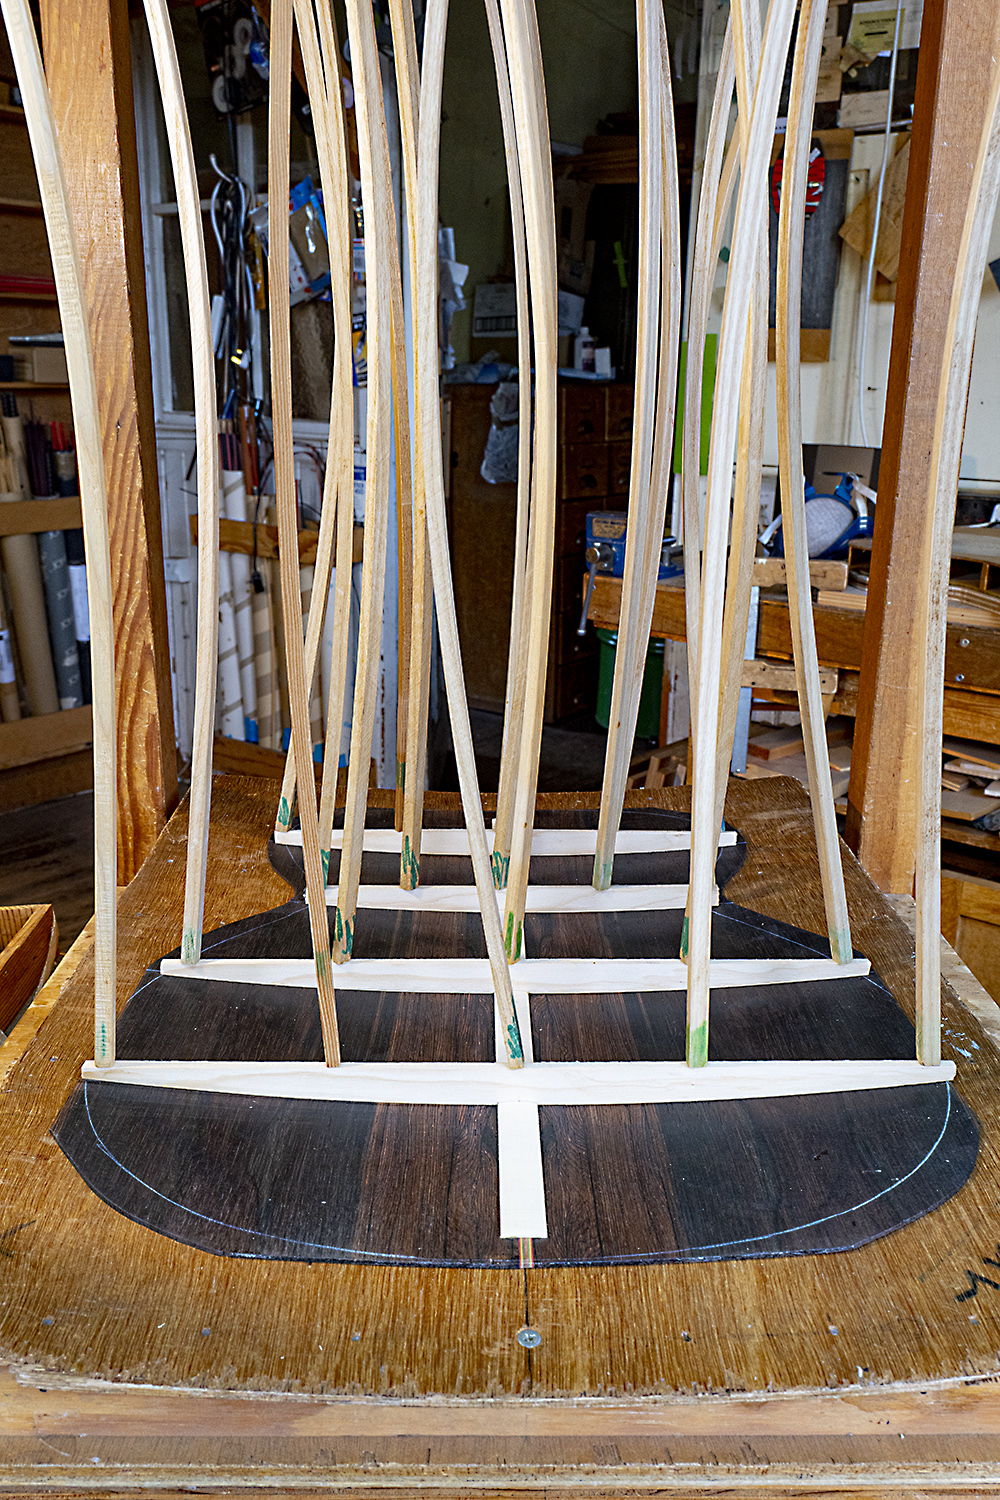
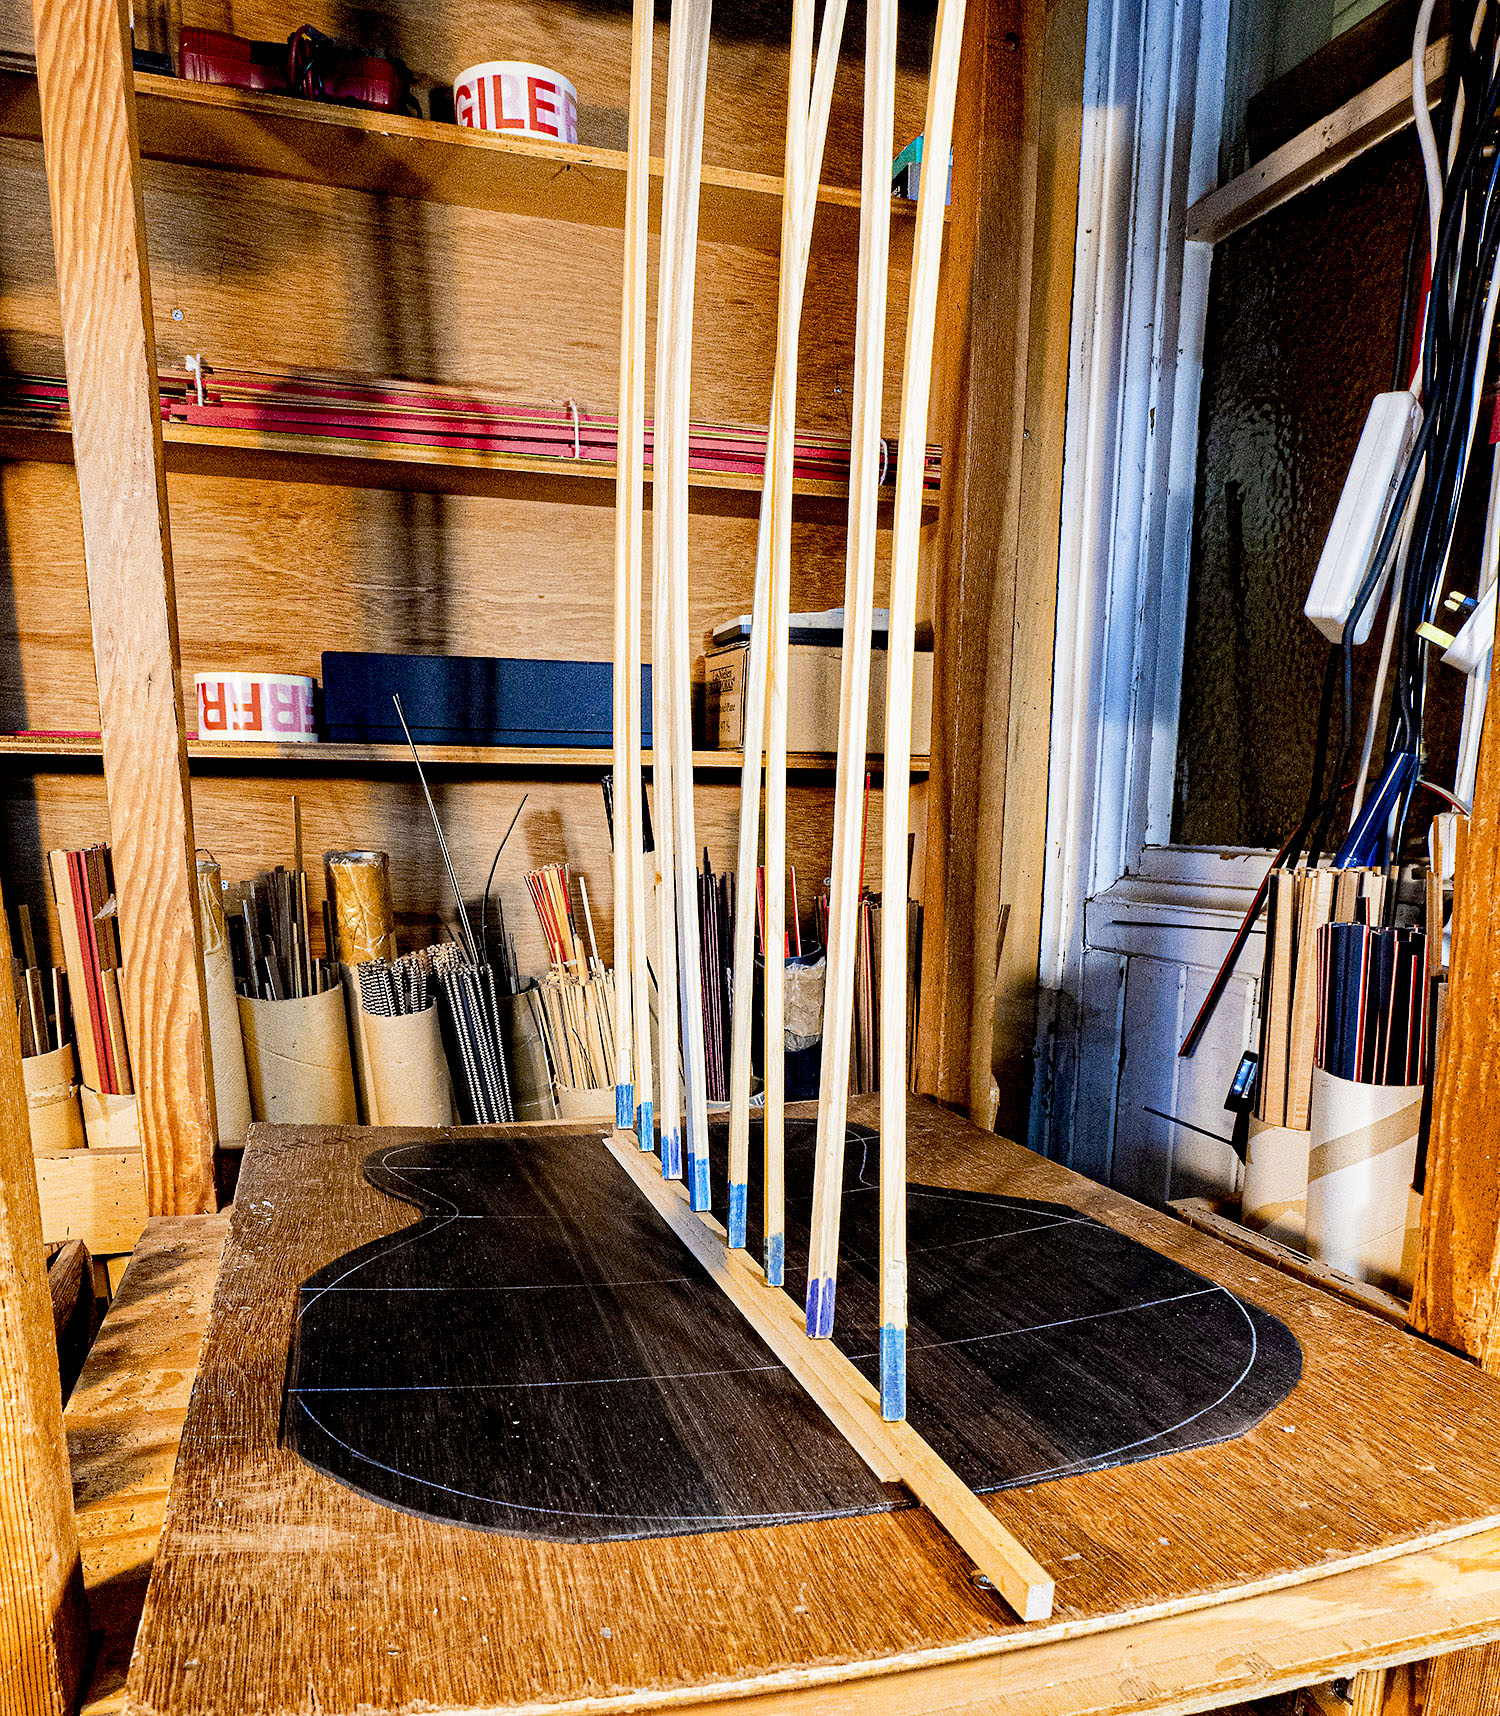
Here the back is in the go-bar jig with the spruce reinforcement (taken from off-cuts of the soundboard) glued in place and held by go-bar spars while the glue dries. The back brace positions are marked; the reinforcement will be cut to accommodate them.
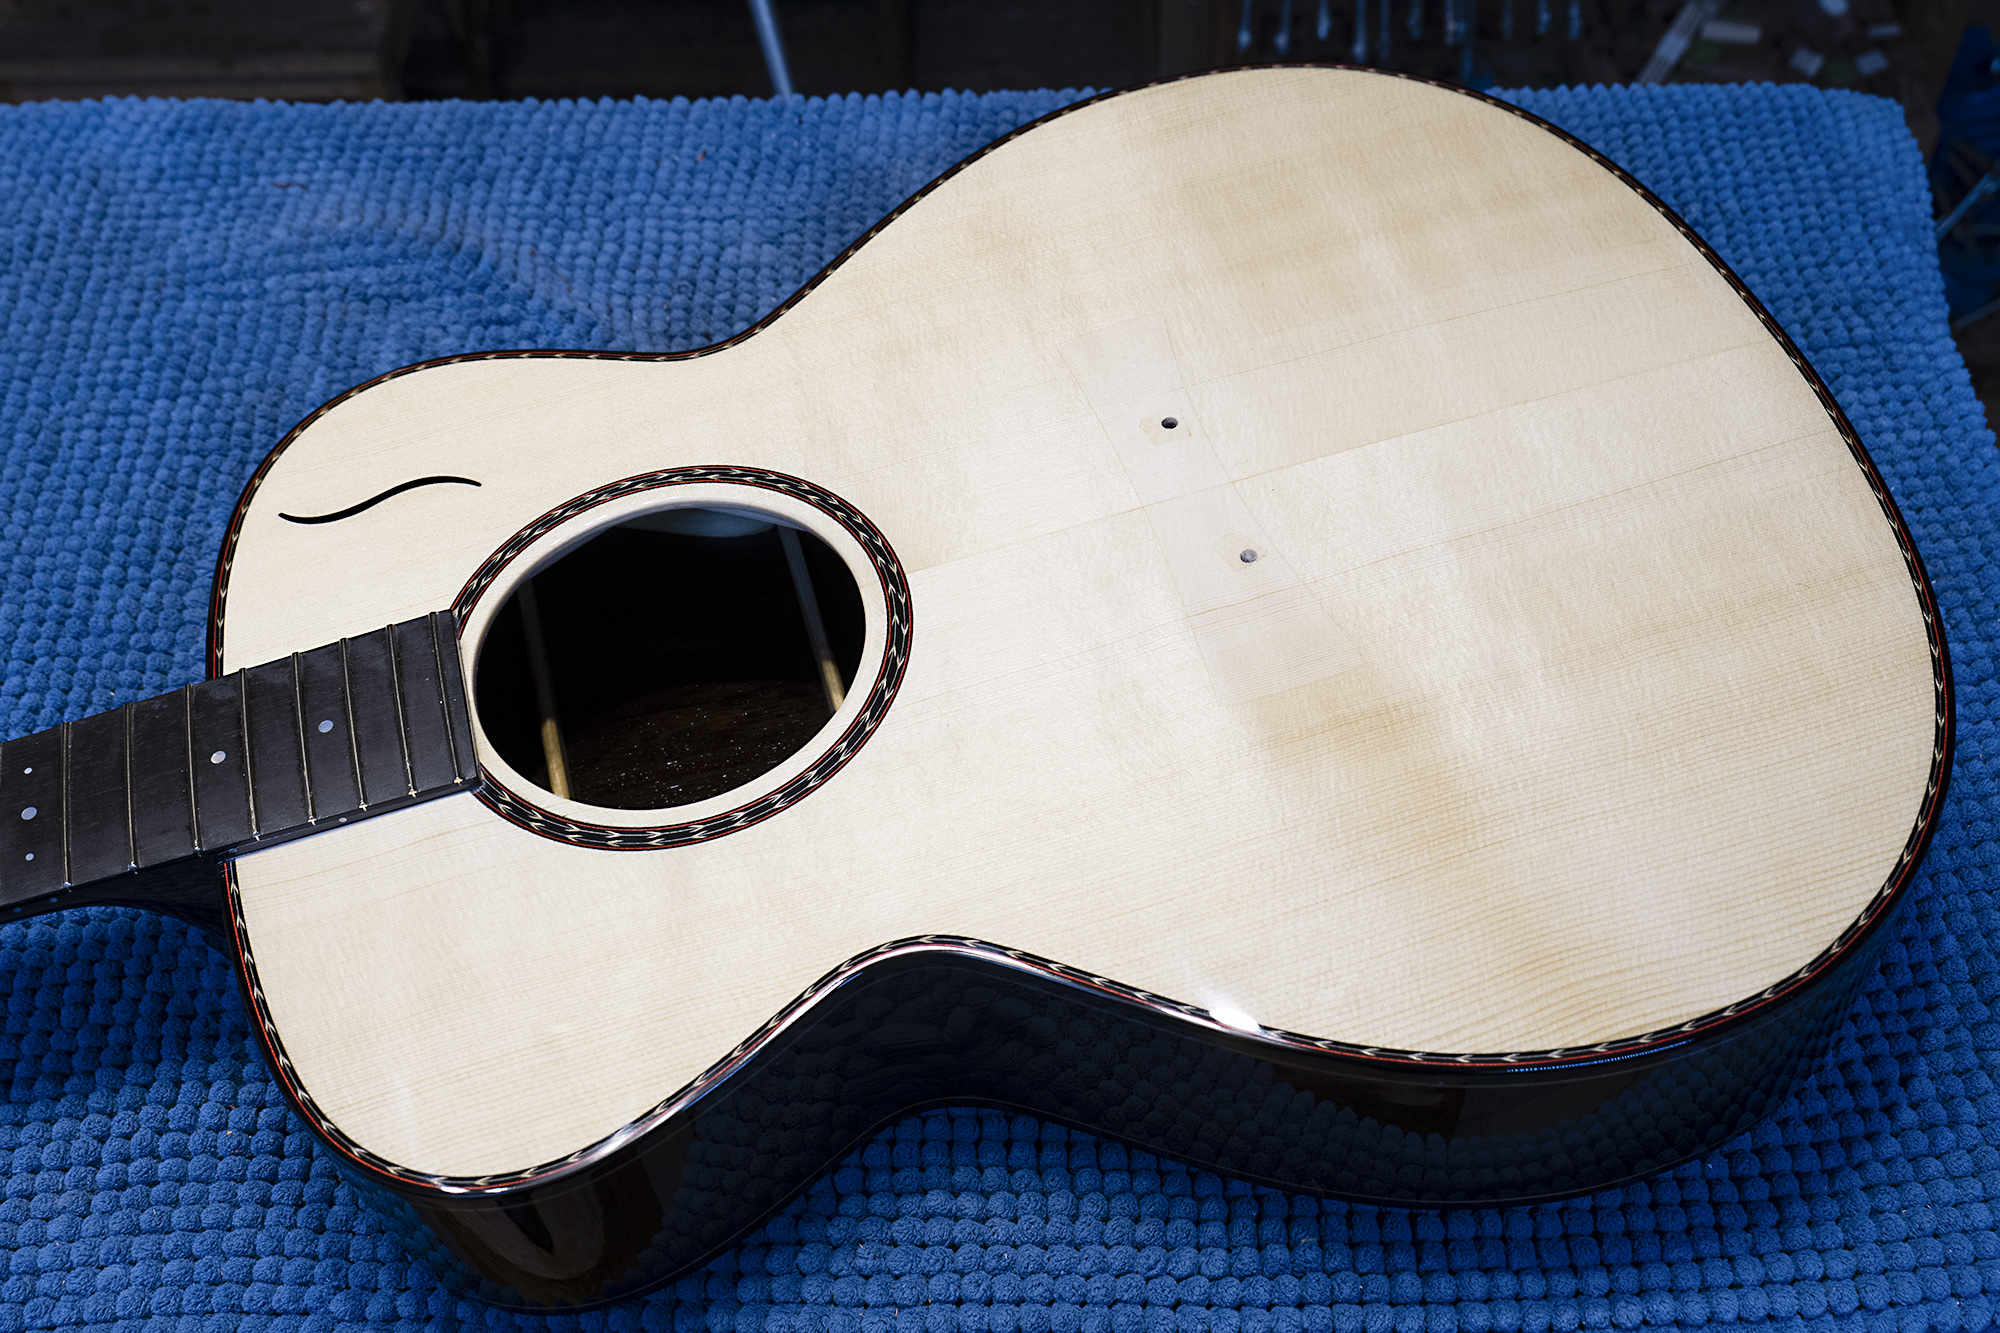
While it is of course the same procedure I’ve shown many times before on this site, I like to show it often. The different woods can be seen (Brazilian rosewood varies a great deal), and sometimes, as this time, I’m building a particularly interesting guitar. This is going to be a New World D guitar, based on my 12 fret to the body New World.
12 fret guitars are generally considered to have a special sound, as compared with the more usual 14 fret versions. Last year I built my first 12 fret New World (see my News item 27 October 2021); it’s now the guitar I play every day and find so hard to put down. A slightly different sound compared with the equivalent 14 fret, it’s deeply satisfying across the strings and all over the fingerboard. Sometimes it’s hard to say exactly why a guitar feels and sounds just right, but my New World 12 fret is one that does.
Of course, 12 fret guitars limit how high one can put a capo, and frets past the 11th are hard to get at. But most acoustic players don’t play up there anyway, and if they do they would probably choose a 14 fret cutaway. The 12 fret guitar isn’t about access, it’s about sound.
Building a D version involves building a neck two frets longer, thus turning it into a 14 fret guitar. But the special aspect of the 12 fret guitar is the position of the bridge. Because the neck moves two frets into the body, the bridge has to move by the same amount and so ends up two frets closer to the tail, and it’s this that gives it the 12 fret sound. Adding two frets at the head end doesn’t change this.
A longer, therefore heavier, neck will change the sound to some extent. I’ll be interested to see if this change is noticeable and if so, how different it sounds.
More on this build in the future.

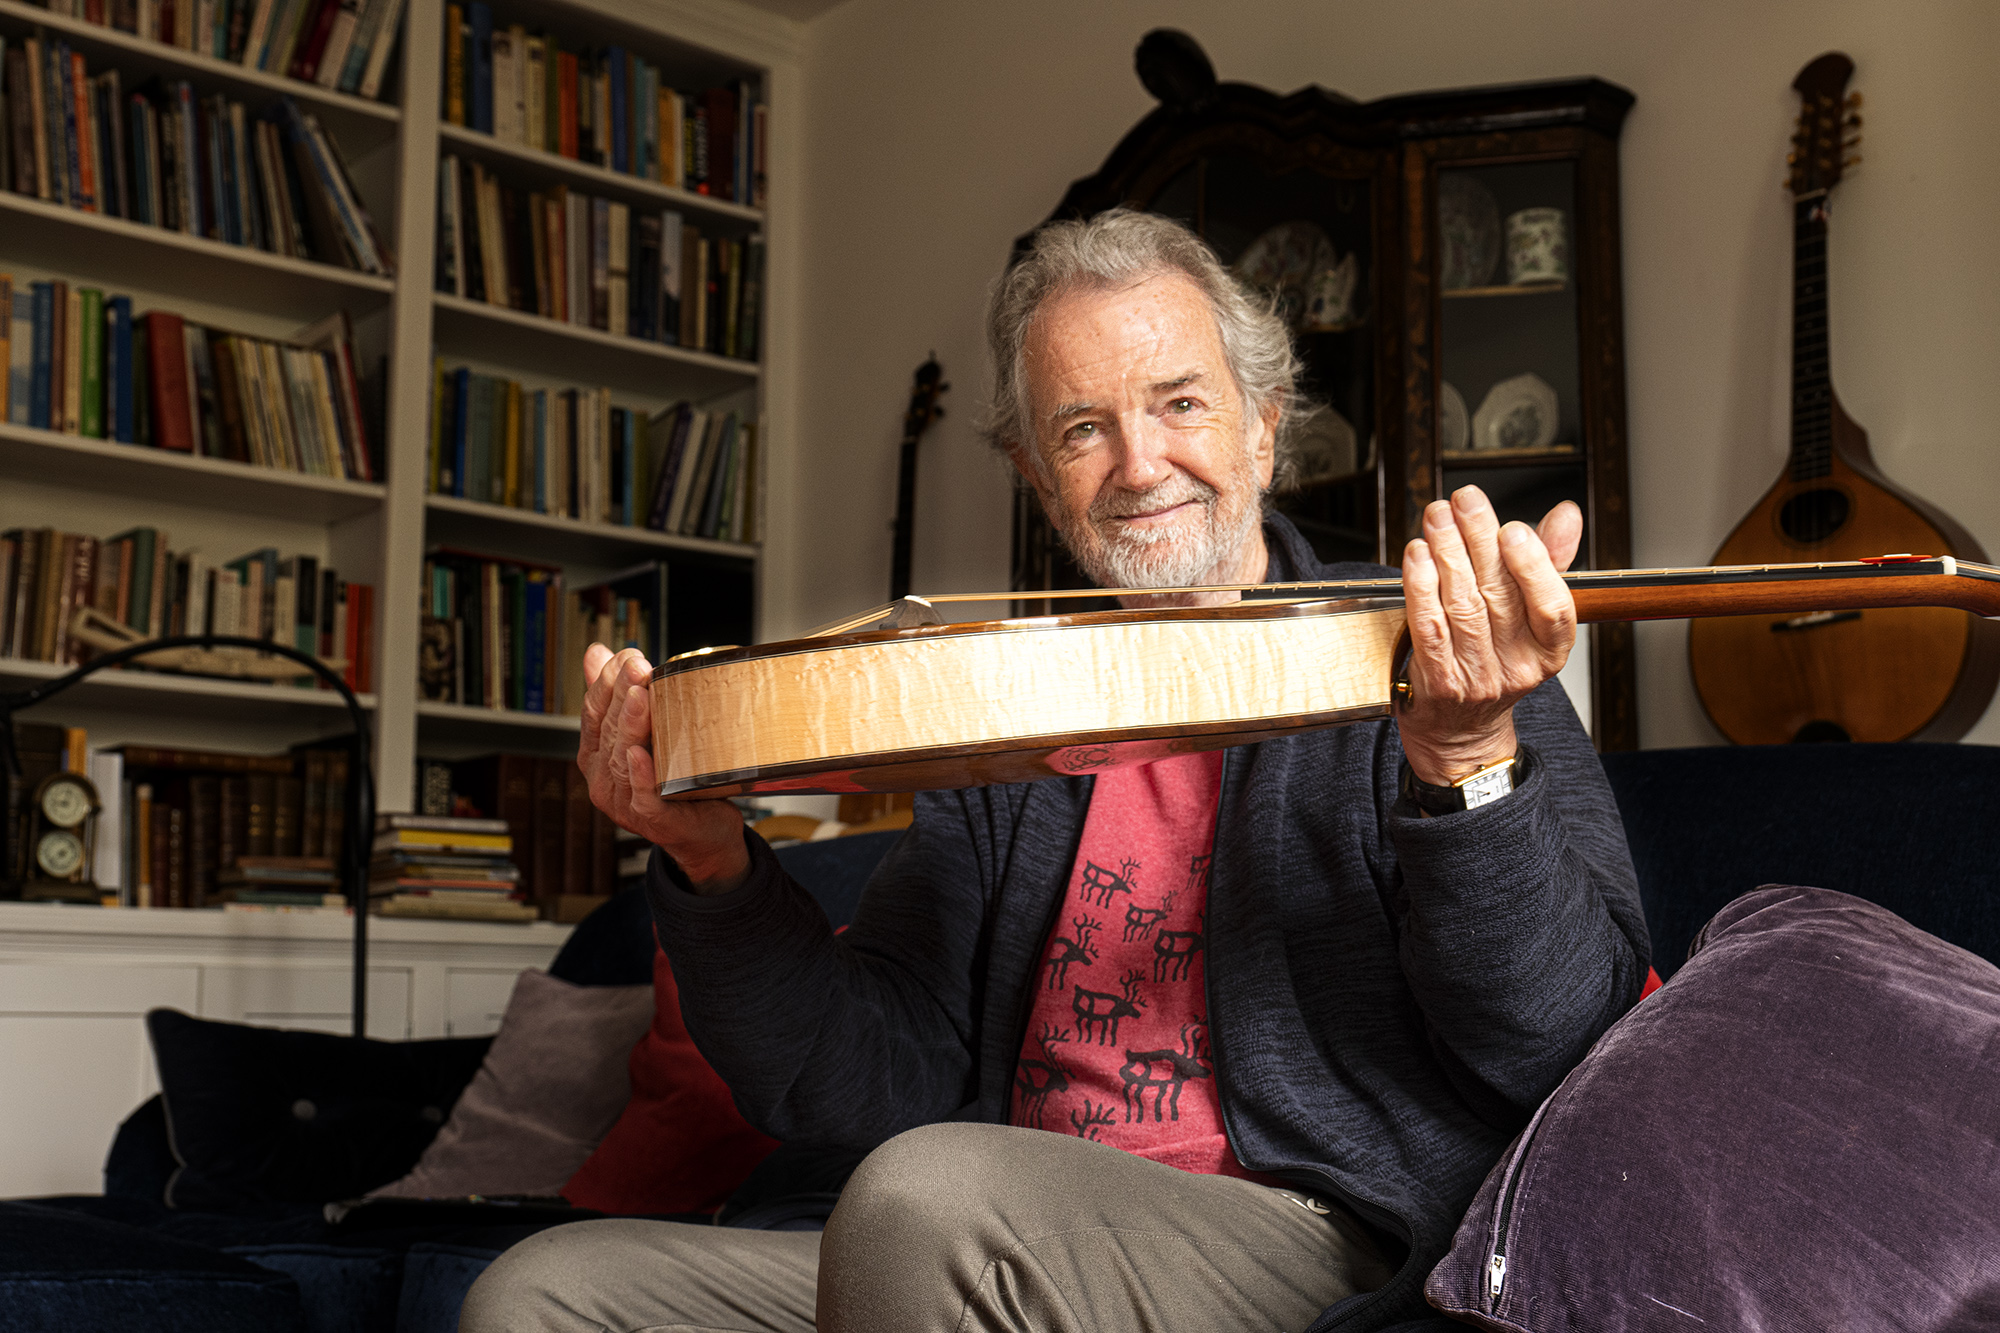
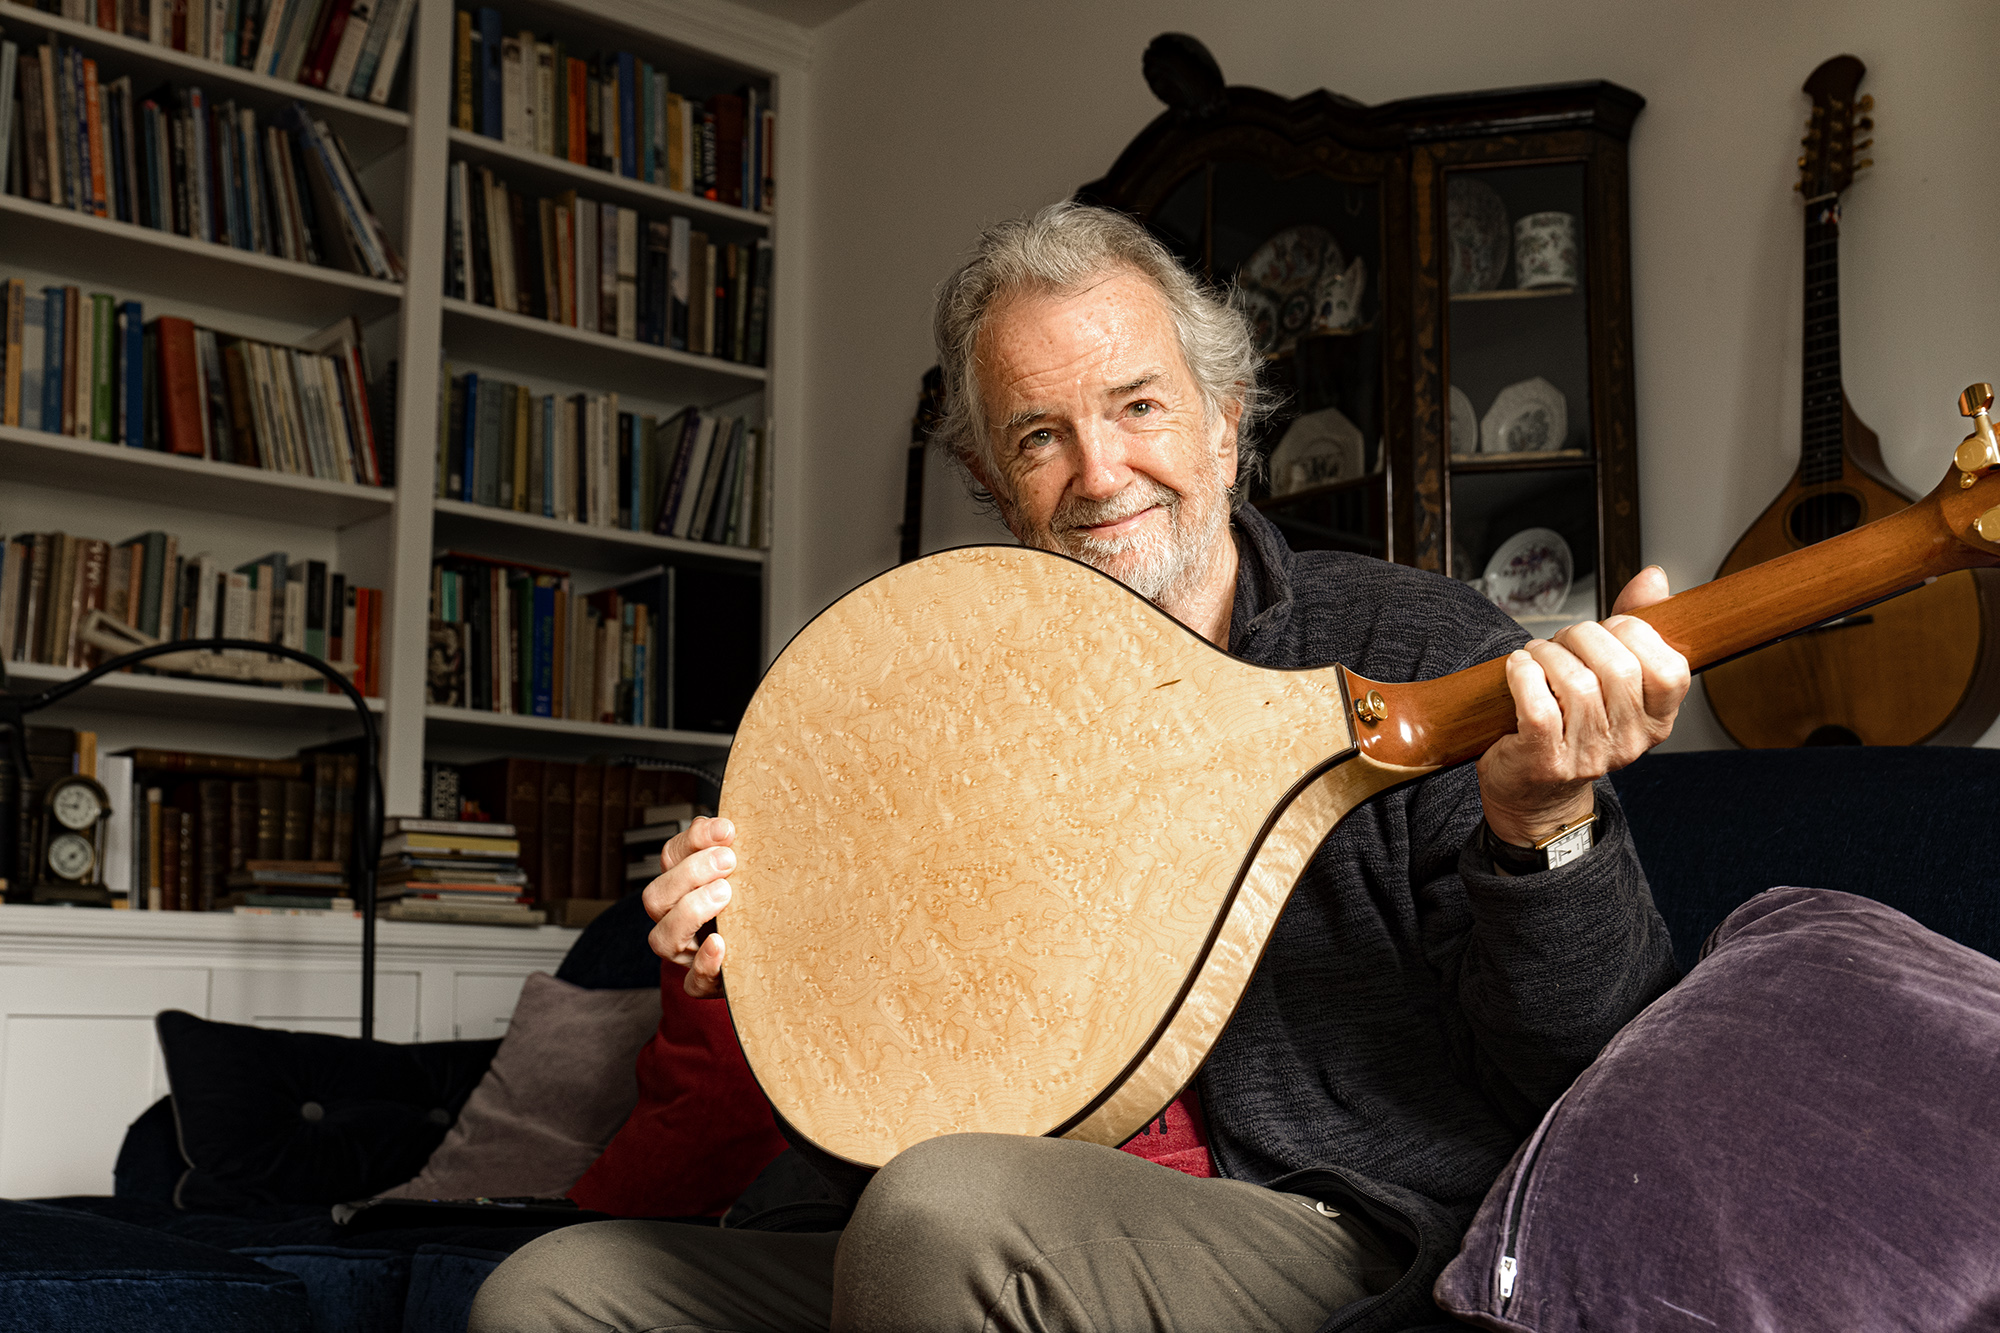
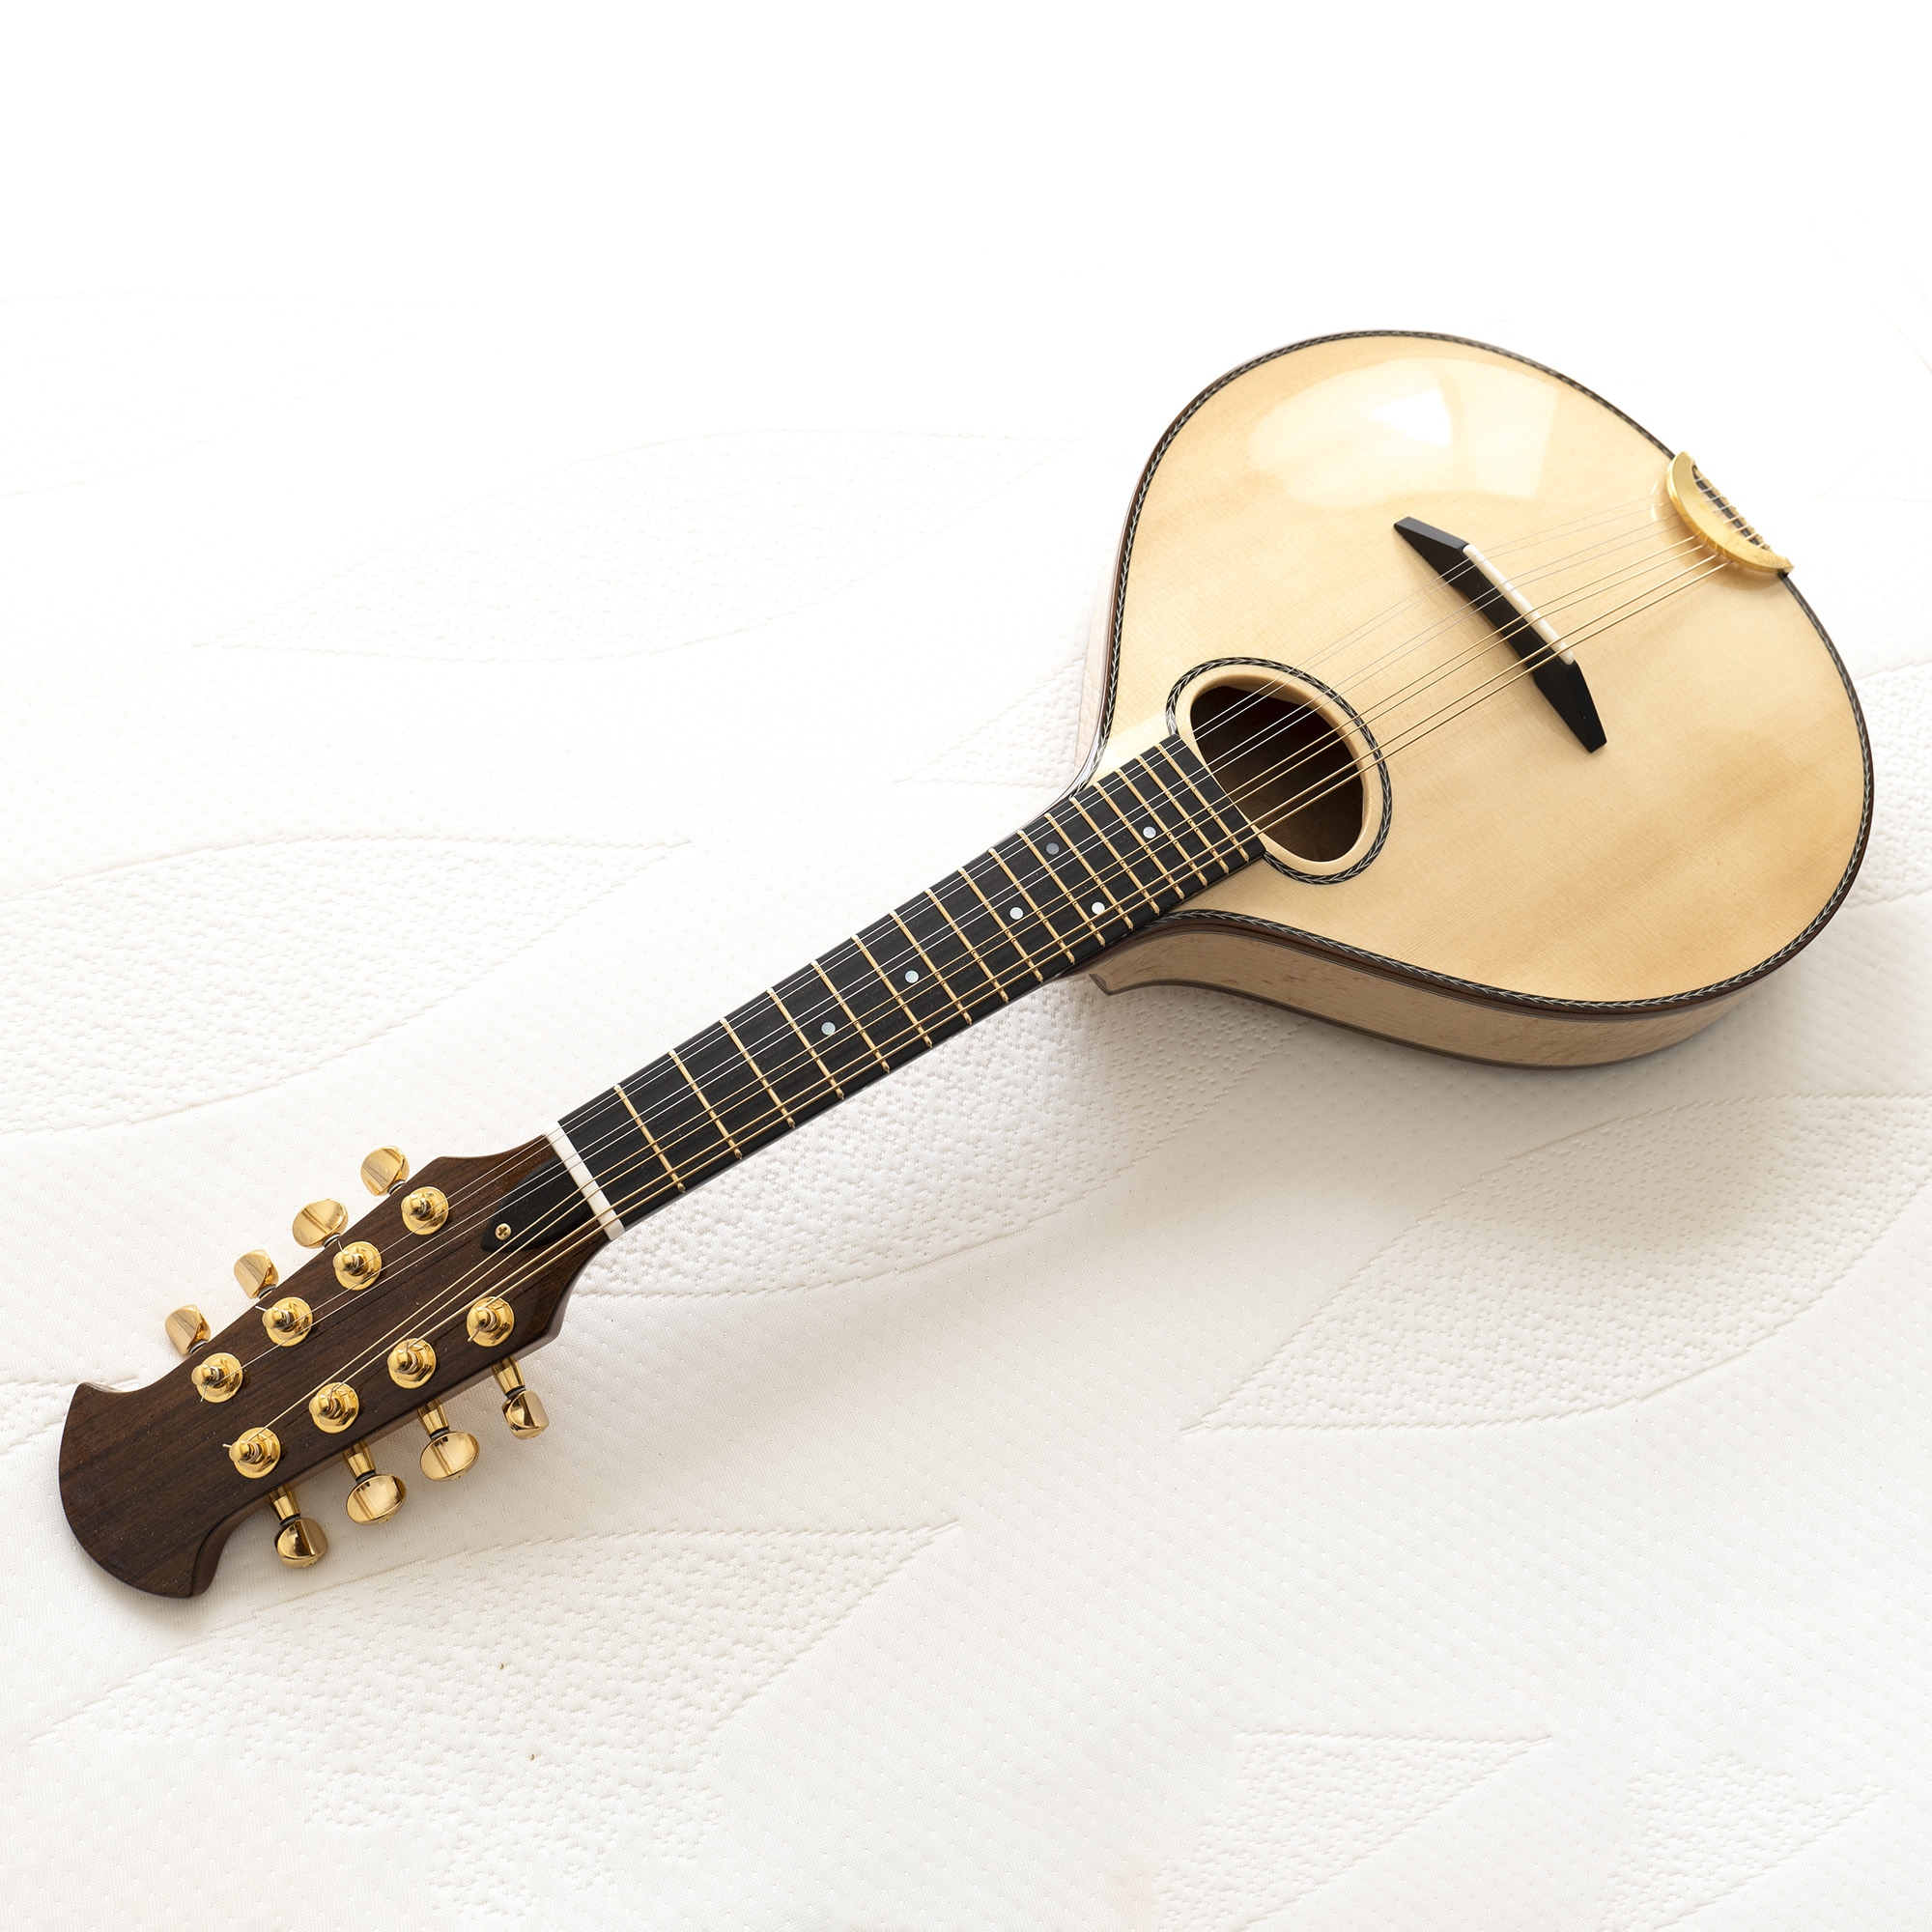
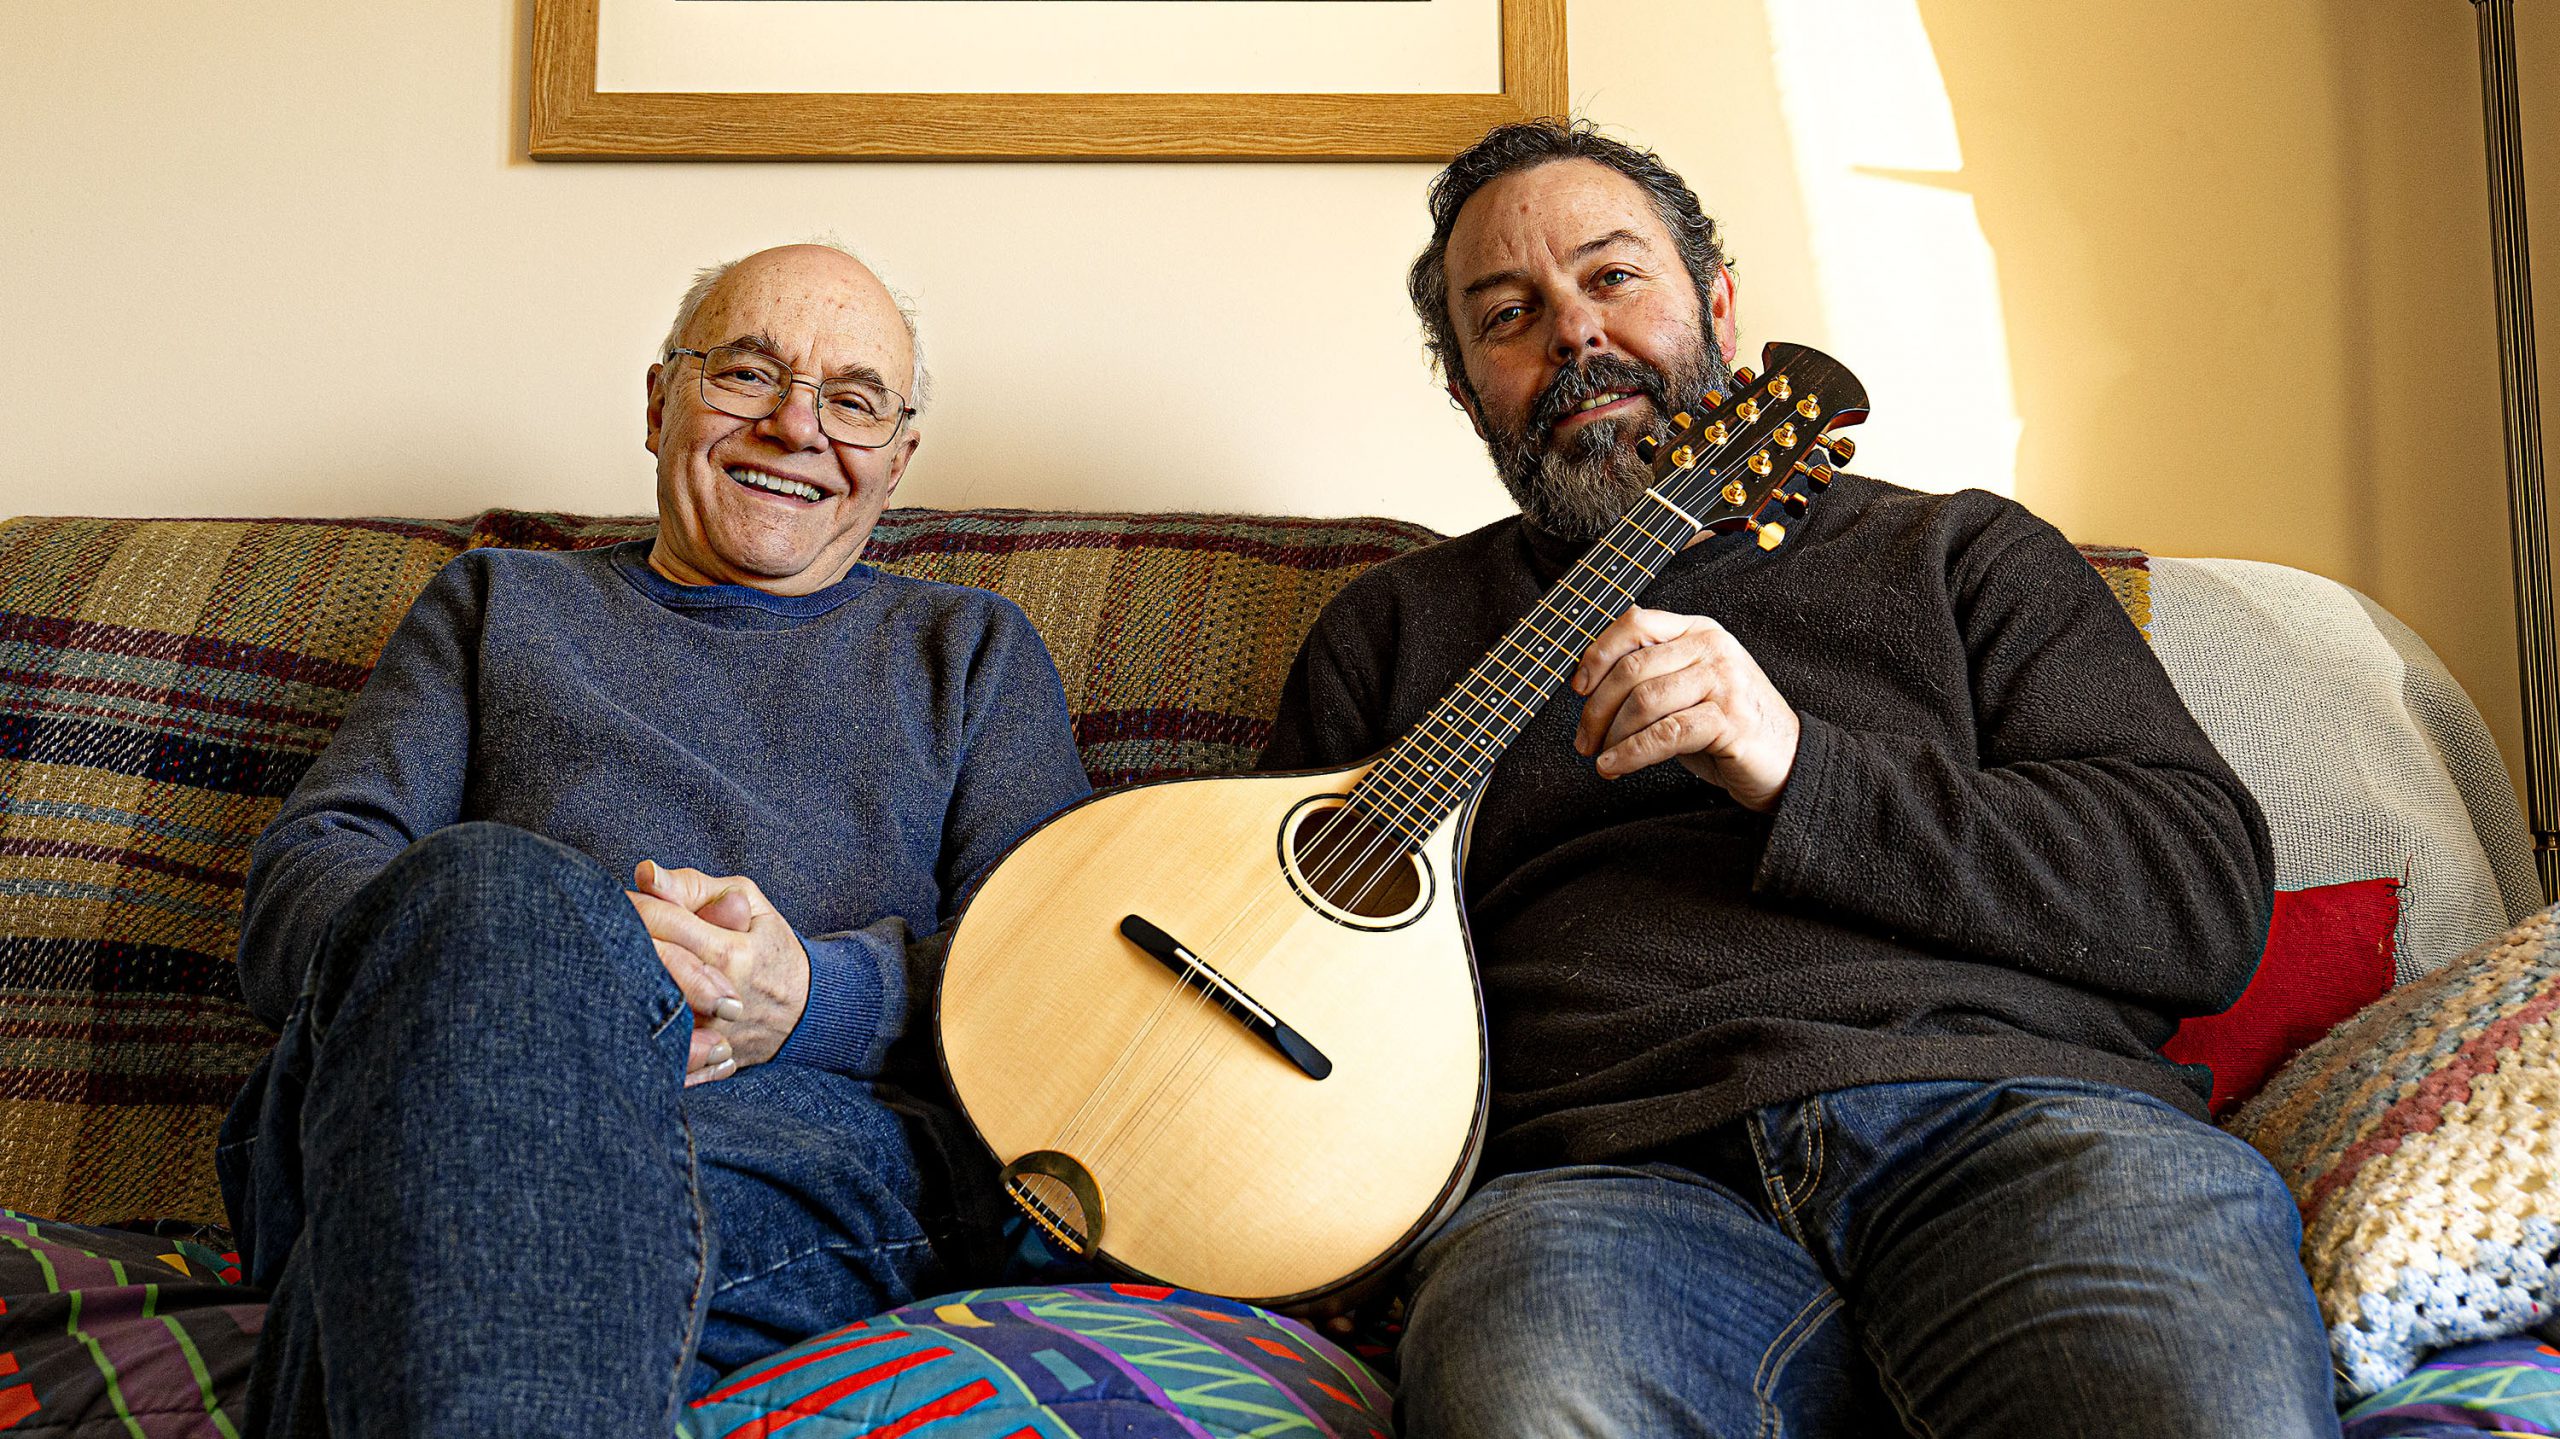
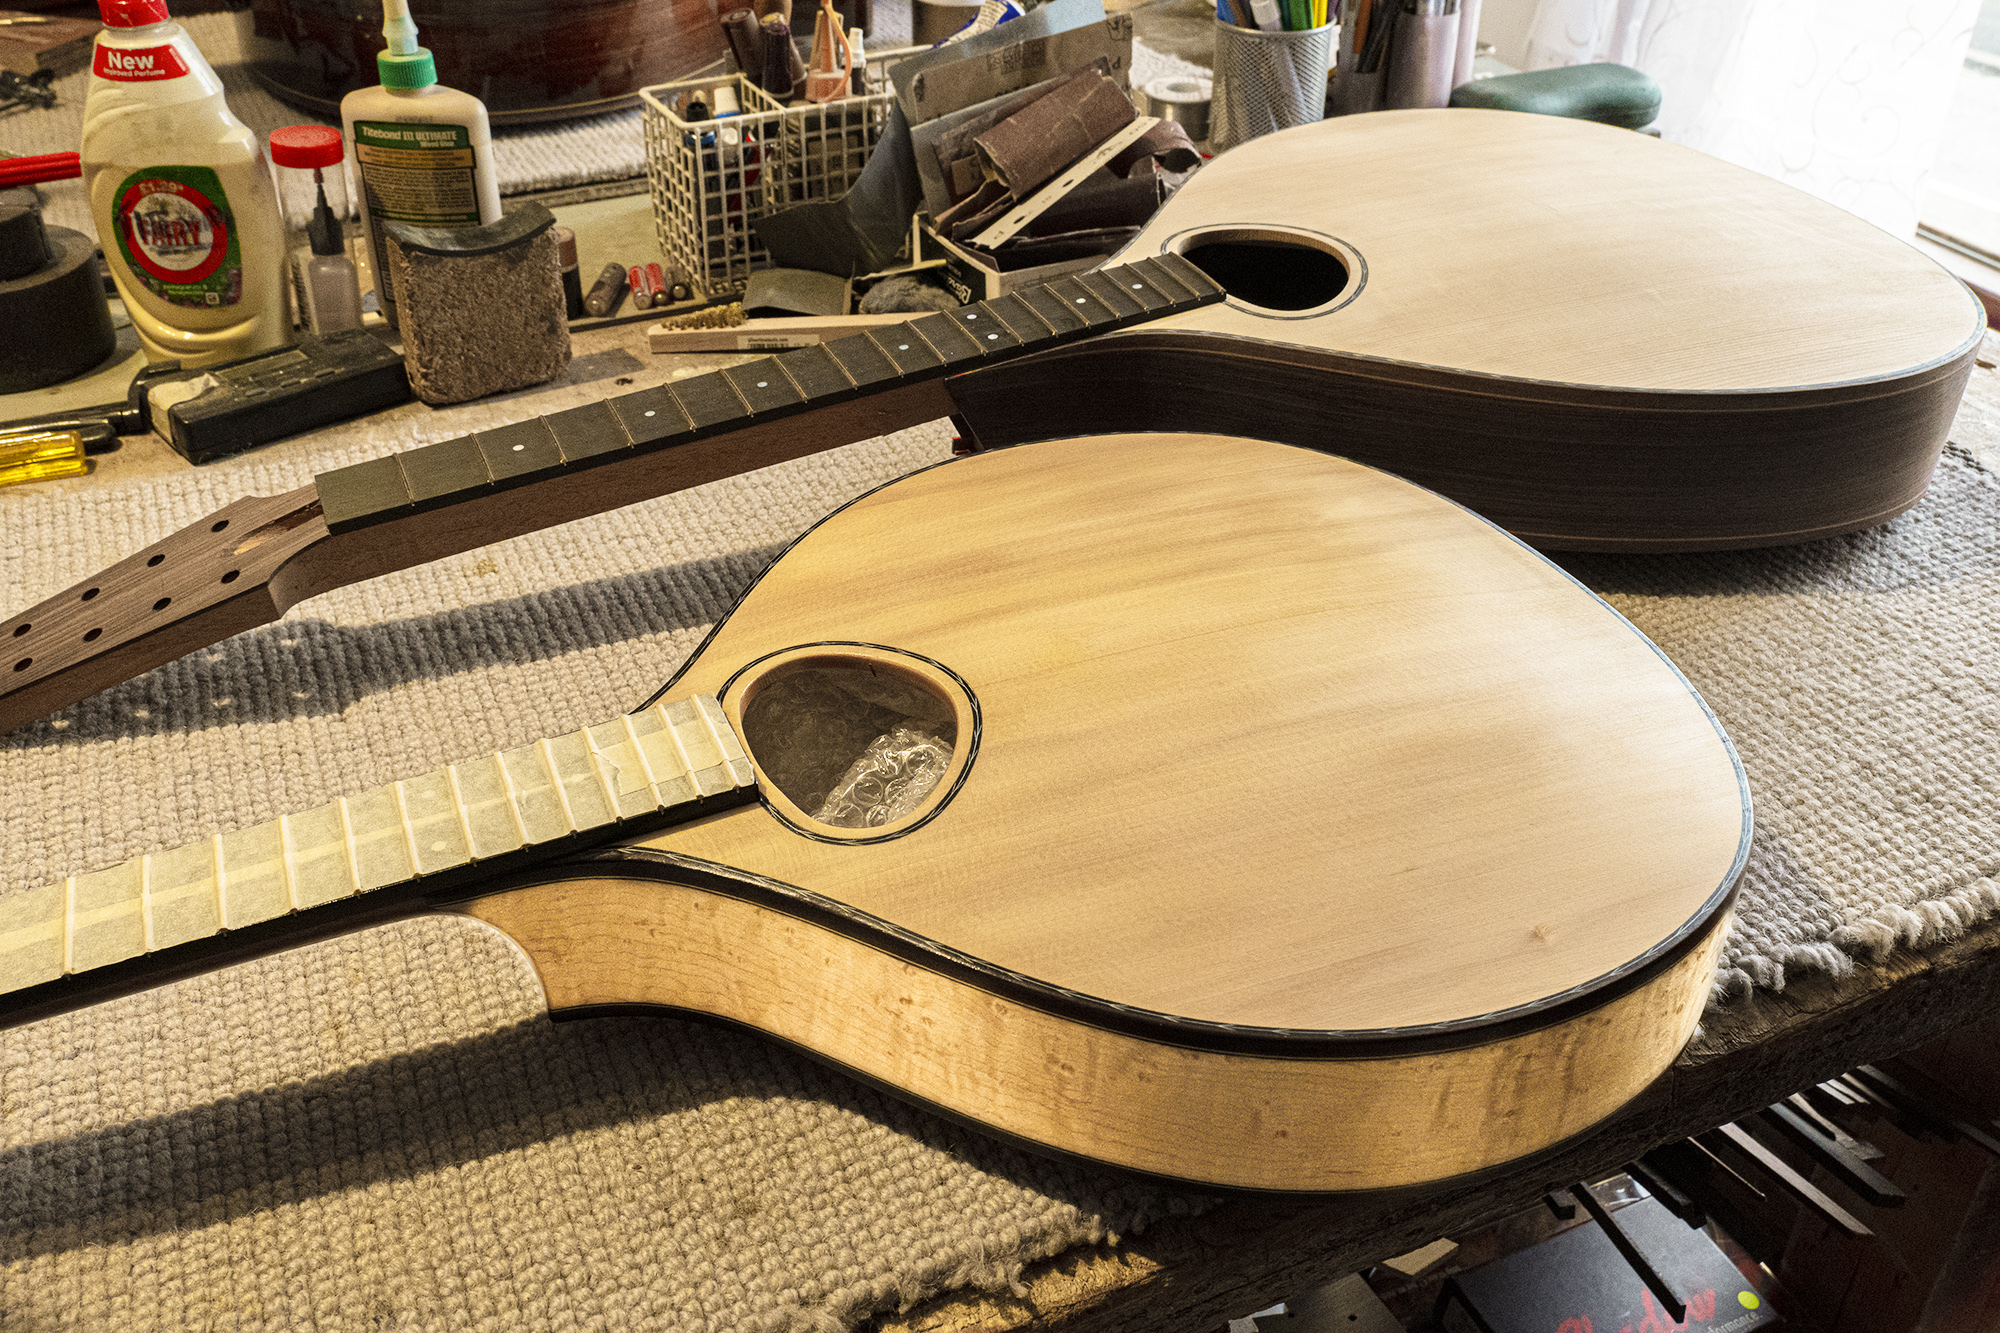
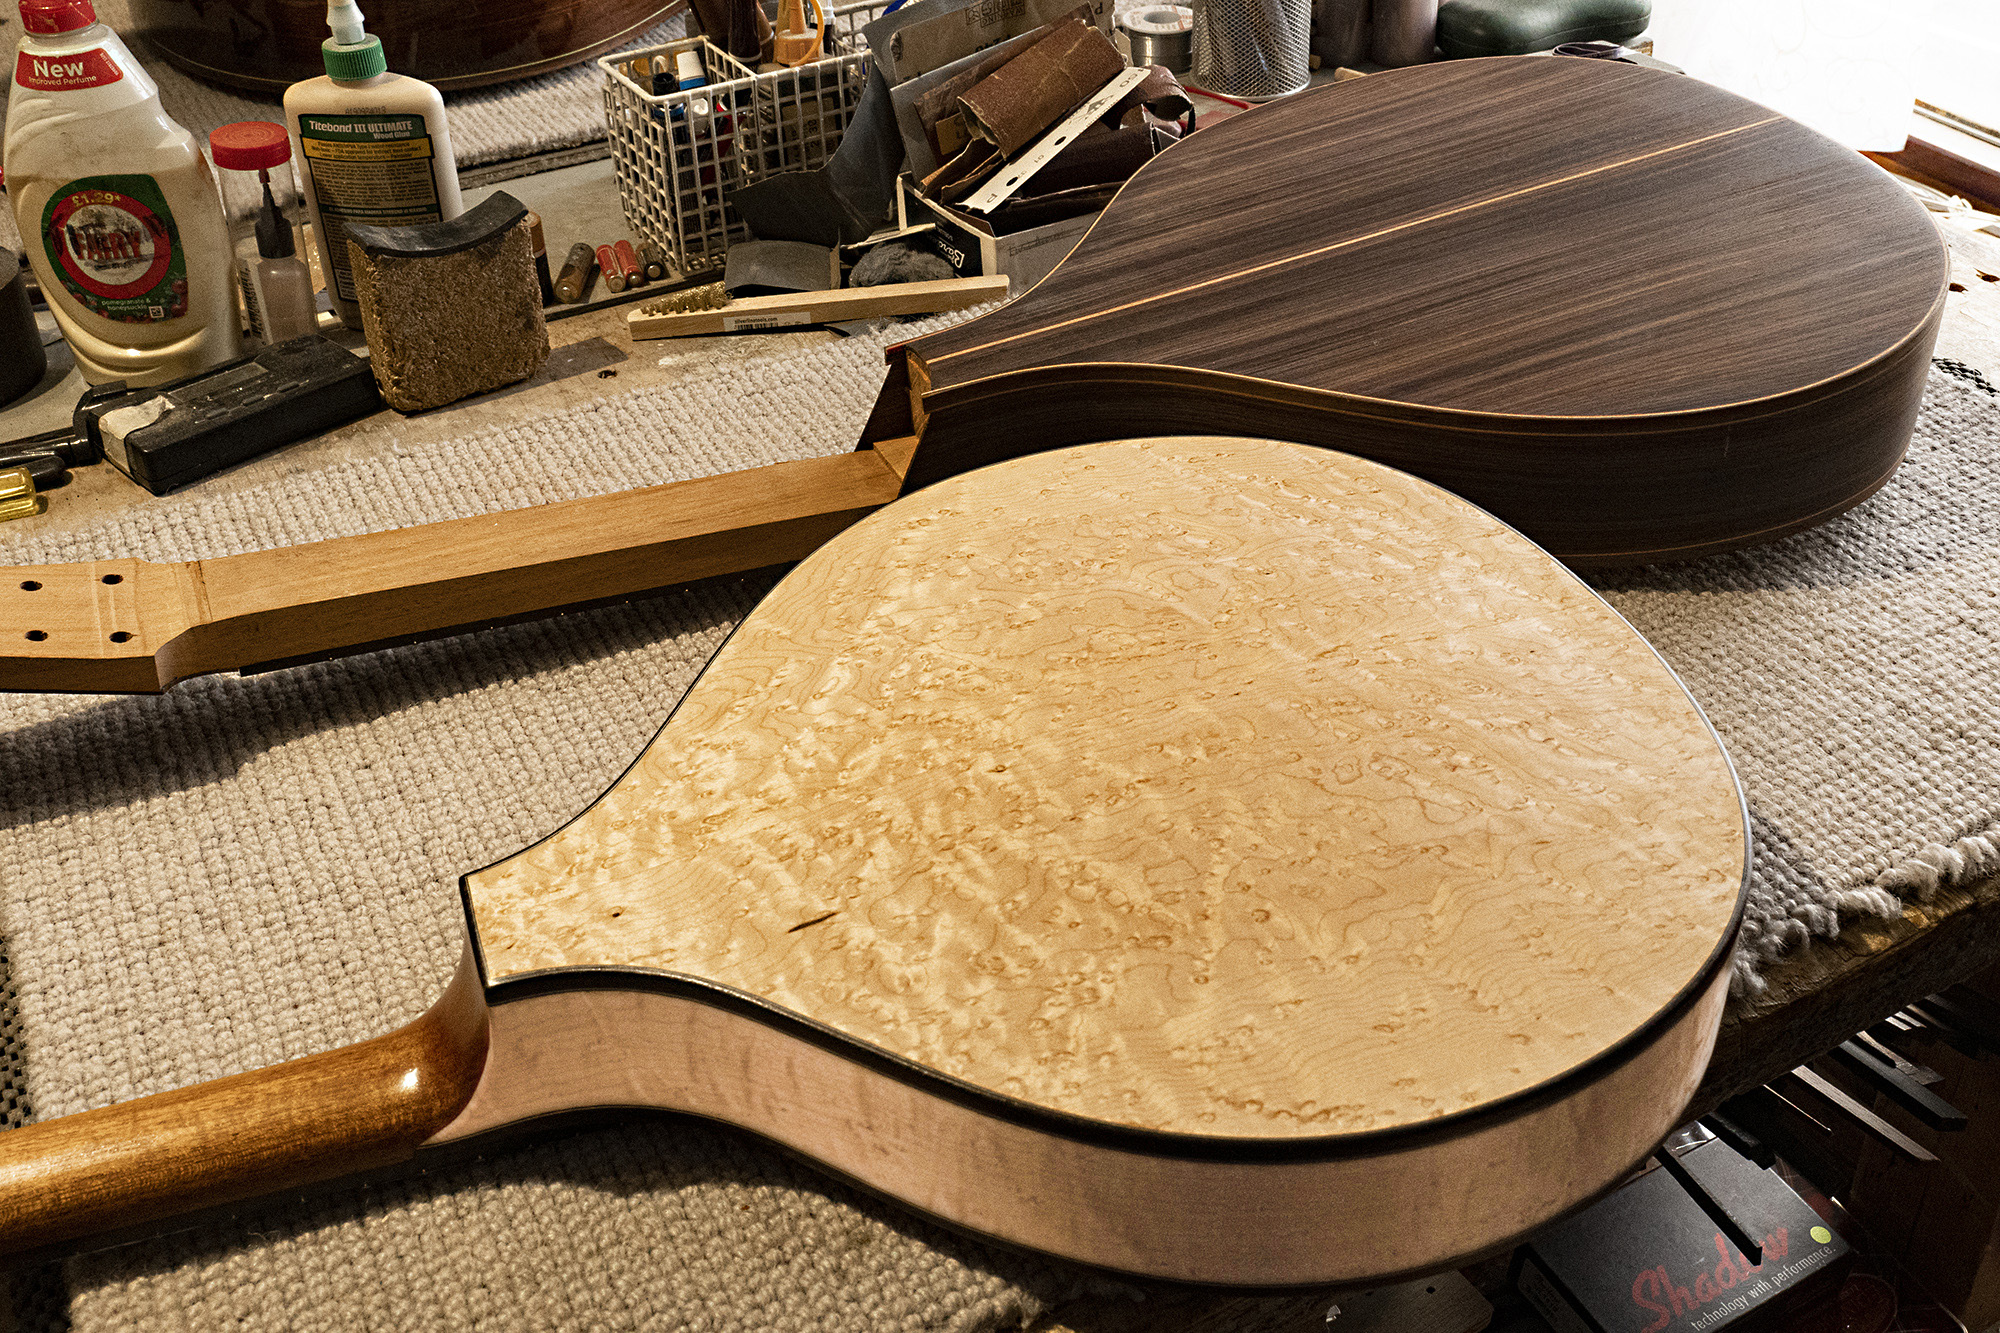
Me, Colin, and the mandolin photo: Janet Fellows


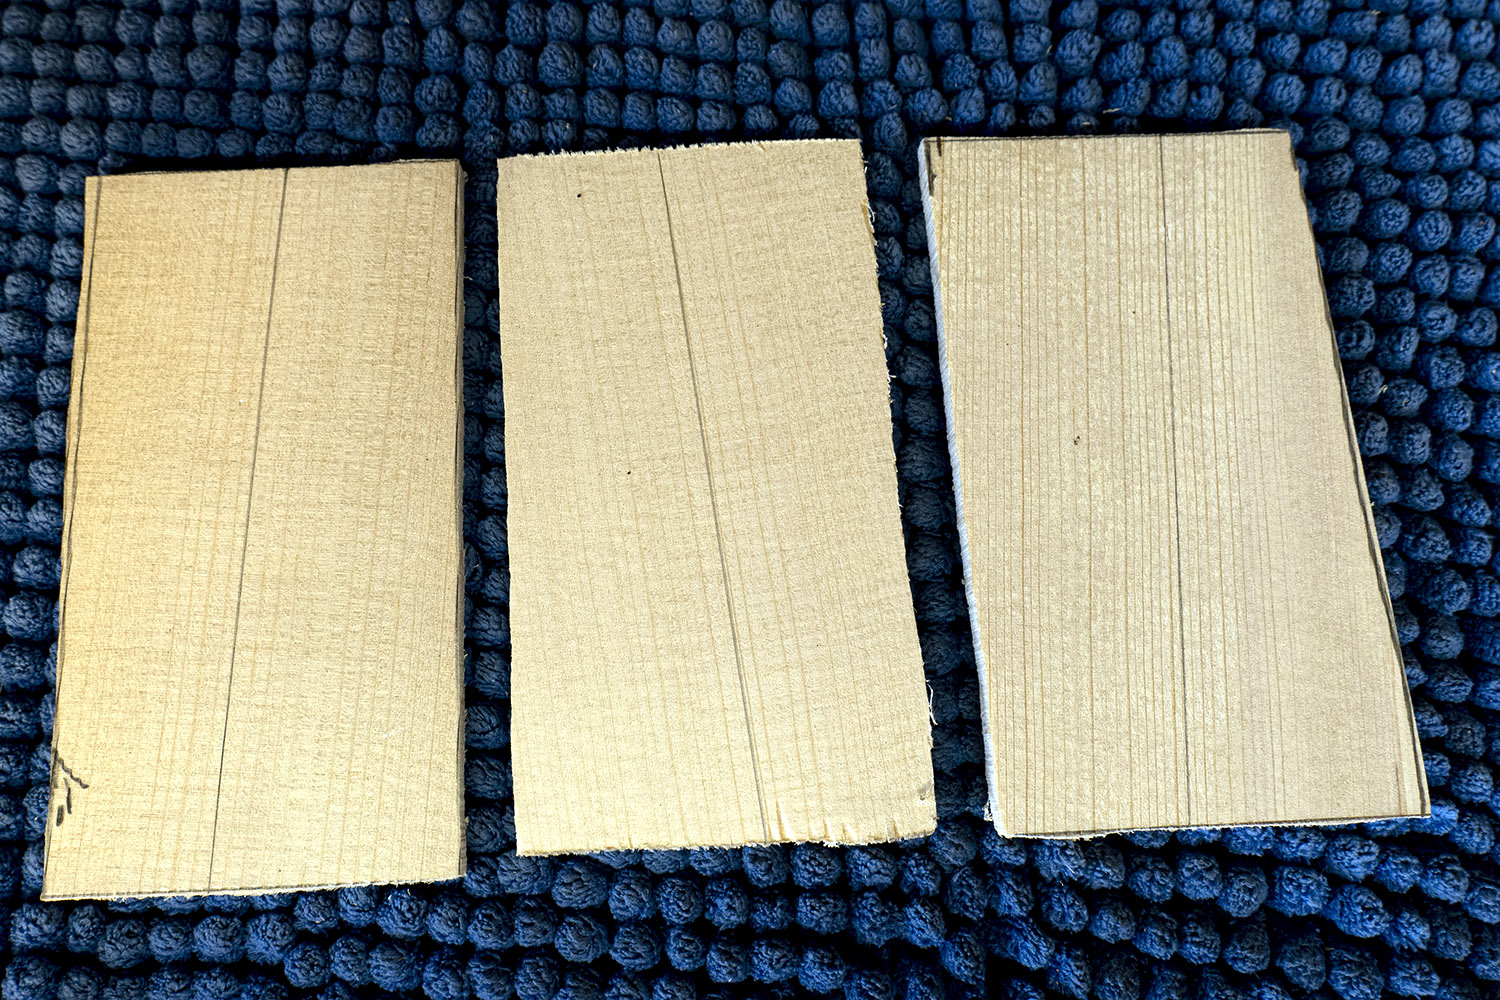
Bridge blanks cut from the Craft Supplies board
Holes drilled and saddle slots routed
Bridge shaped on the sander, ready for final hand trimming and sanding
Bridge finished. Hole countersinking and final fine sanding will take place when the bridge is glued in place
Heel block stamped 57th MS model, serial no 521, Anniversary Model 8
Neck, body and wedges ready for assembly
Neck in place, mahogany wedges driven in and neck locked against the soundboard with little spruce wedges
The last process: gluing on the ebony heel cap. Now it stands overnight before I begin fitting the fingerboard
Fingerboard fitted and (some time later) Wengé neck shaped. Wengé is tricky to work. The grain runs both ways, when planing or chiseling, there is always grain against you so the blade wants to dig in. It’s abrasive, so quickly blunts tools used on it, and the dust is not good. If you get a splinter it should be taken out soon; left in, the flesh around it will fester.
Top stepped ledge for binding and arrowhead trim plus red pinstripe
Bottom stepped ledge for binding and three colour trim
Sacrificial wood in place
Sacrificial wood removed
Final trim in place and mitred
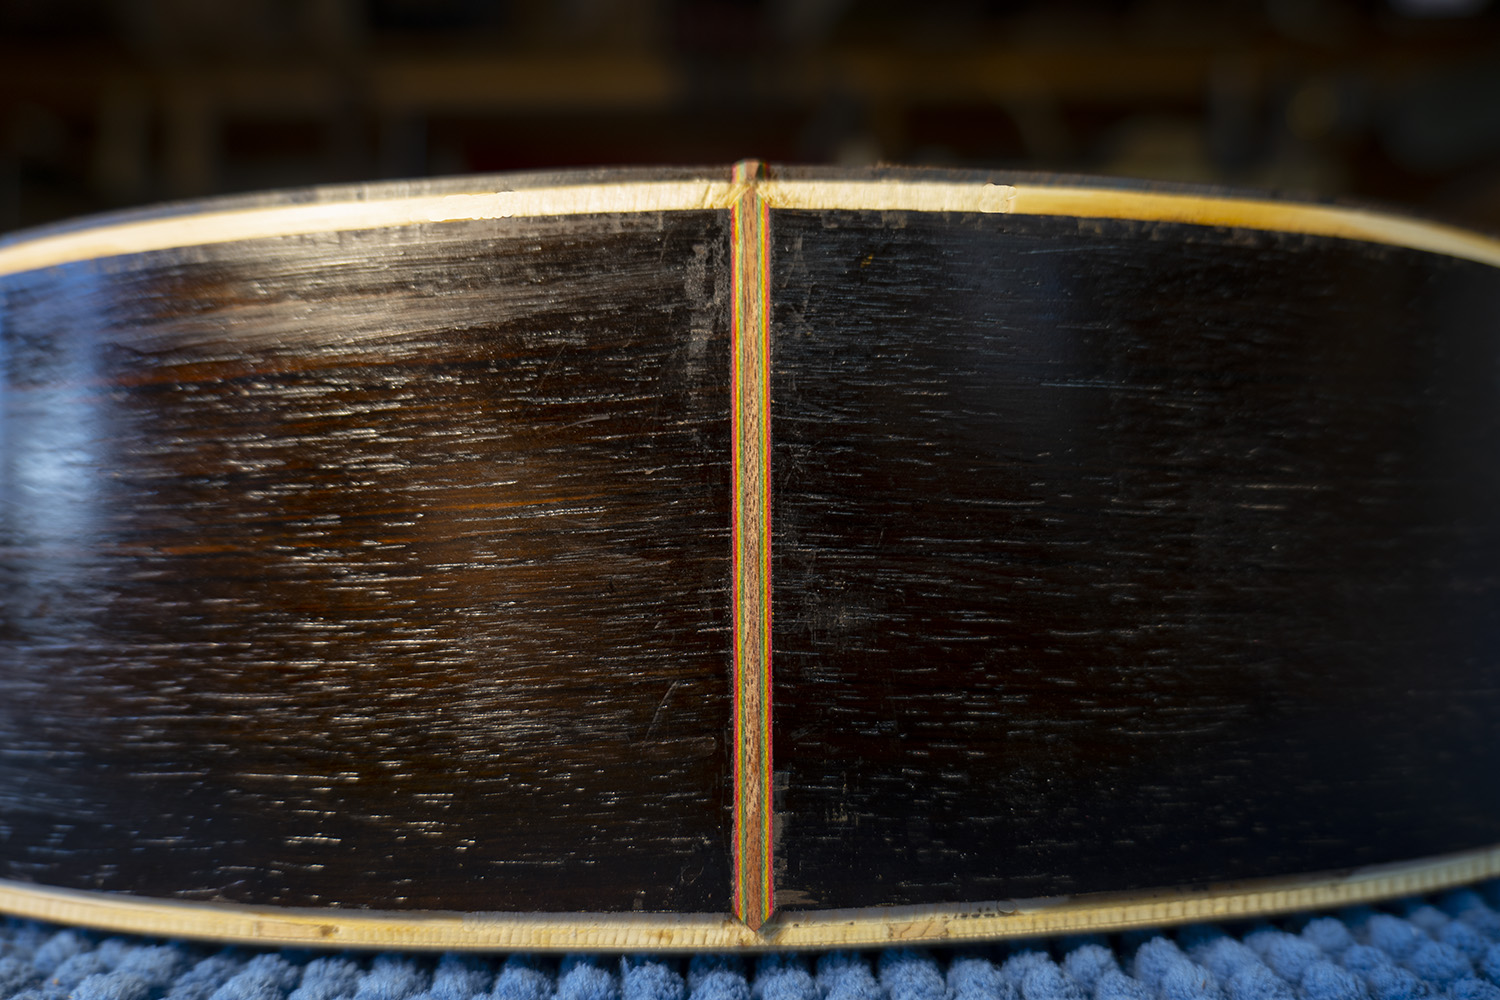
Tail trim mitred into the binding

Back and soundboard finished
Lining clamped with strong spring clamps
Soundboard clamped to sides with cam clamps
Back and sides with coat of shellac lacquer