.
I’m now coming up to the 40th anniversary of my first guitar, an arch-top I built in the summer of 1981.
So I’ve decided to build a series of Anniversary guitars over the next two years.
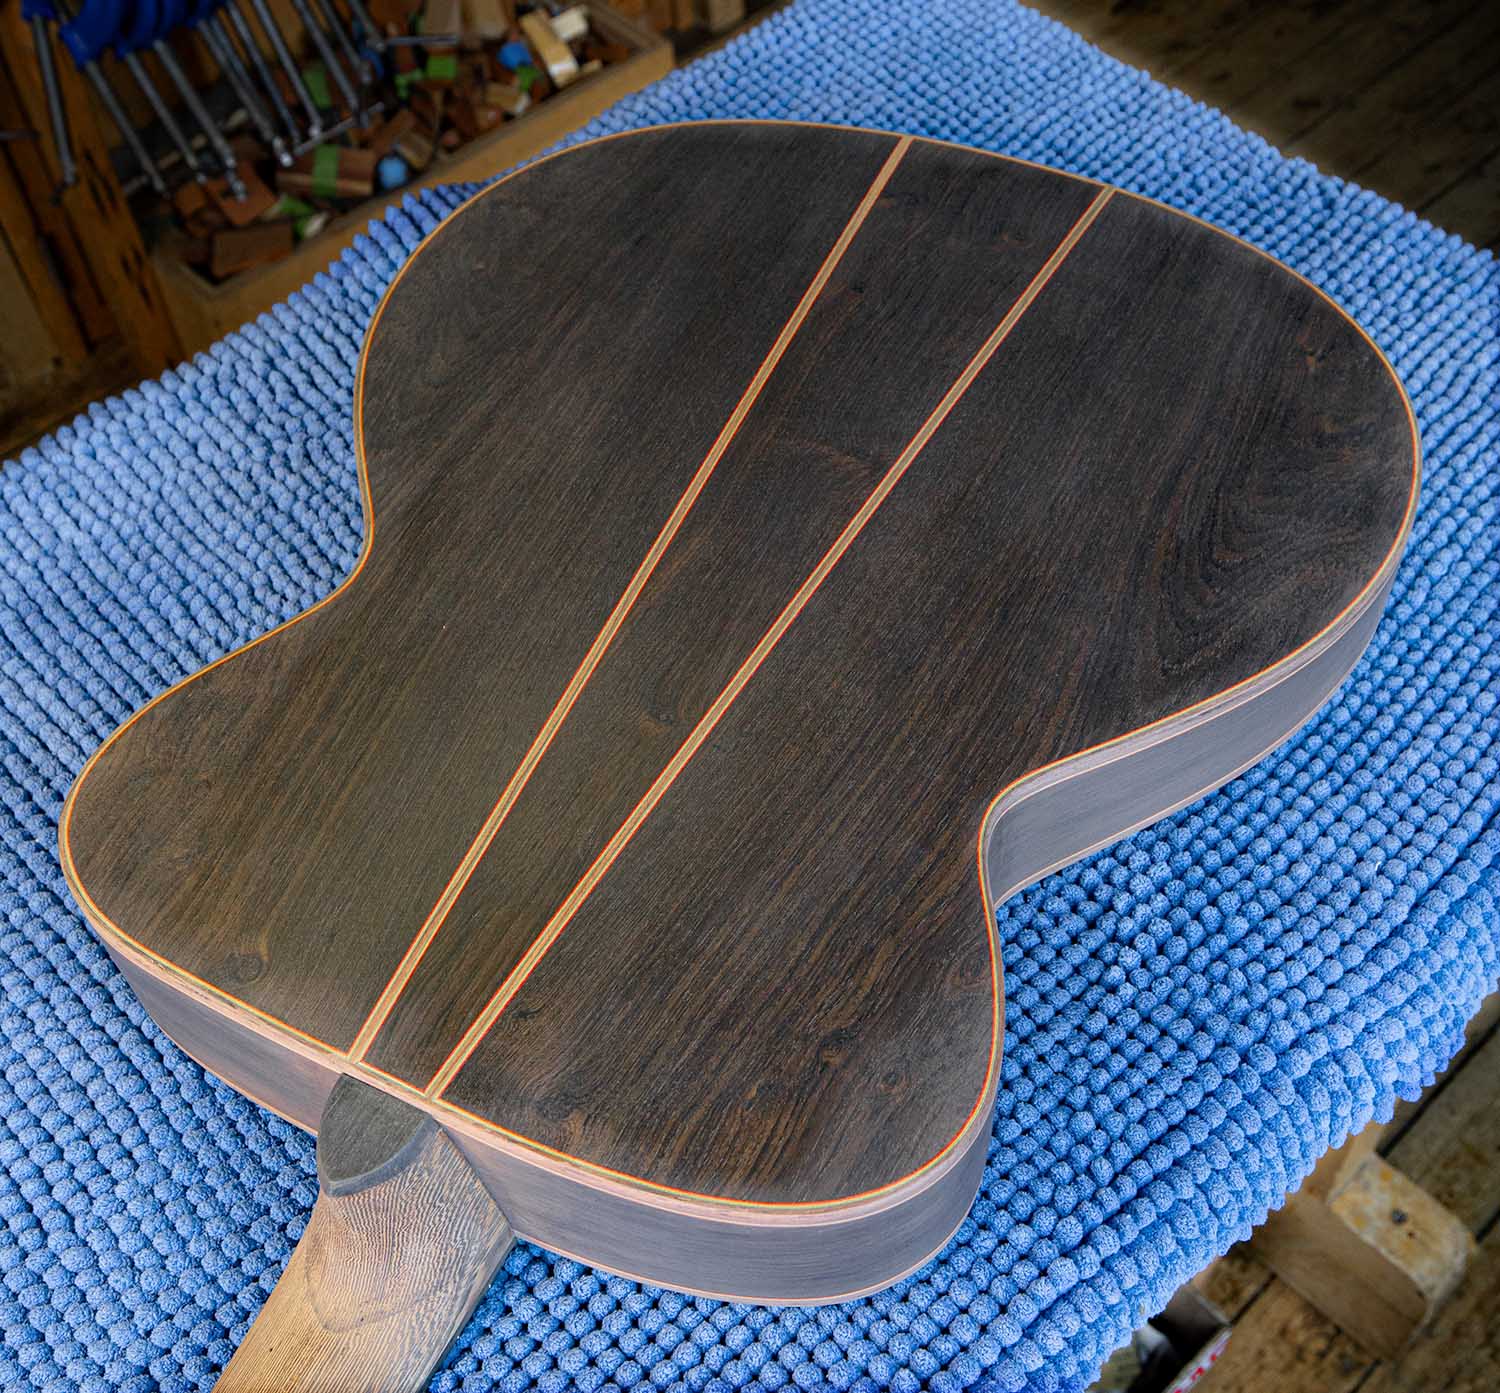
These will be built to order from my personal stock of Brazilian rosewood which is now up to date with current CITES requirements.
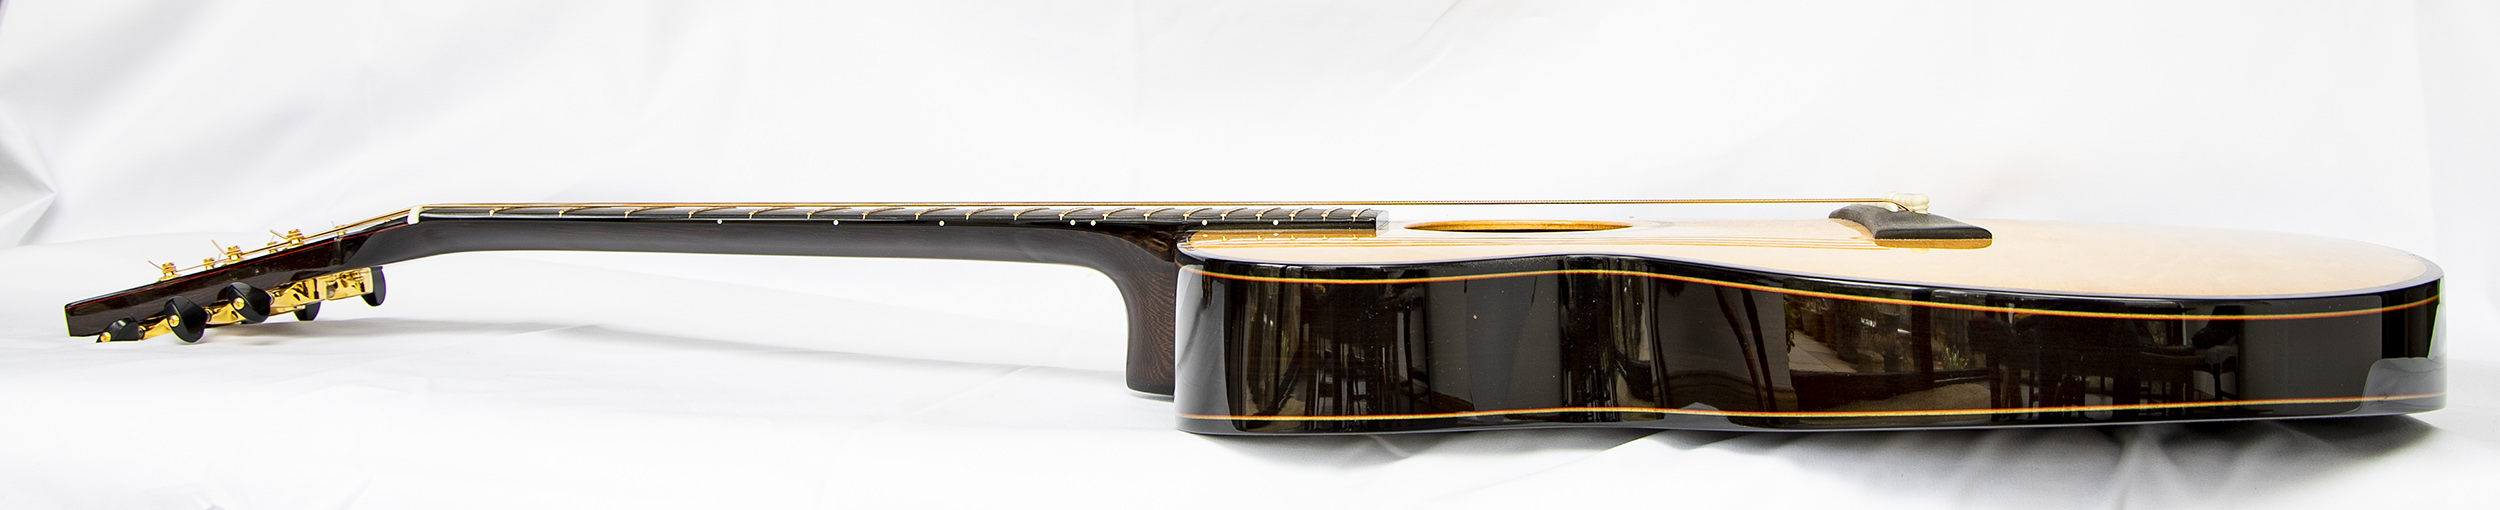
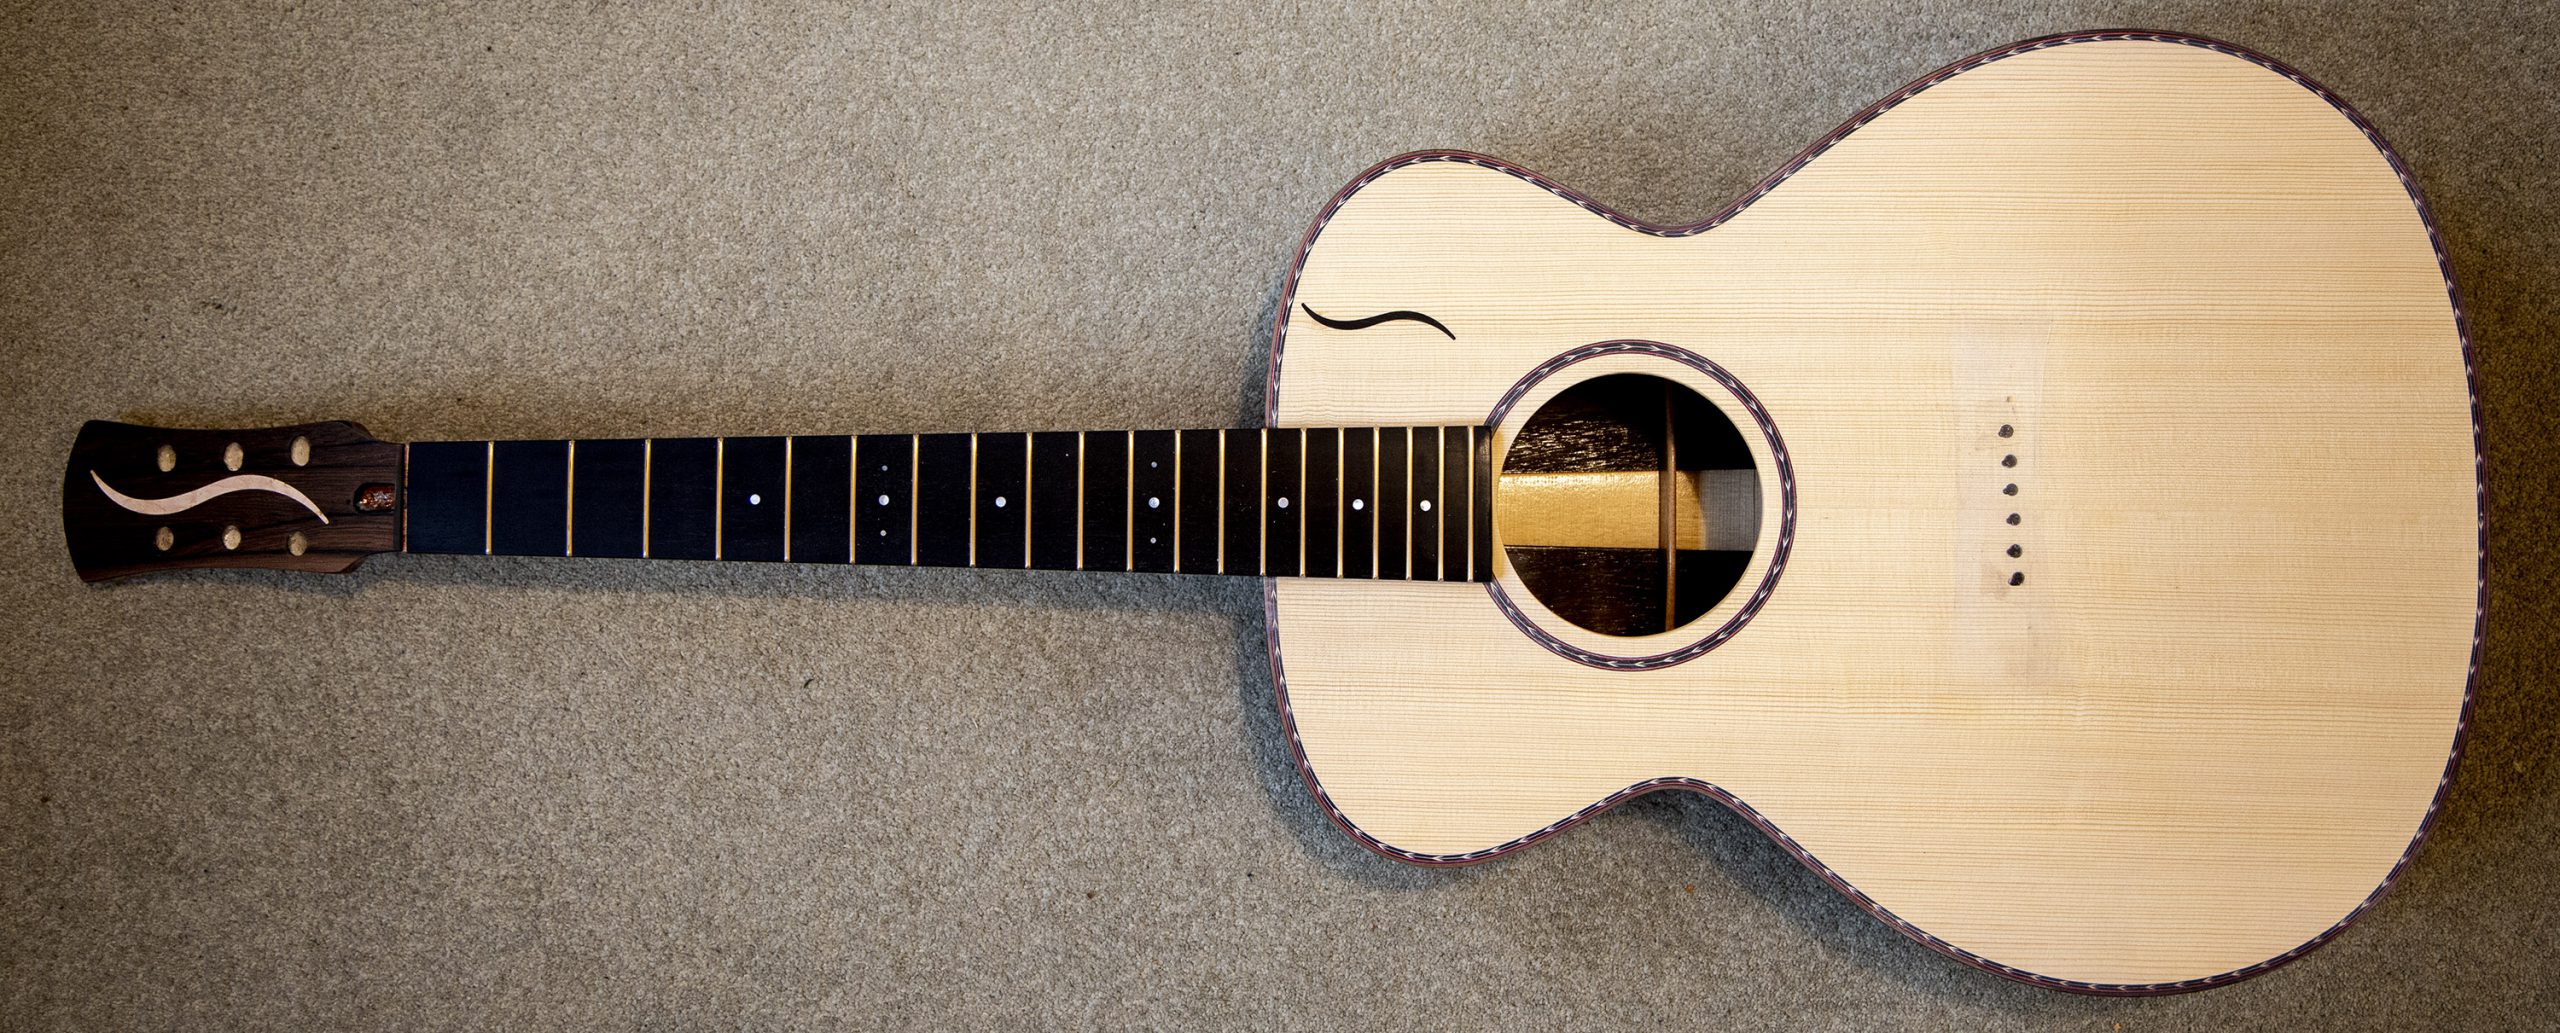
Anniversary guitars can be any of my current models, will have a choice of soundboard and neck woods and a choice of three binding/trim combinations. The tuners will be Gohtoh 1:21 ratio 510s, in my view the best available.
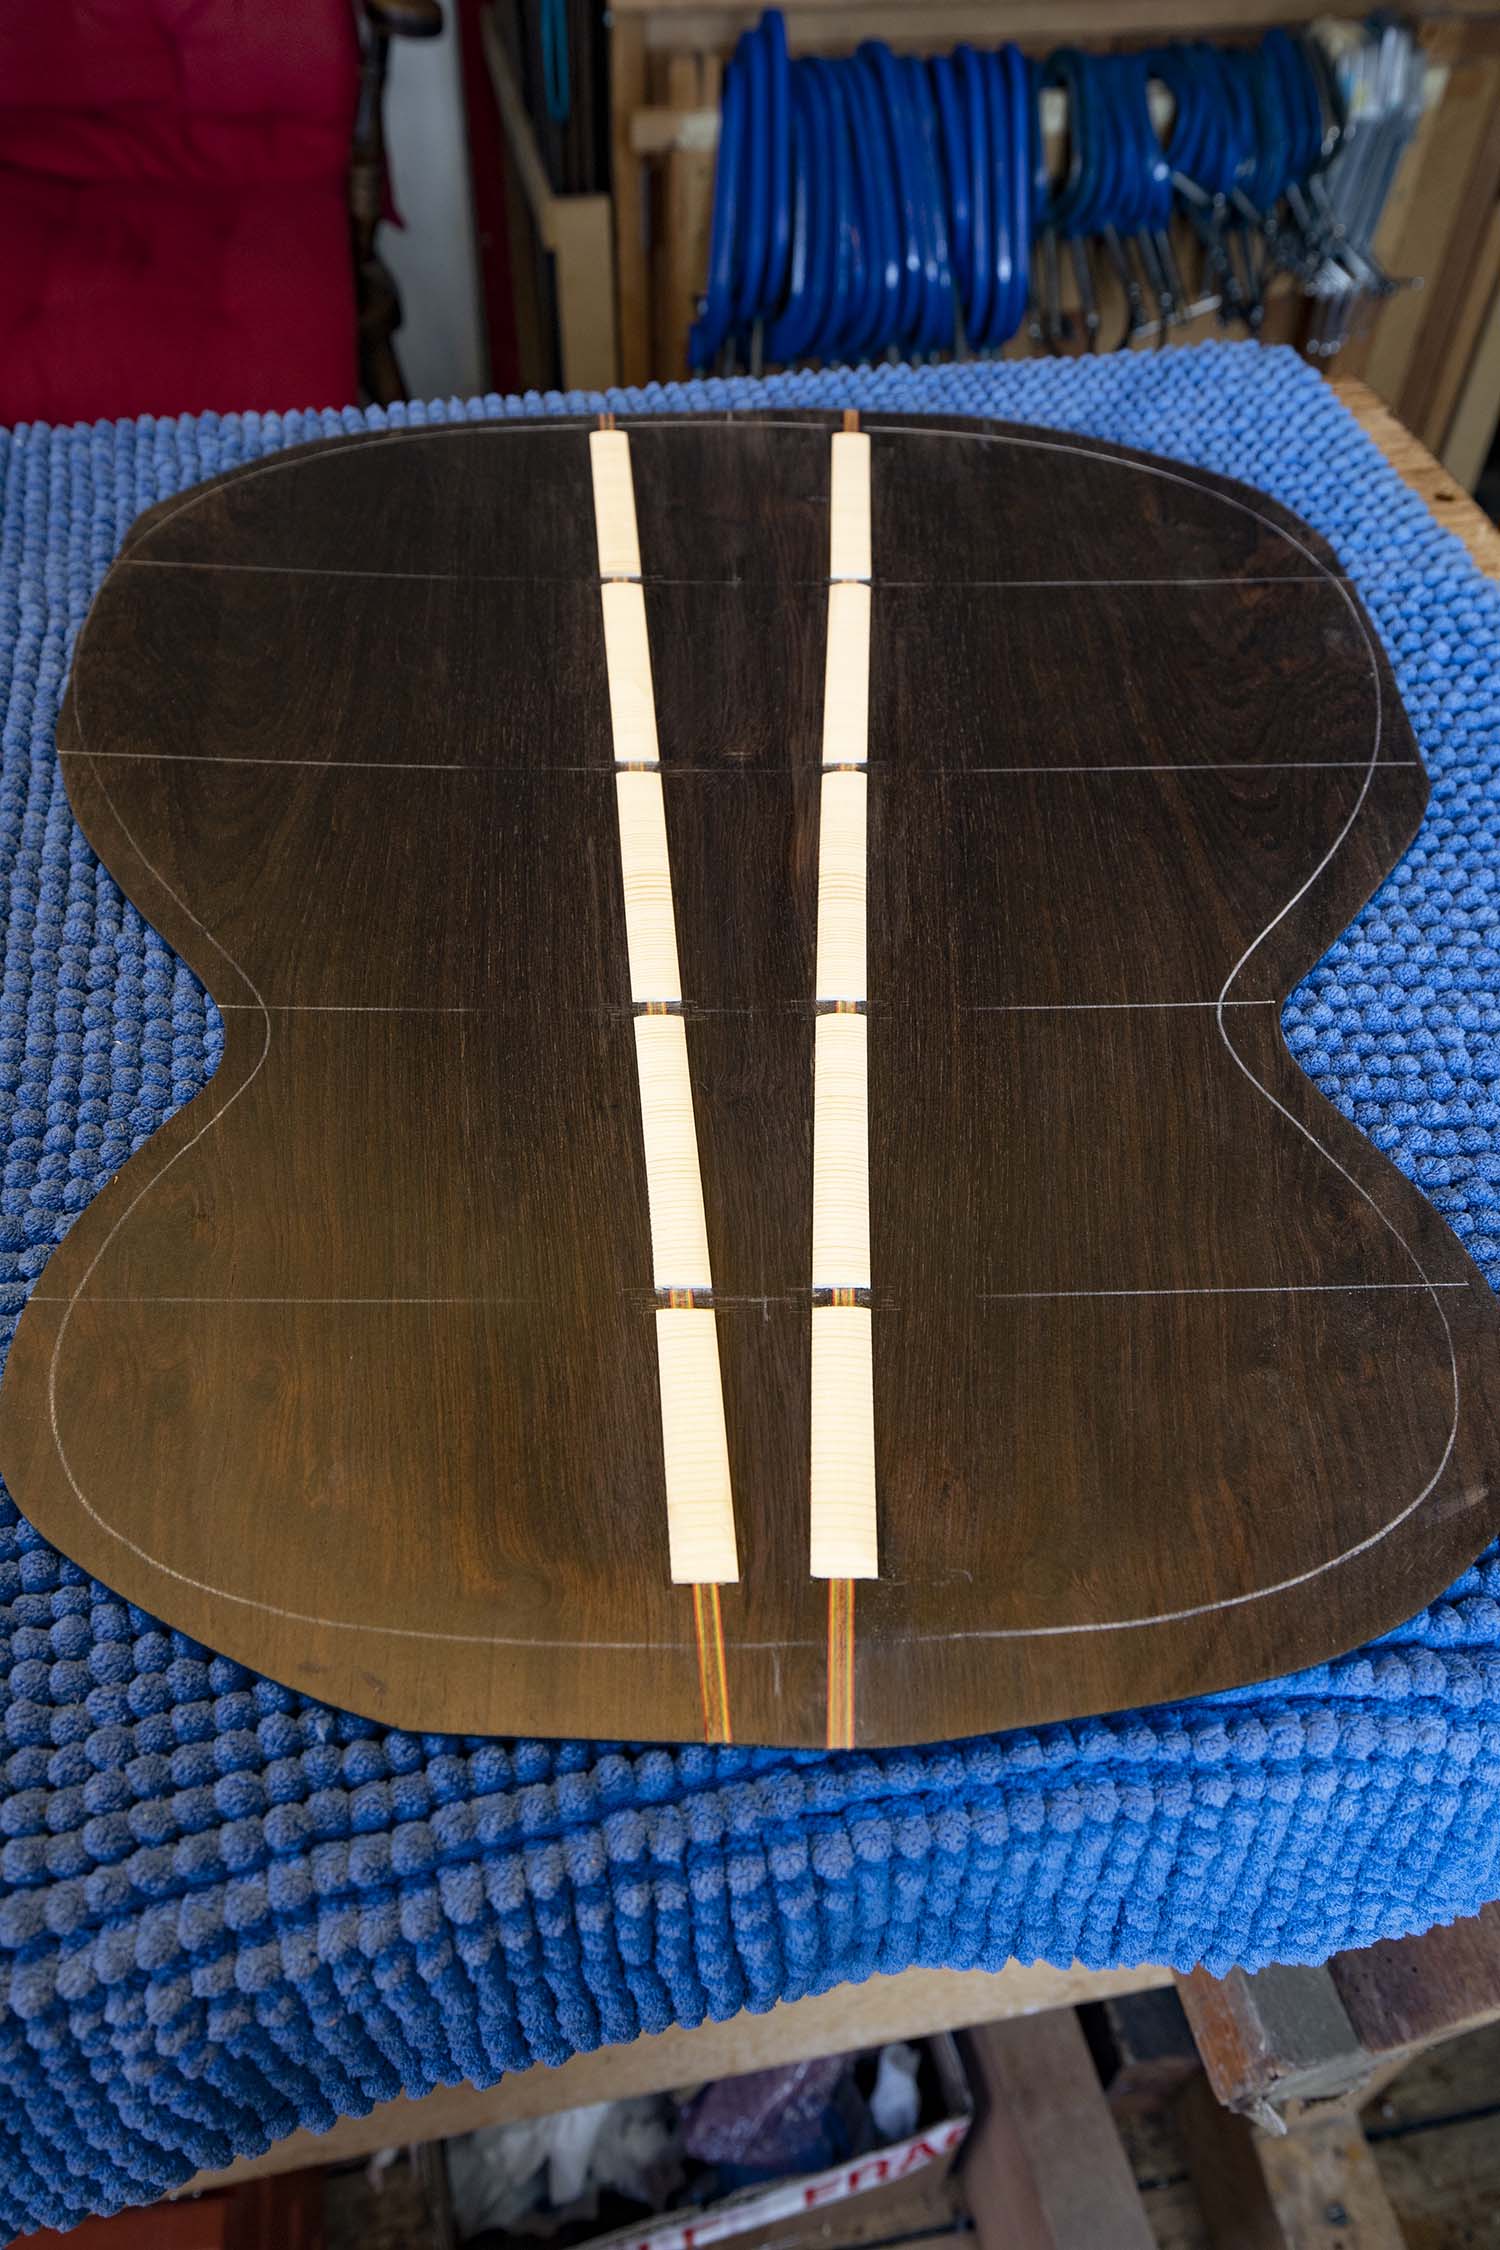
Apart from being built from selected best timber, every Anniversary model will have my first ever headstock logo, as shown in the photo.
This is an inlay of highly figured Birdseye maple in the form of a stylised letter S, running down the headstock between the tuners. The headstock shown is not yet lacquered, just wiped over with shellac to bring out the colours.
I originally intended to build just six guitars, but while not having publicised them, I’ve mentioned them to a few people and already had considerable interest. So I have decided to build a run of eleven Anniversary models in addition to the prototype New World already built, making a total of twelve.
Over the next two years I will concentrate on Anniversary guitars and will not be building my standard range. I still love building and am happy that my current guitars are my best ever for build, finish and sound, but I’m at an age when I have accepted that I can’t go on forever. And while I hope to continue after completing the Anniversary models, I will have to decide on this when the time comes.

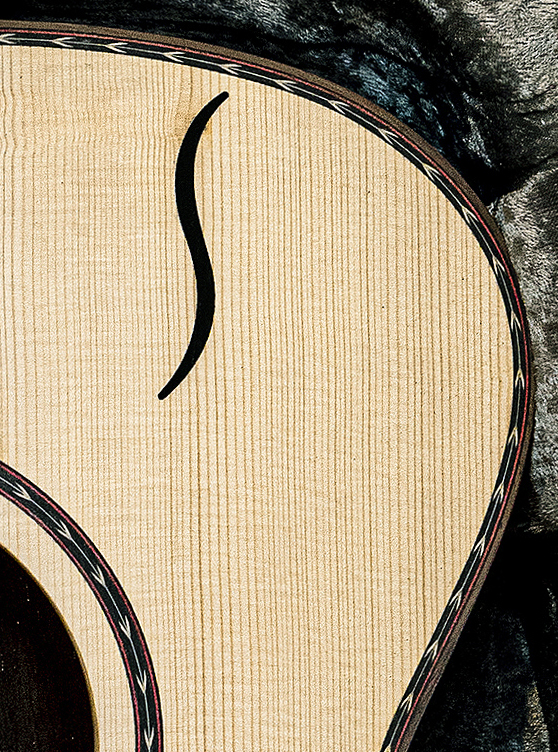
 Anniversary logo in Birdseye Maple
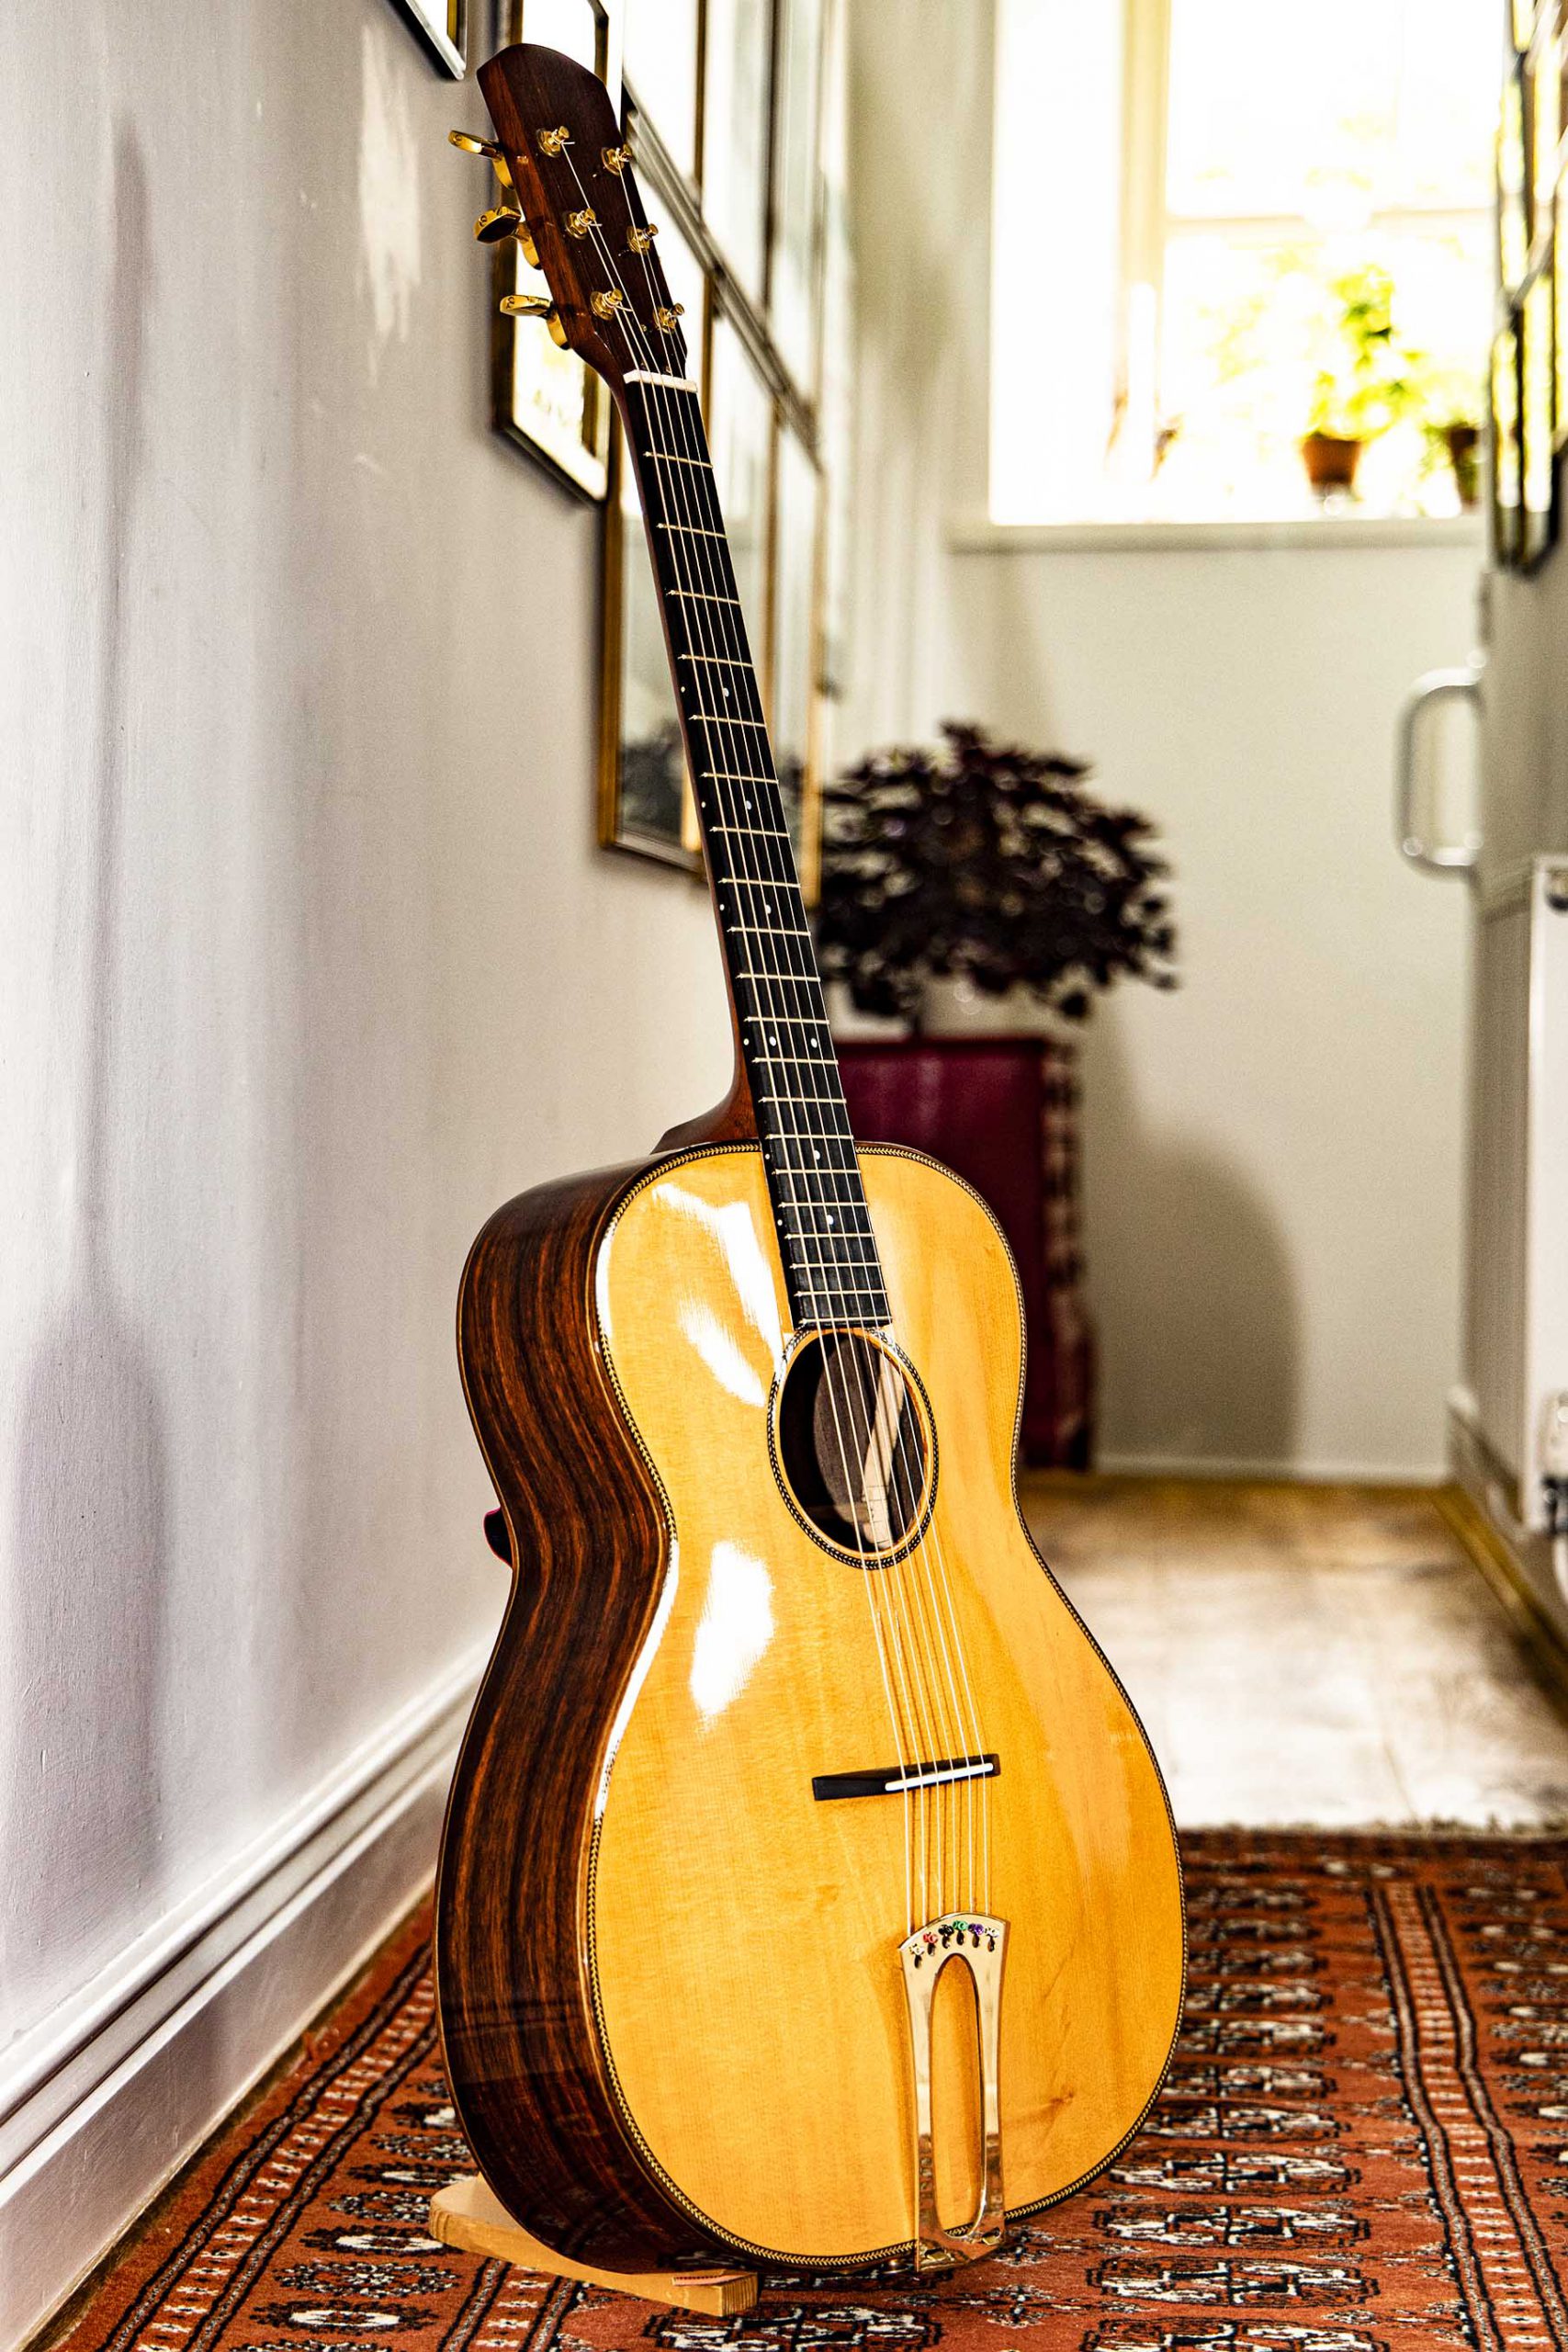 1981 Arch-top guitar. Still in perfect condition.
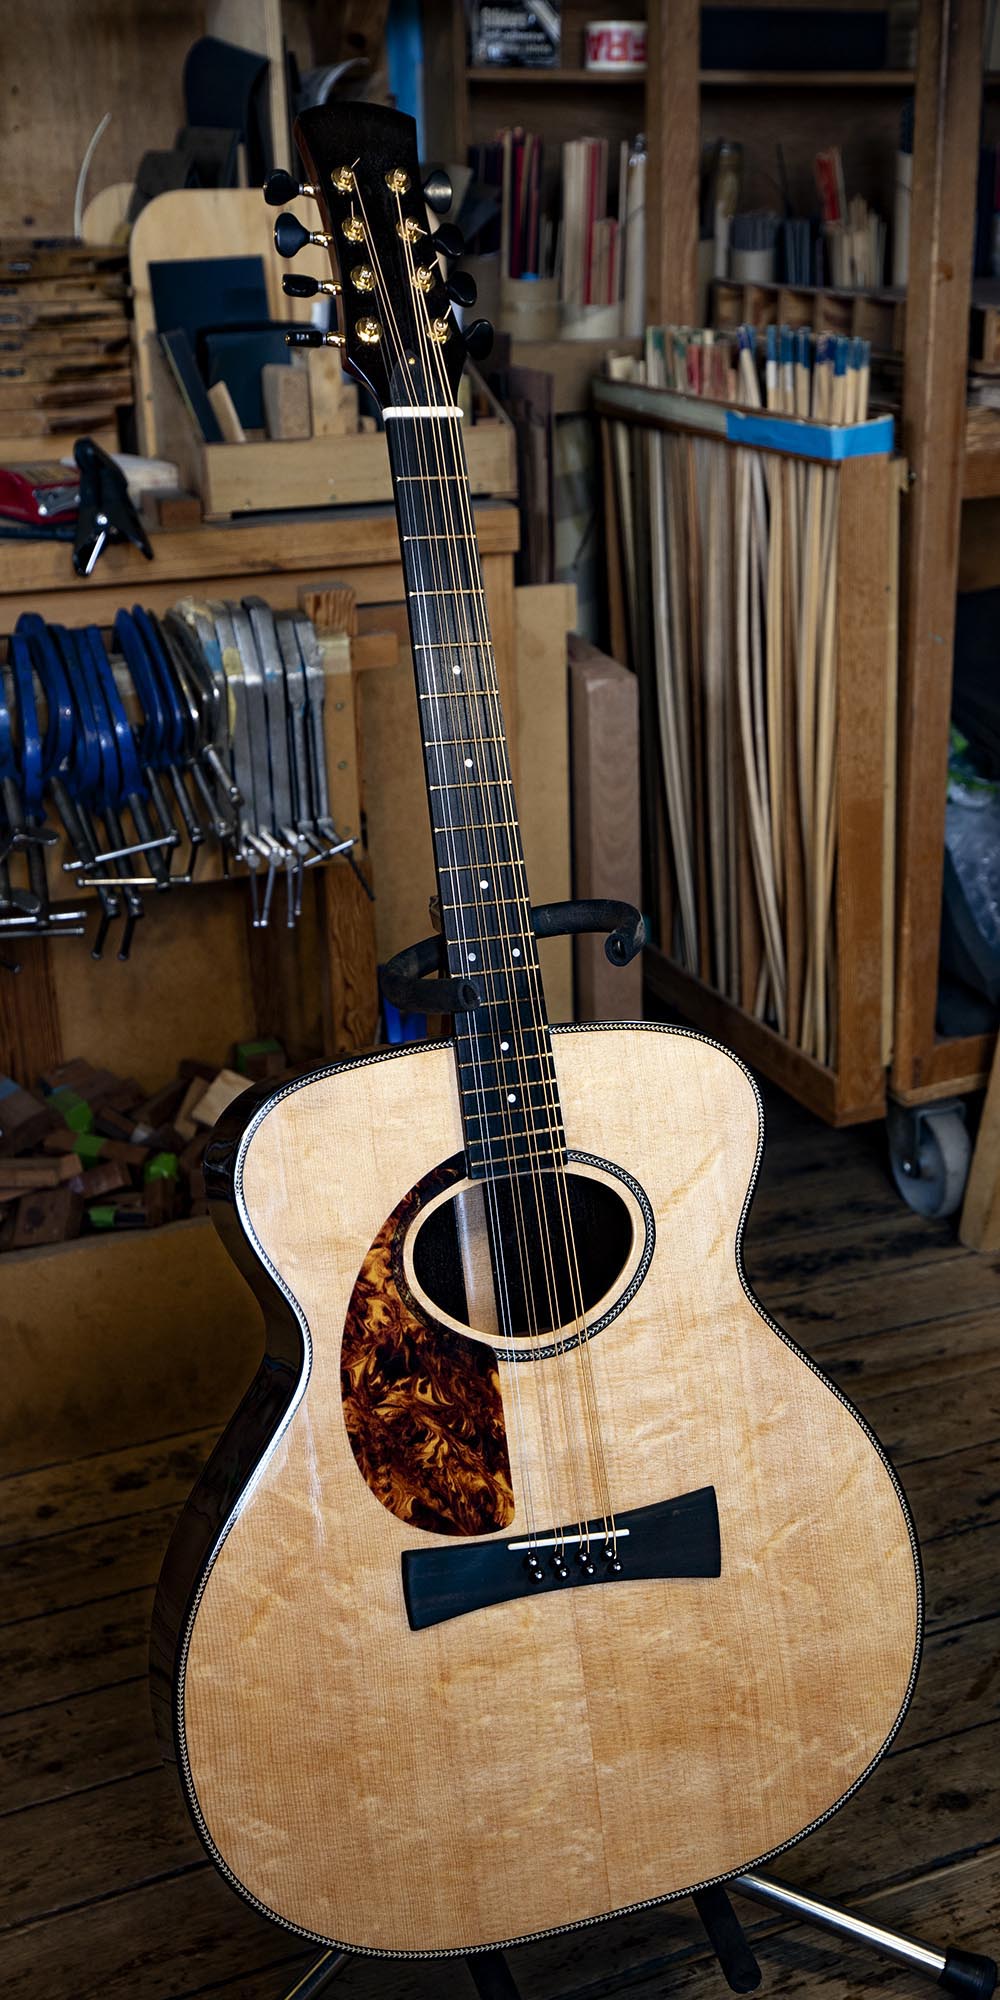
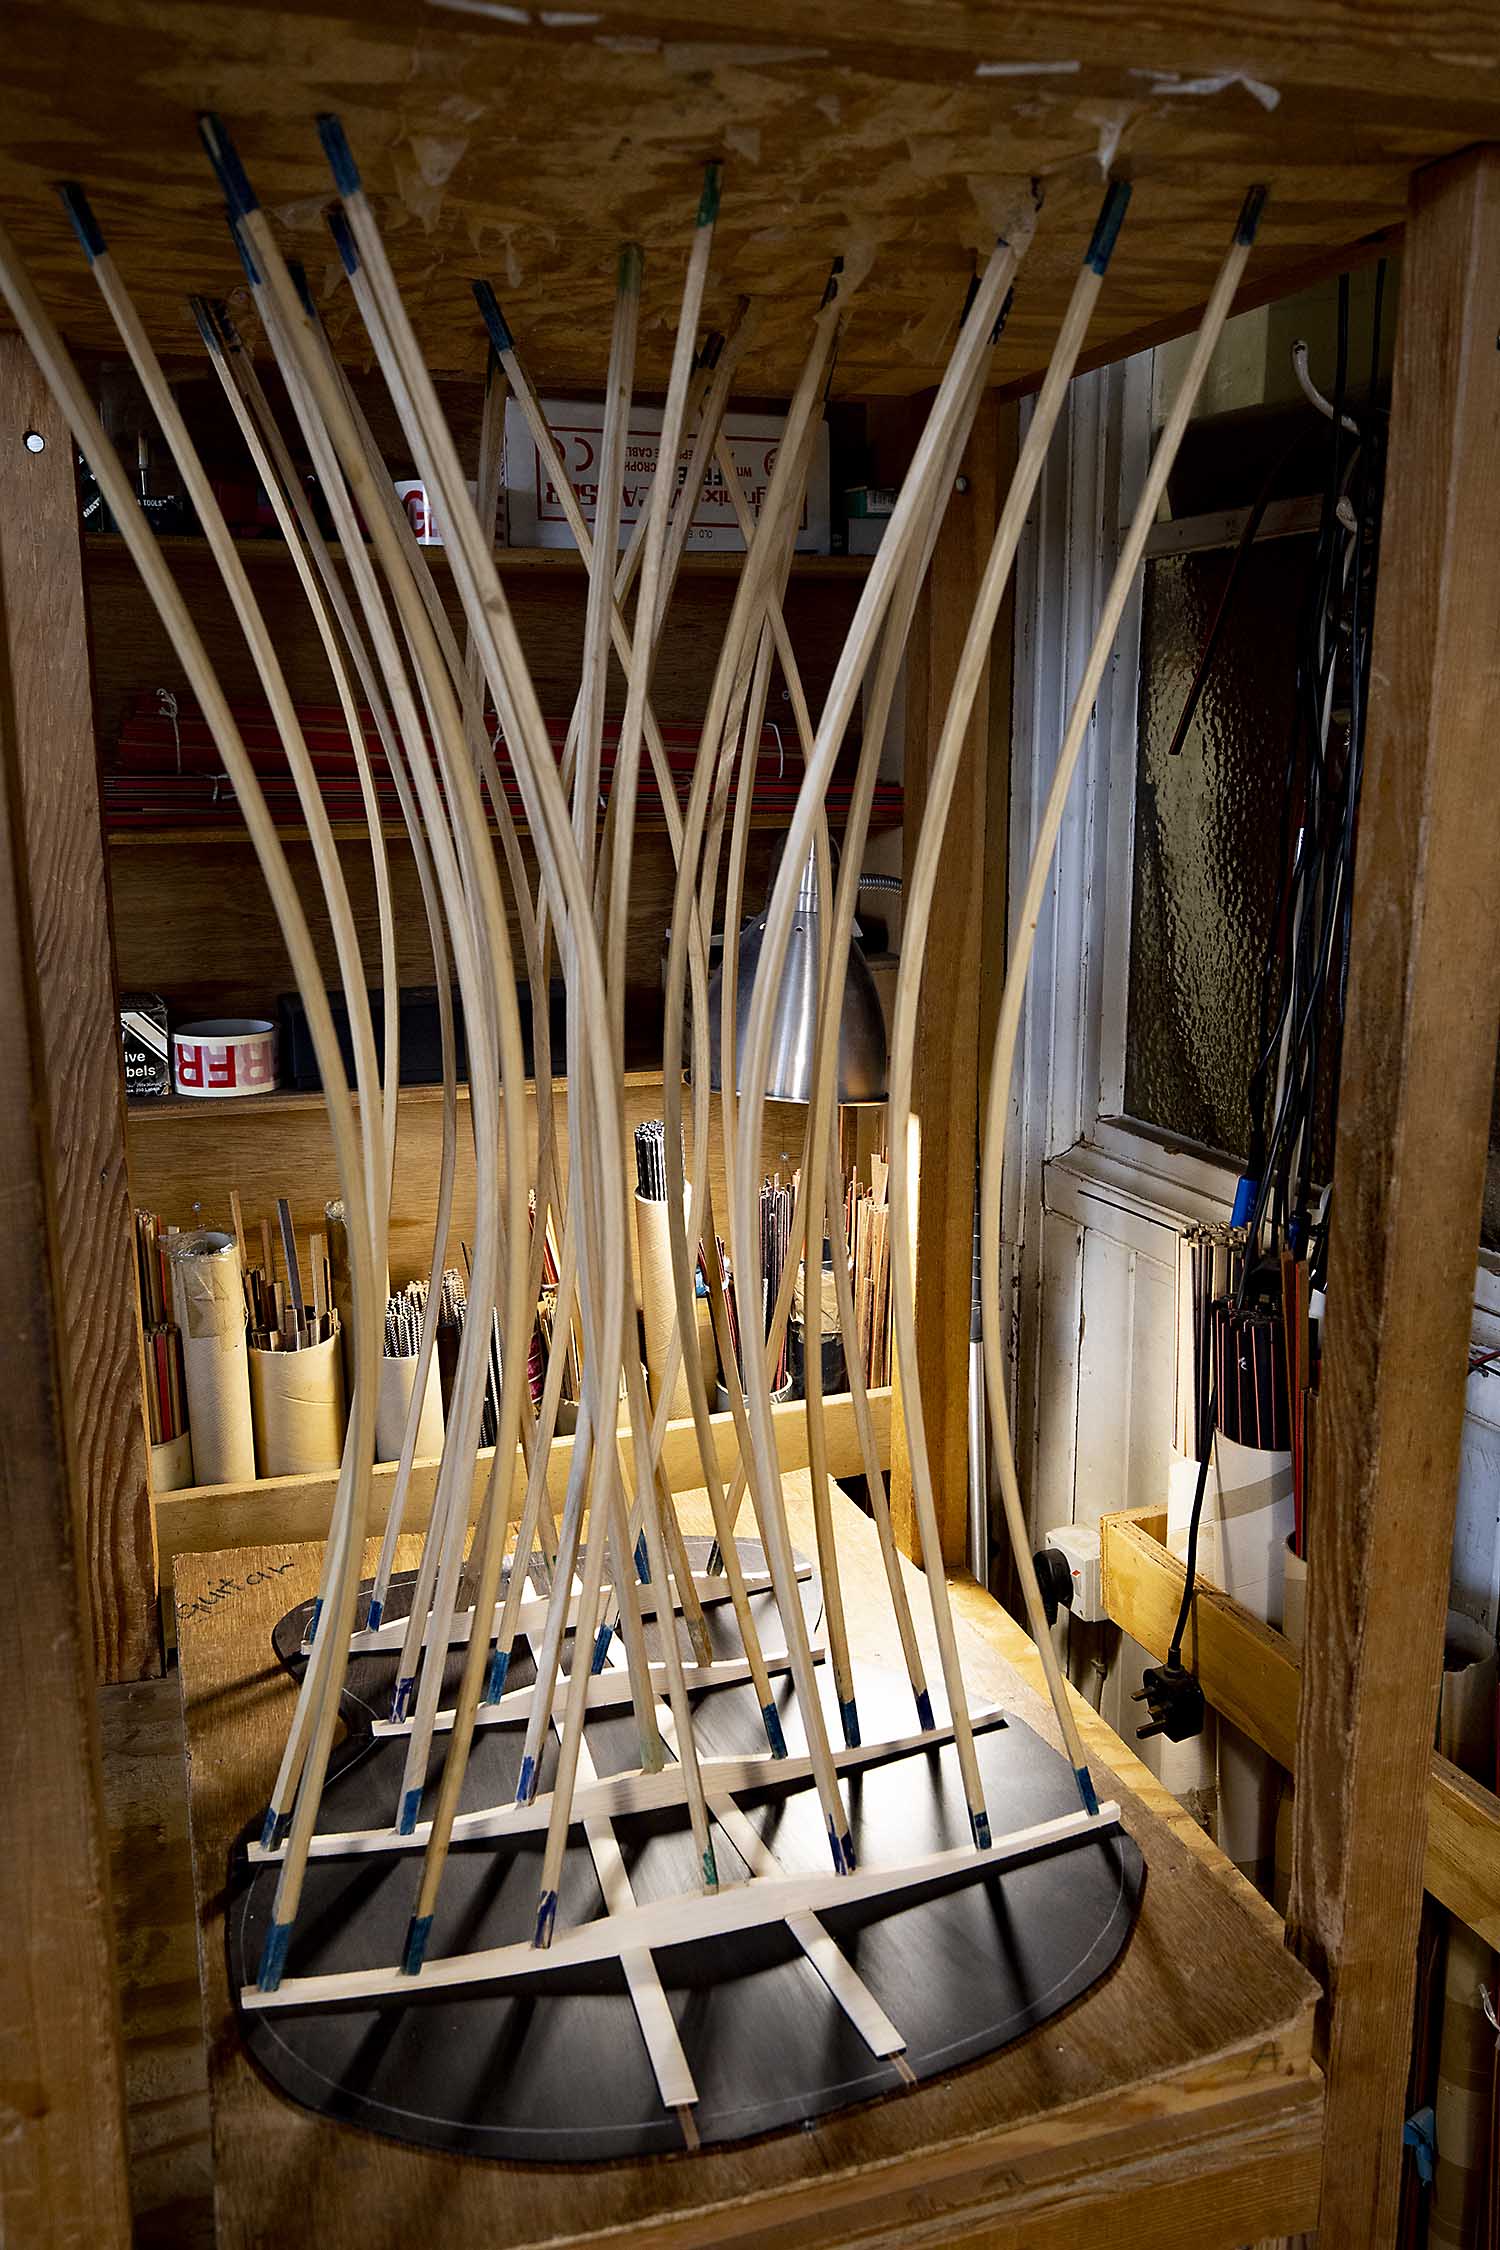
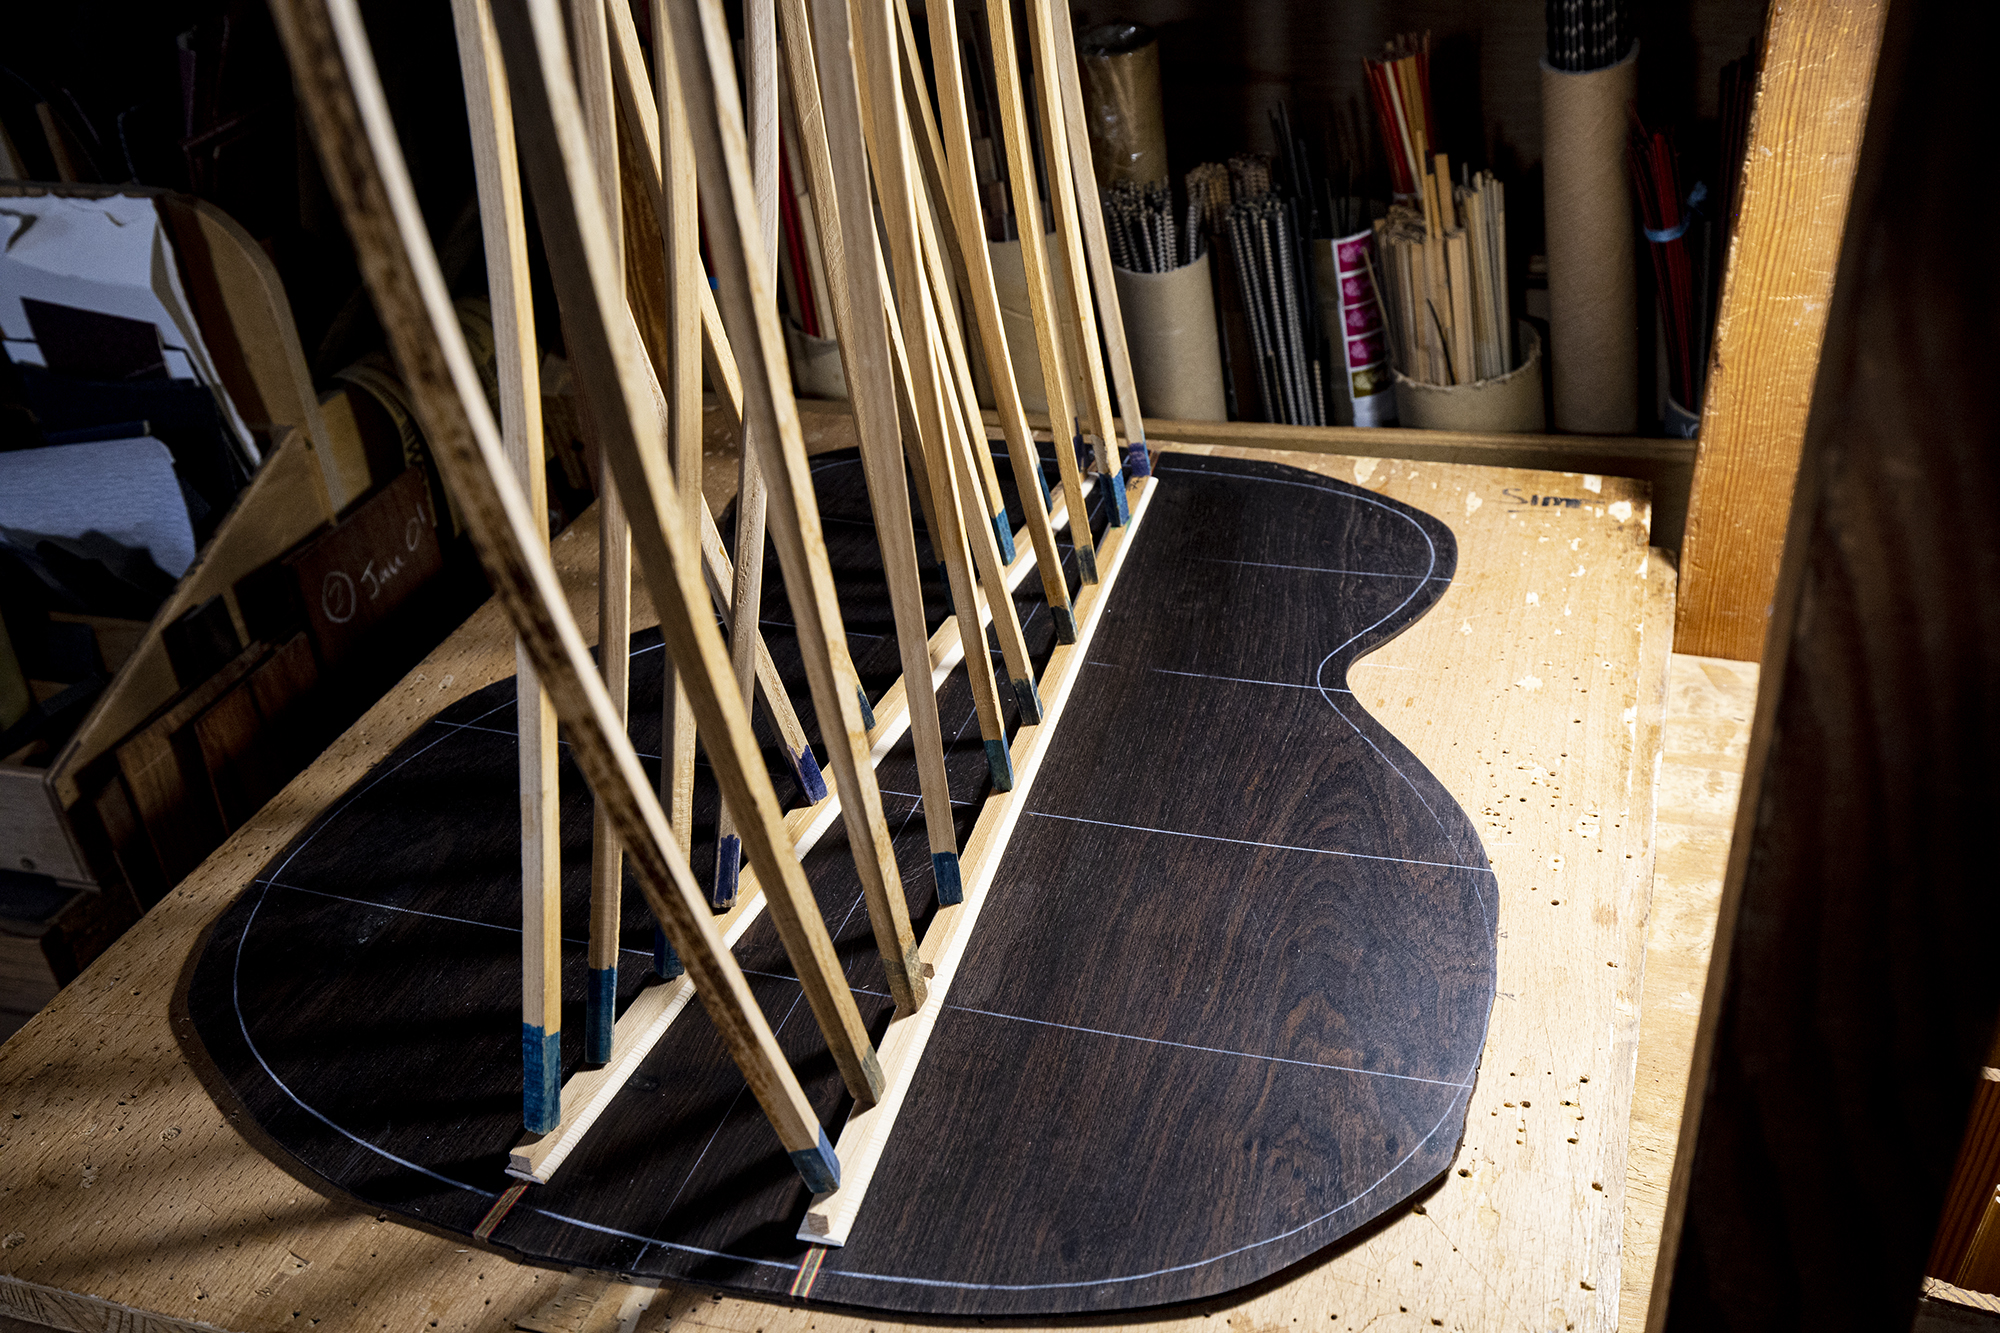
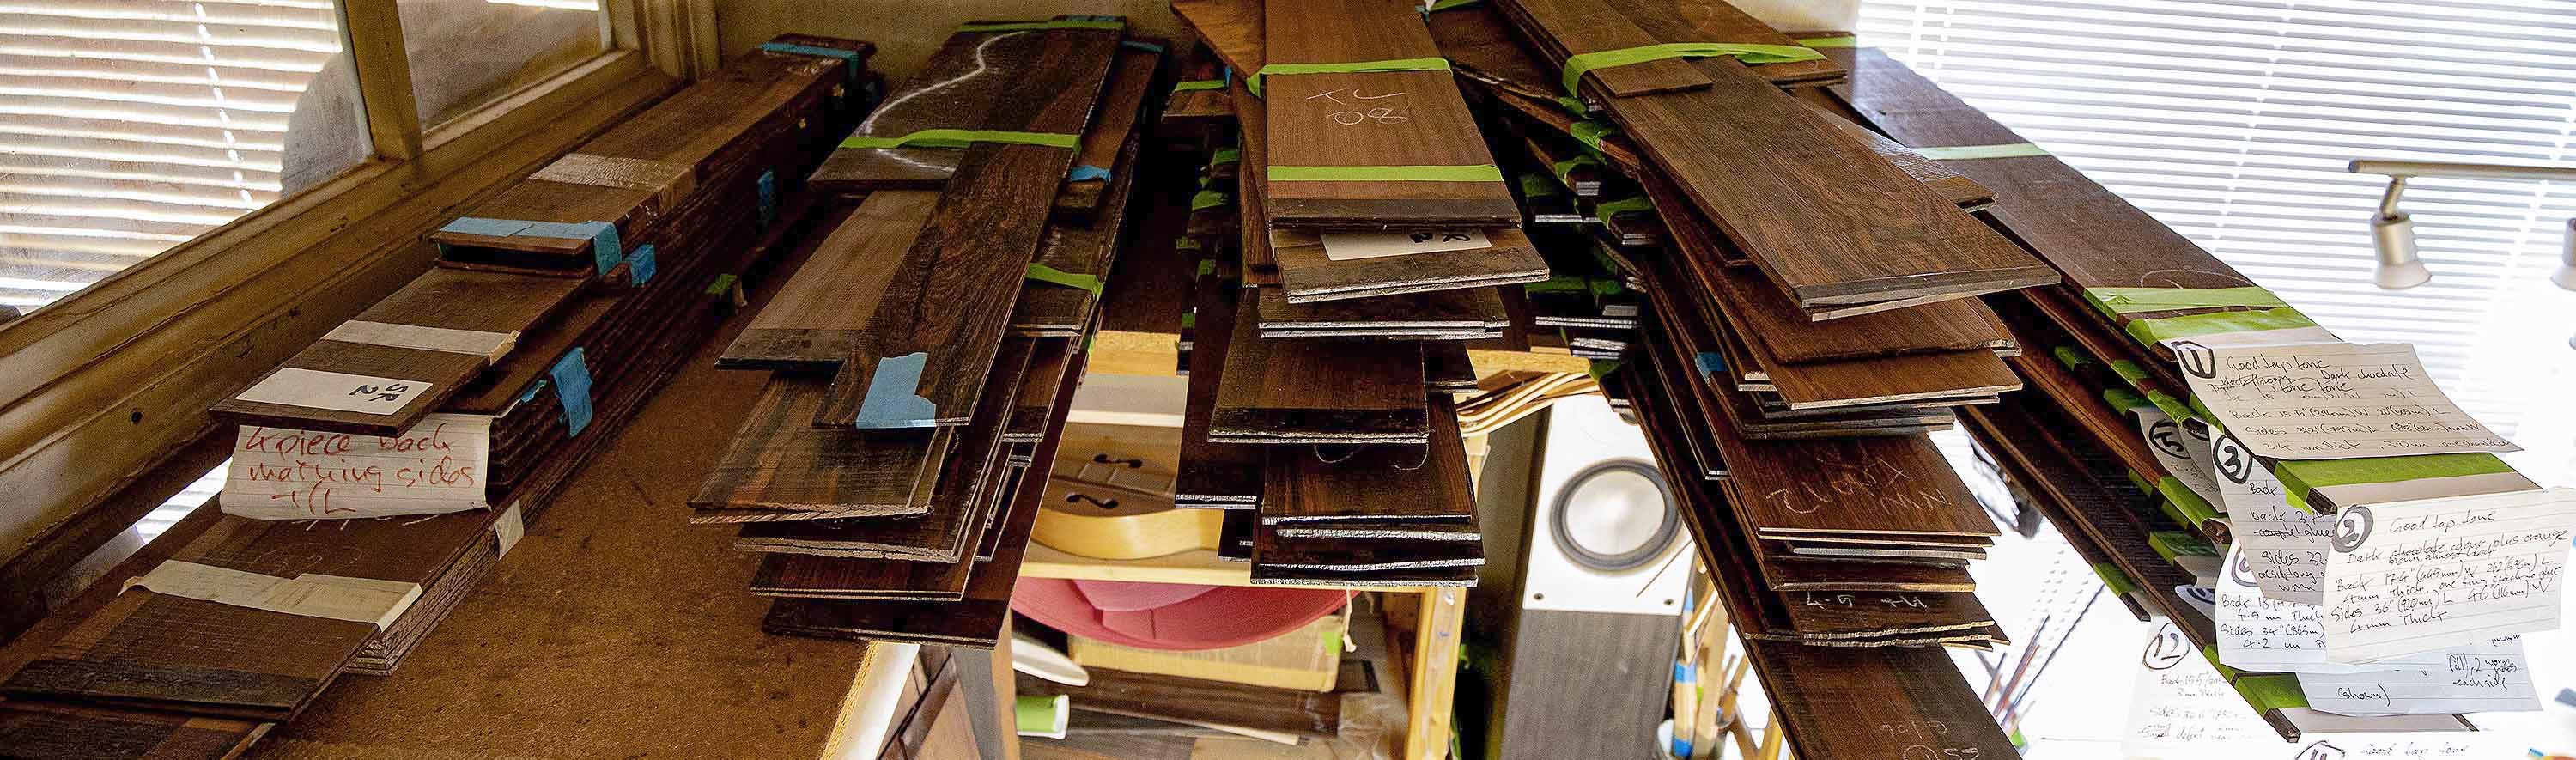 Sorted into sets. The 12 sets offered for sale are in the right hand stack.