SobellLogo3
  • News
  • Instruments
    • 40th Anniversary Model Guitars
    • Flat Top Guitars
      • Steinbeck Model Guitar
      • Martin Simpson Signature Model
      • New World Guitar
      • Model 4 Dreadnought
      • D Guitar
      • Verona Guitar
    • Arch Top Guitars
      • 6 String Arch-Top guitar
      • Twelve string Arch-top
    • Citterns and octave mandolins
    • Mandolins & Mandola
  • Construction and Design
    • Wood
  • Available now
  • About Us
    • Contact
    • How I started: my first cittern
  • Things they say
  • Order
  • Tonewood for sale
    • Indian rosewood for sale
    • Brazilian rosewood for sale
17 Feb2022

MS Anniversary model part 9

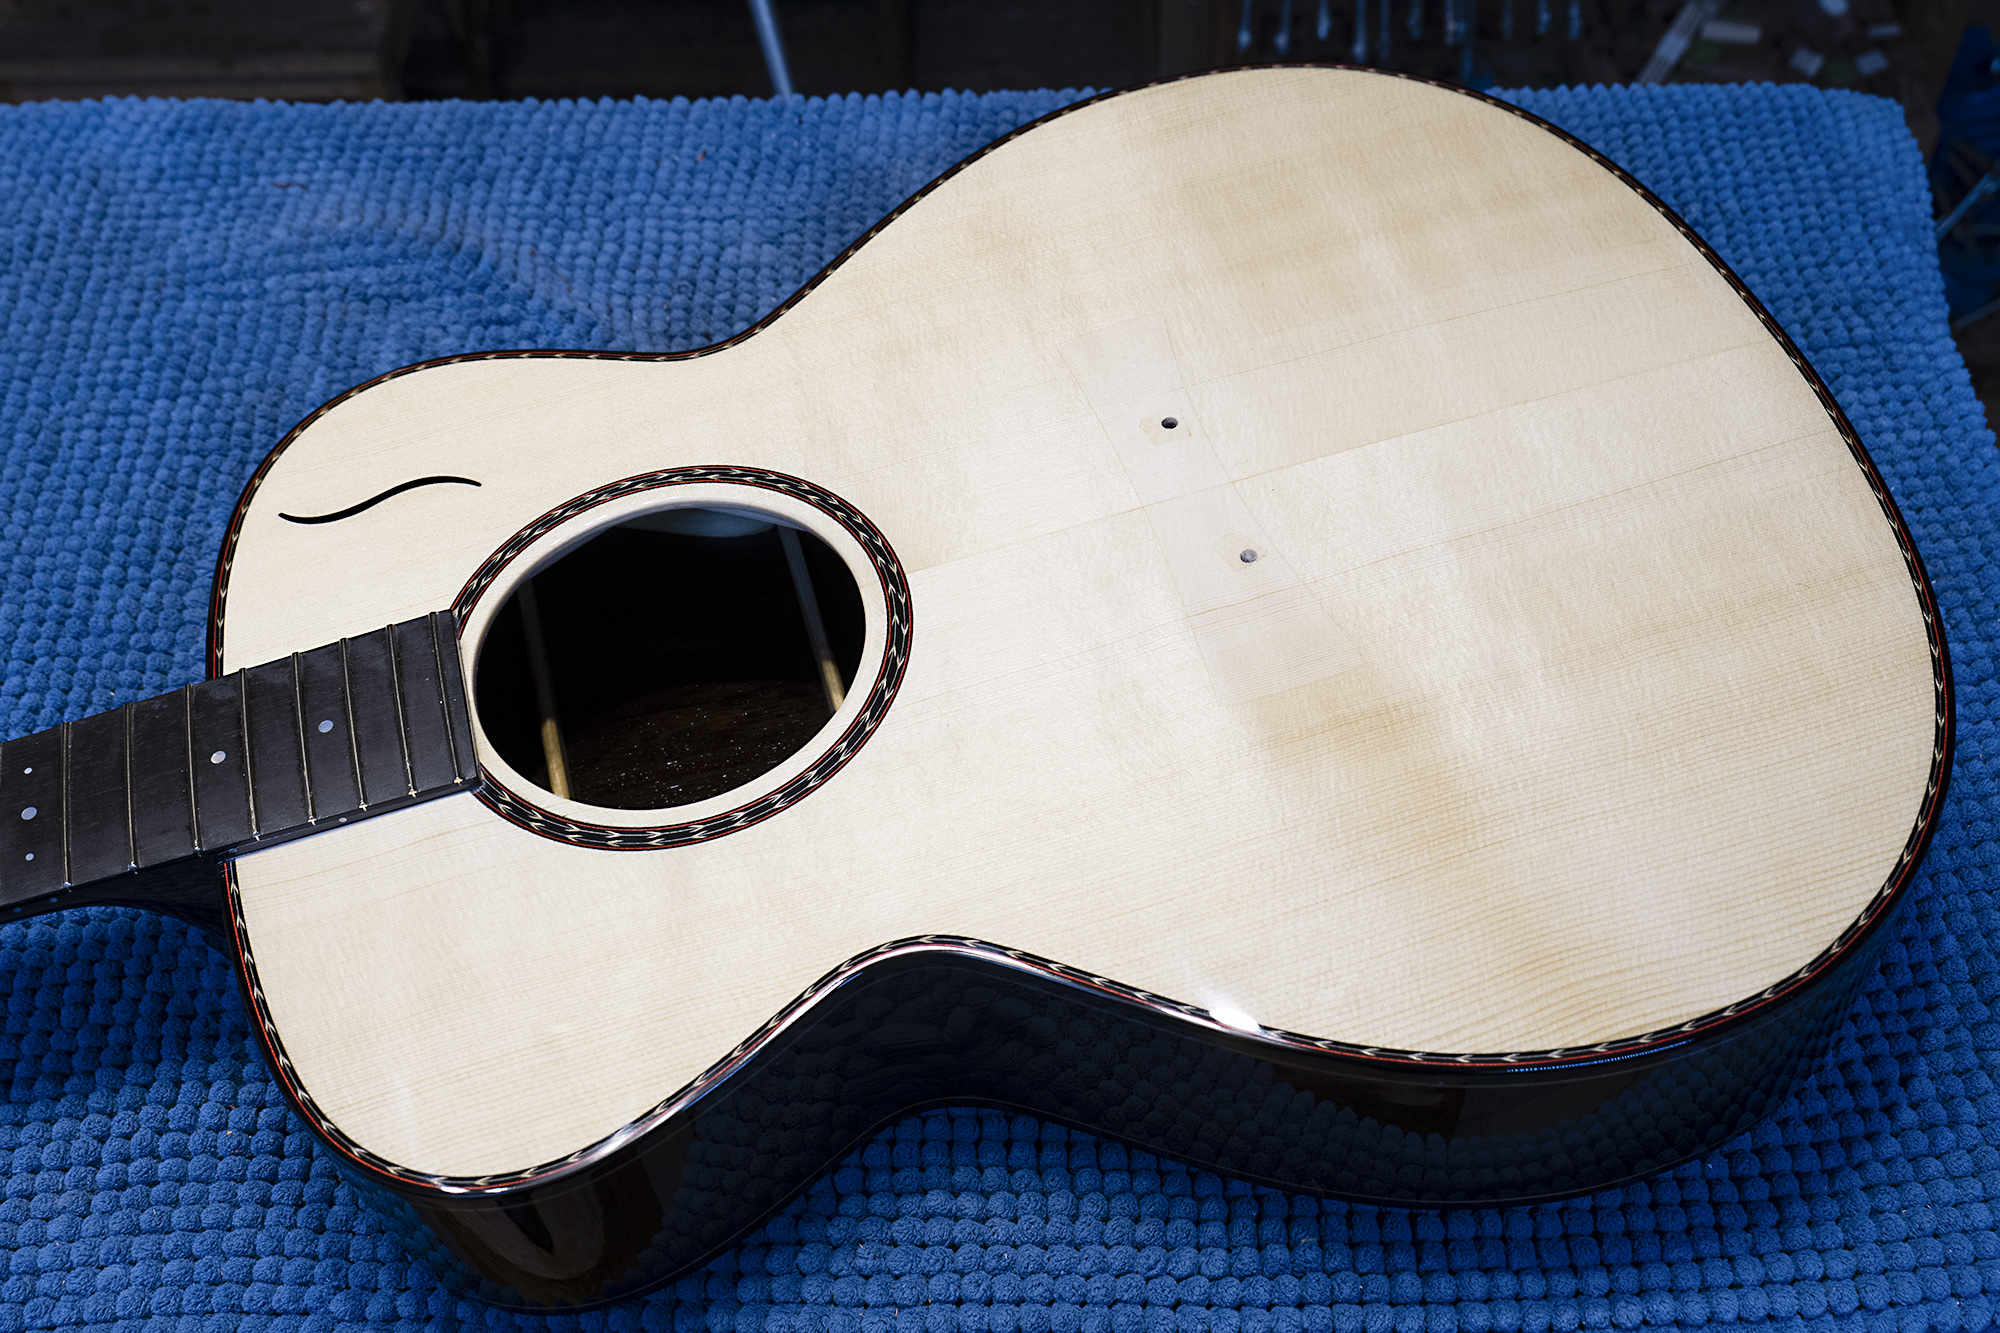
Back from the spray booth

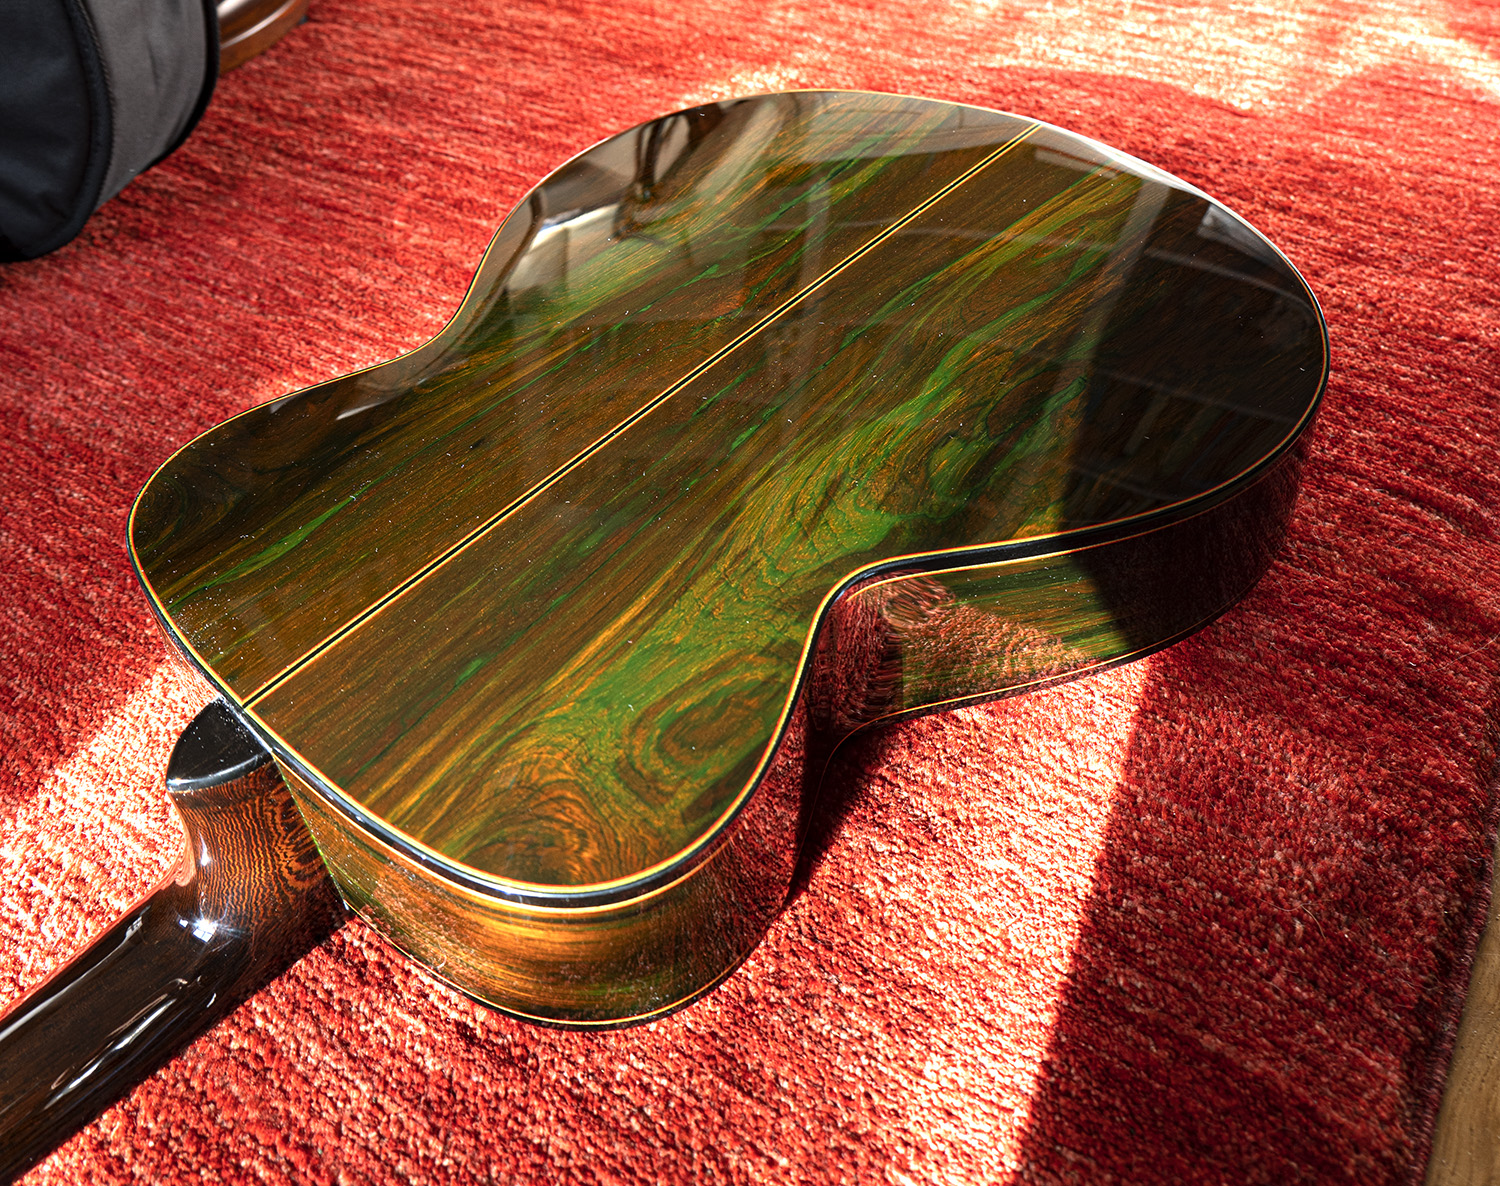
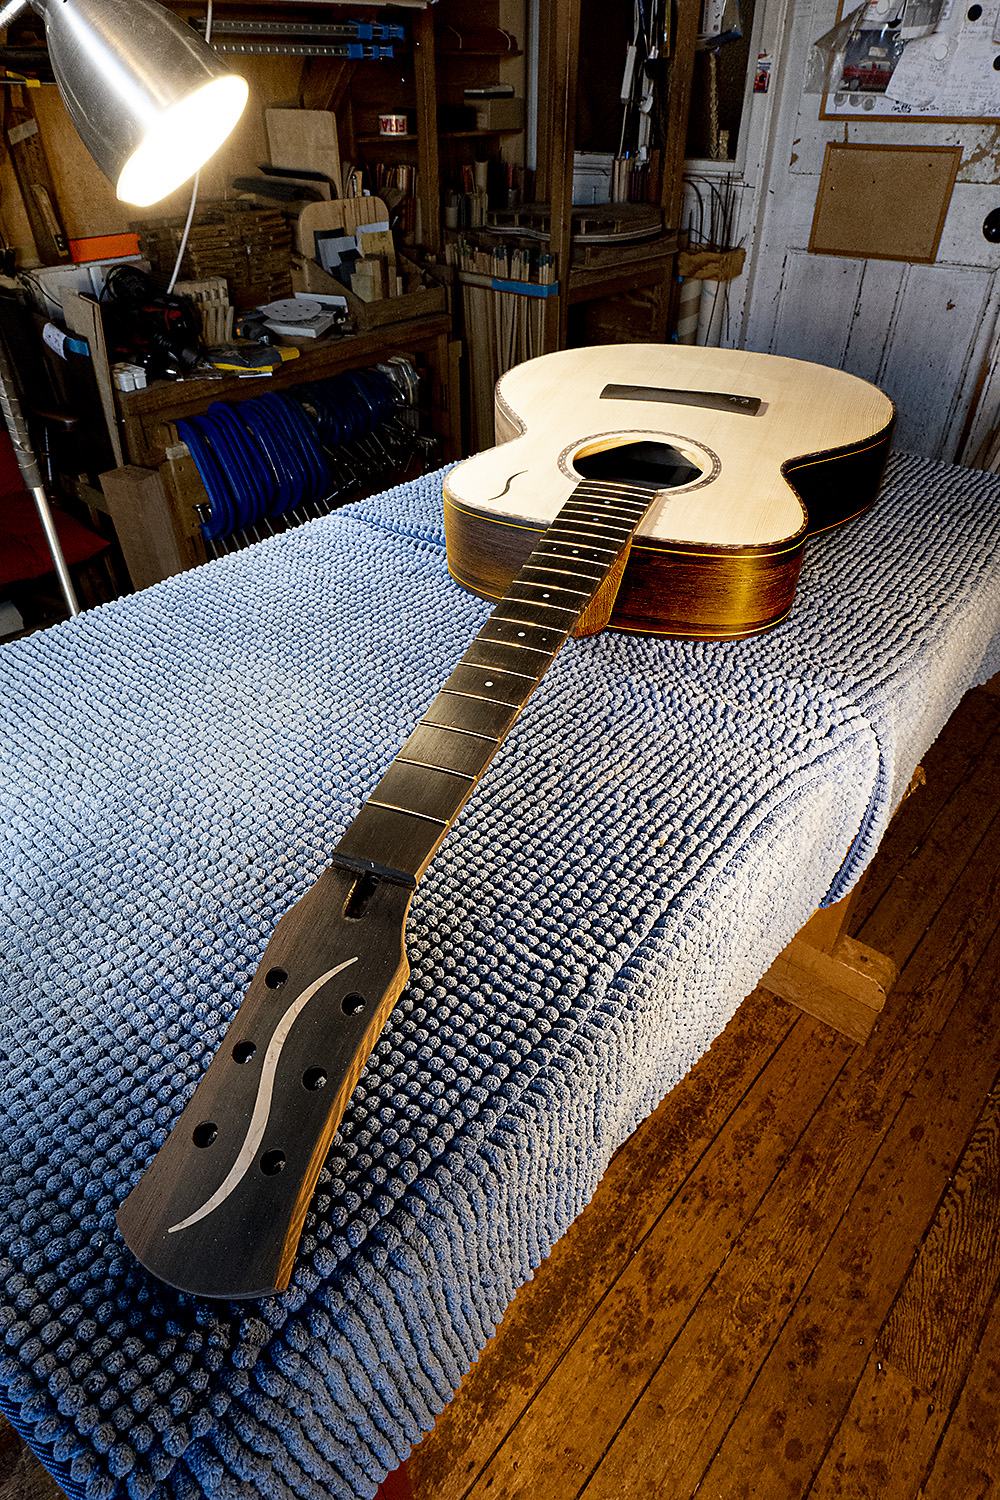
Today Dave brought back the Brazilian rosewood Anniversary MS model that I’ve been featuring over the last few months.  I shall leave it a few days for the lacquer to settle and harden before fixing the bridge checking frets, fitting 5-10 Gotoh tuners and stringing up.

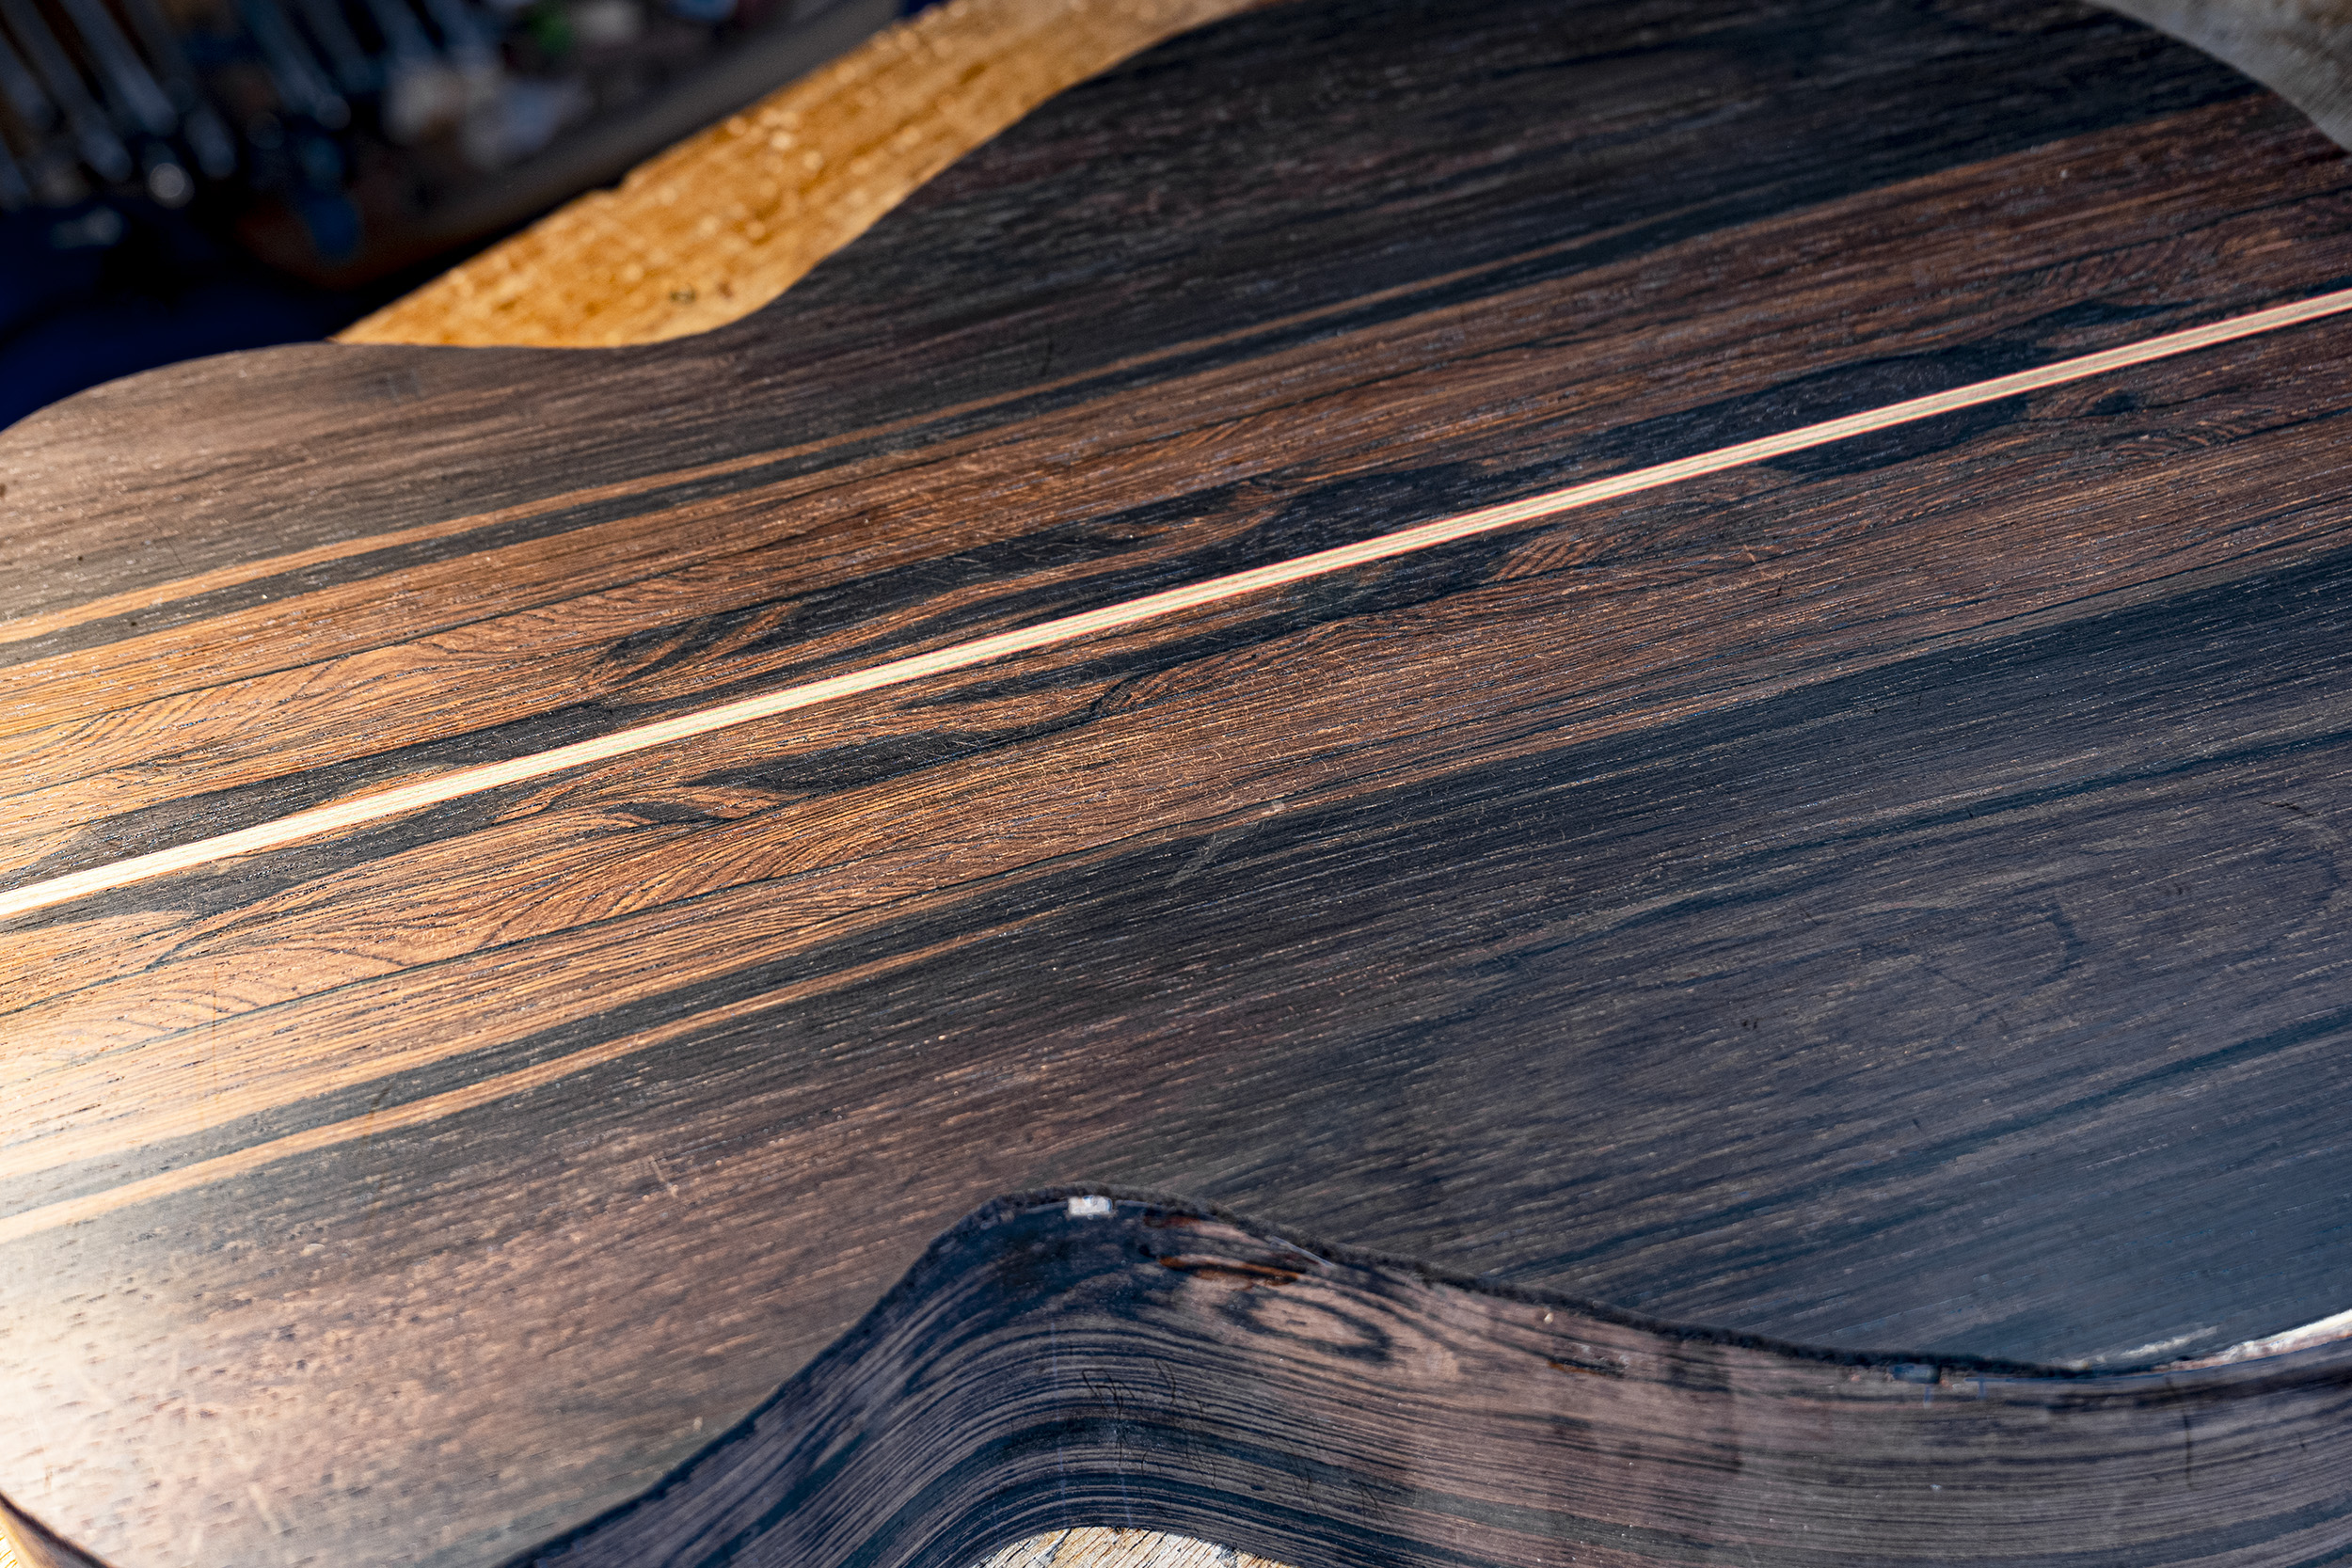
This particular Brazilian rosewood has grain with green hue in sunlight.  I know not everyone likes it, but I and many others absolutely love it. It’s a reaction between the lacquer and Brazilian rosewood which never occurs with other woods.  It’s possible it fades over the decades, so enjoy it while it’s fresh.

Overall, beautiful back and sides which go so well with the Wengé heel.  I can’t wait to get strings on.


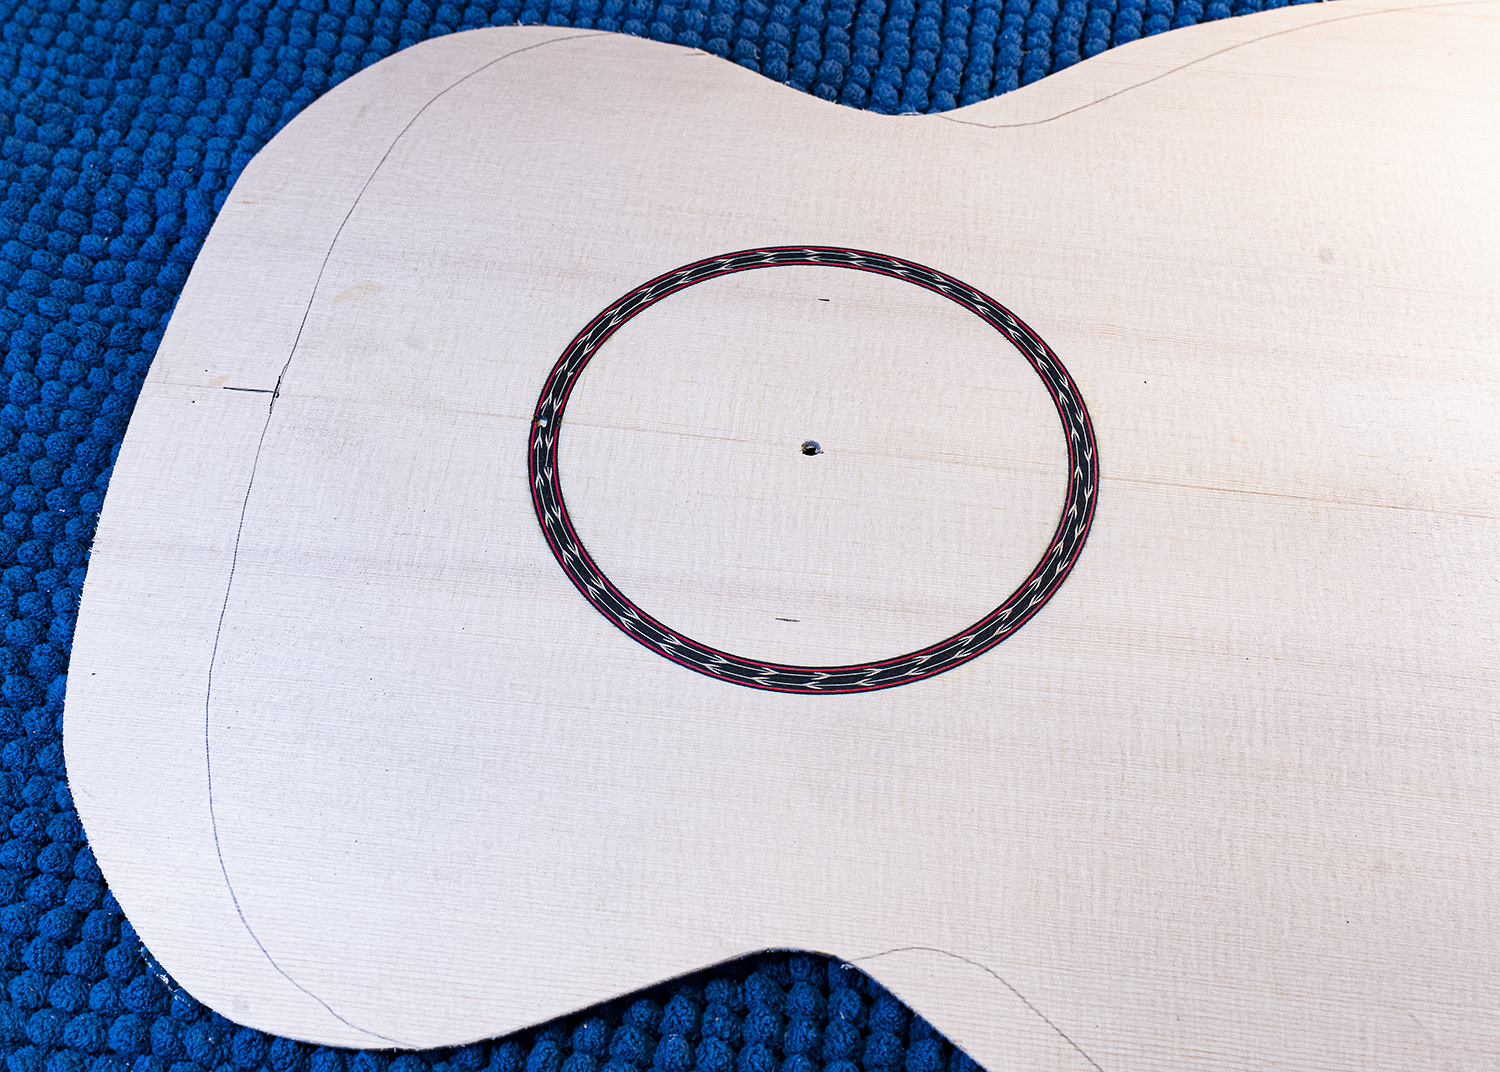
Old German spruce soundboard, close grain, stiff and air dried for decades, with ebony soundboard logo.

02 Feb2022

Tail construction

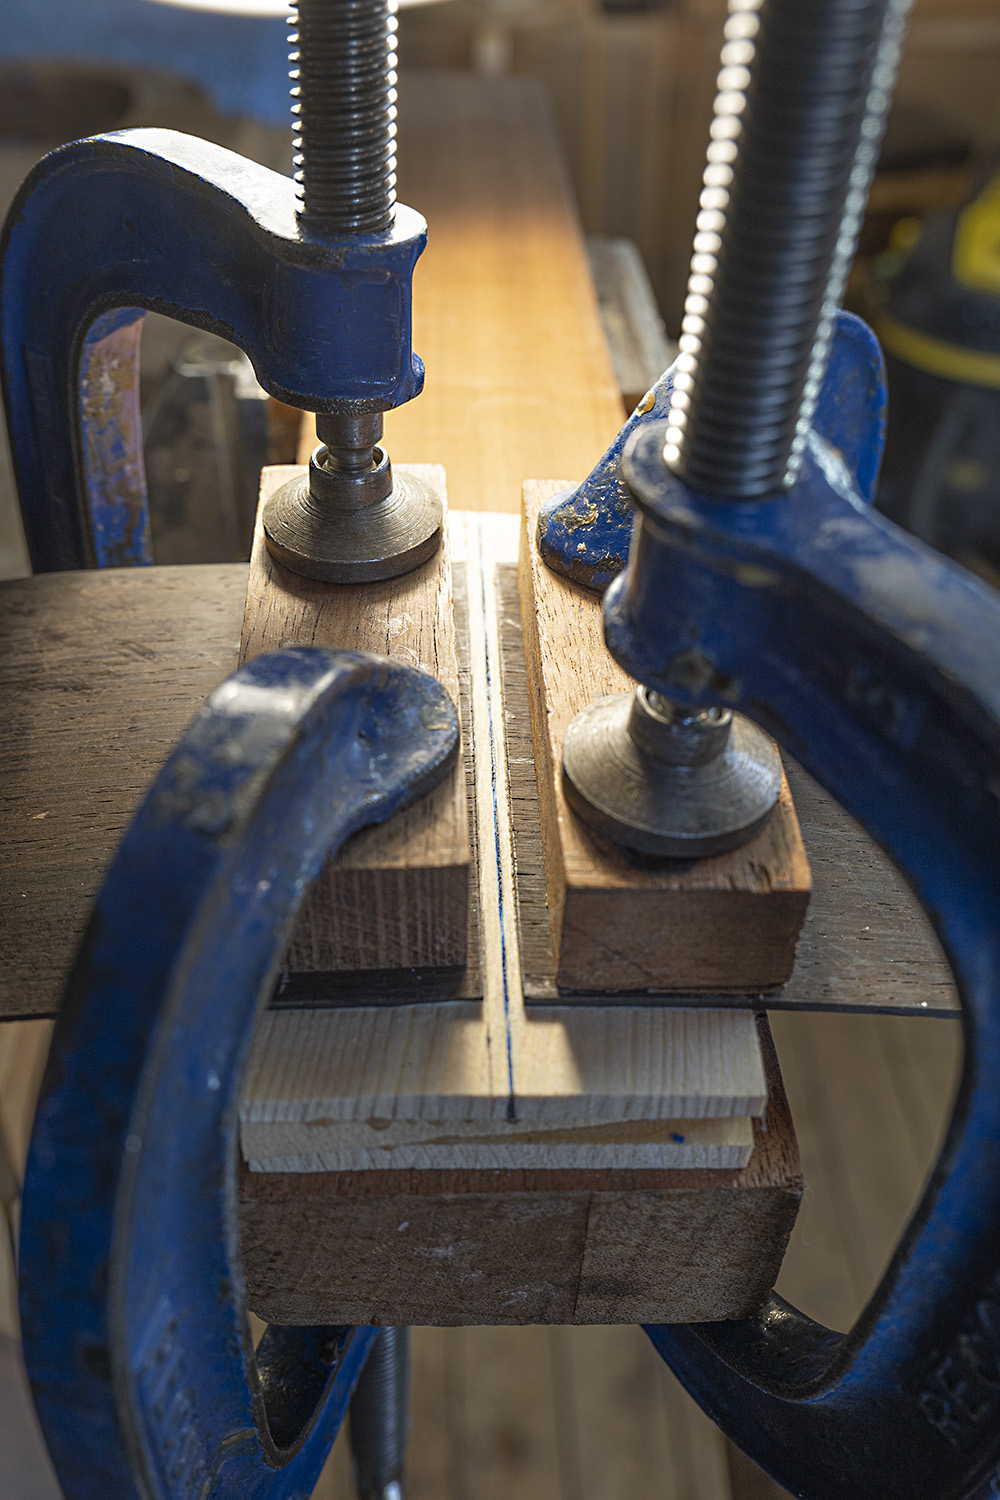
The tail block links the side at the tail and provides a gluing surface for the soundboard and back. Invisible and not an exciting part of a guitar, as with most components it is vital to the structure.

A couple of years ago I had an instrument returned that had clearly been kept in very wet conditions.  The fingerboard had swollen so the fret ends were not visible, the centre join down the back was sunken, and the soundboard was rippled.  A friend suggested it had been kept in a sewer.

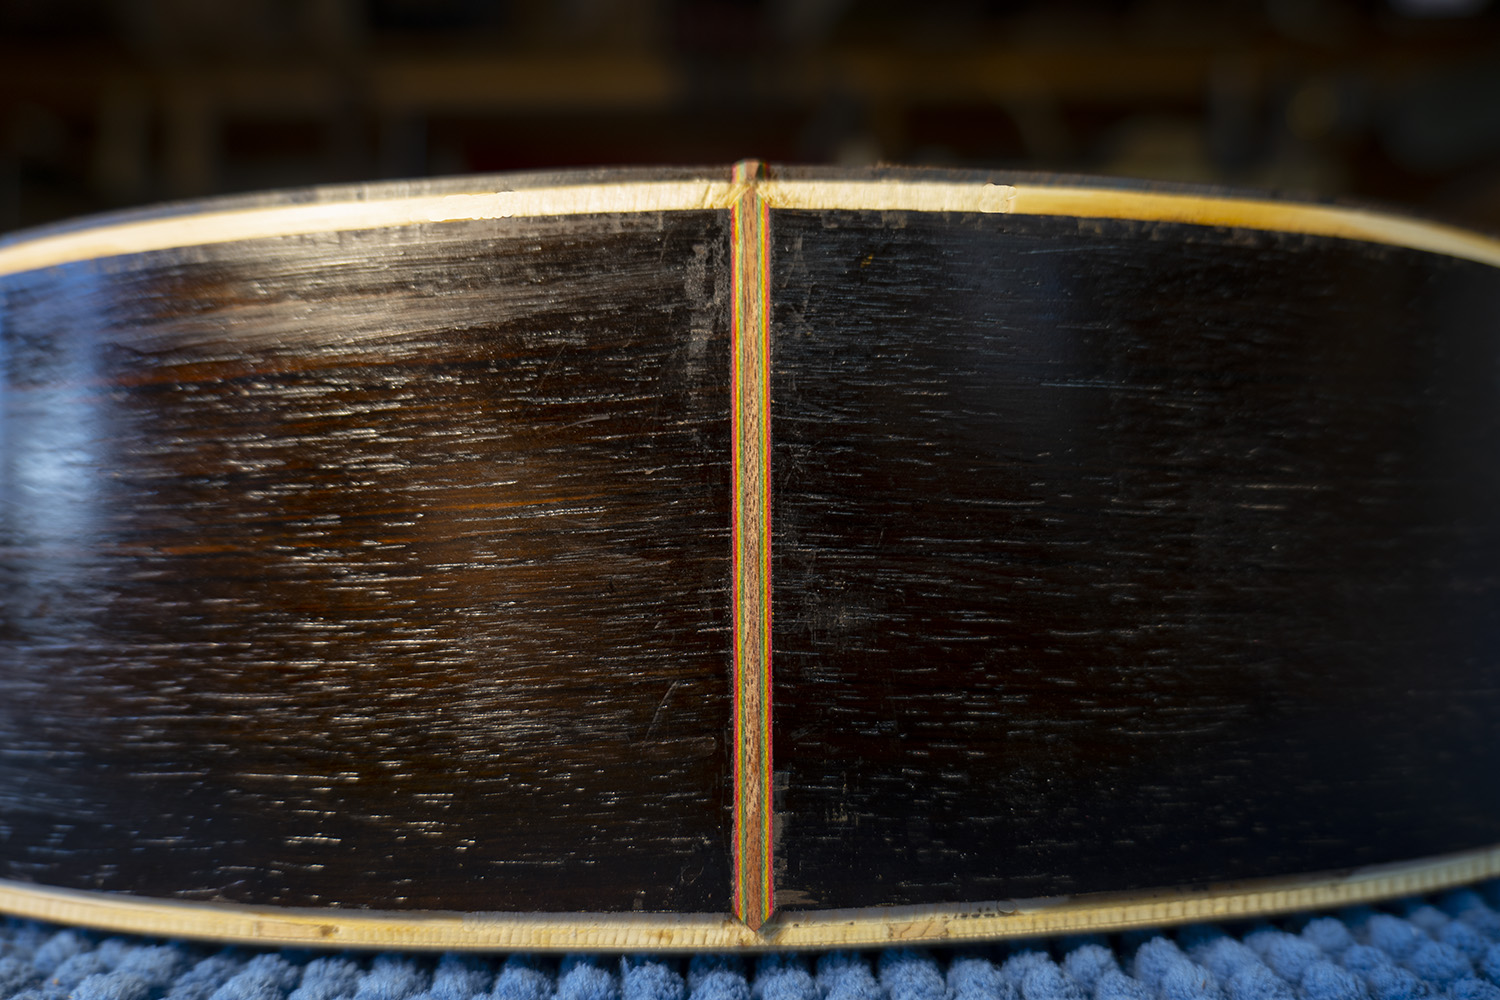
But the worst damage was at the tail. I build tail blocks from German spruce, laminated to avoid splitting when stressed, and at the time these laminations were at right angles to one another.  But the extreme damp had caused the horizontal grain piece to expand, which pushed the top and bottom bindings away from the sides, leaving unsightly gaps all around the centre tail strip.

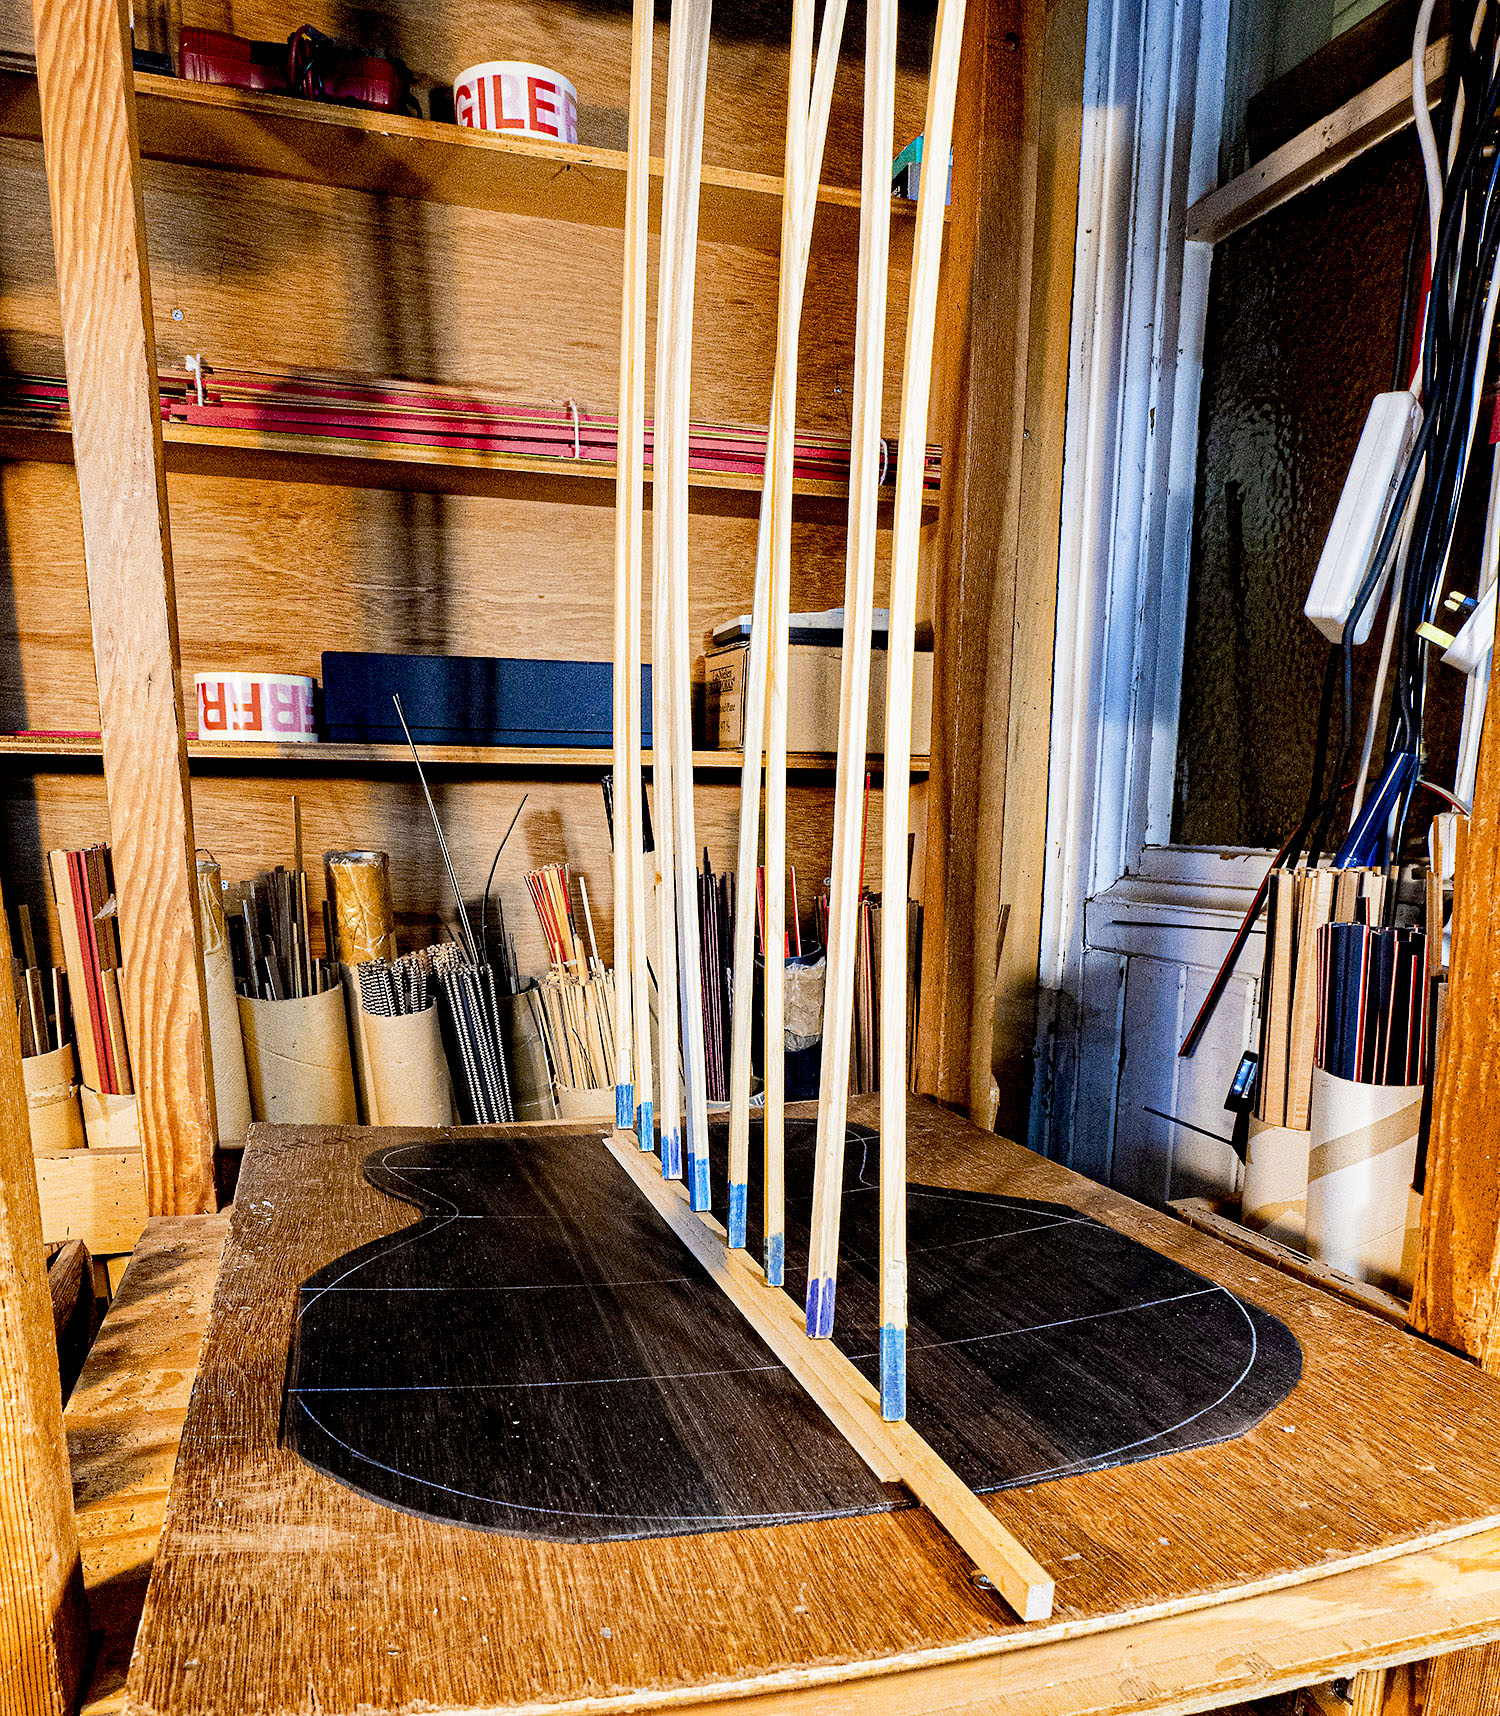
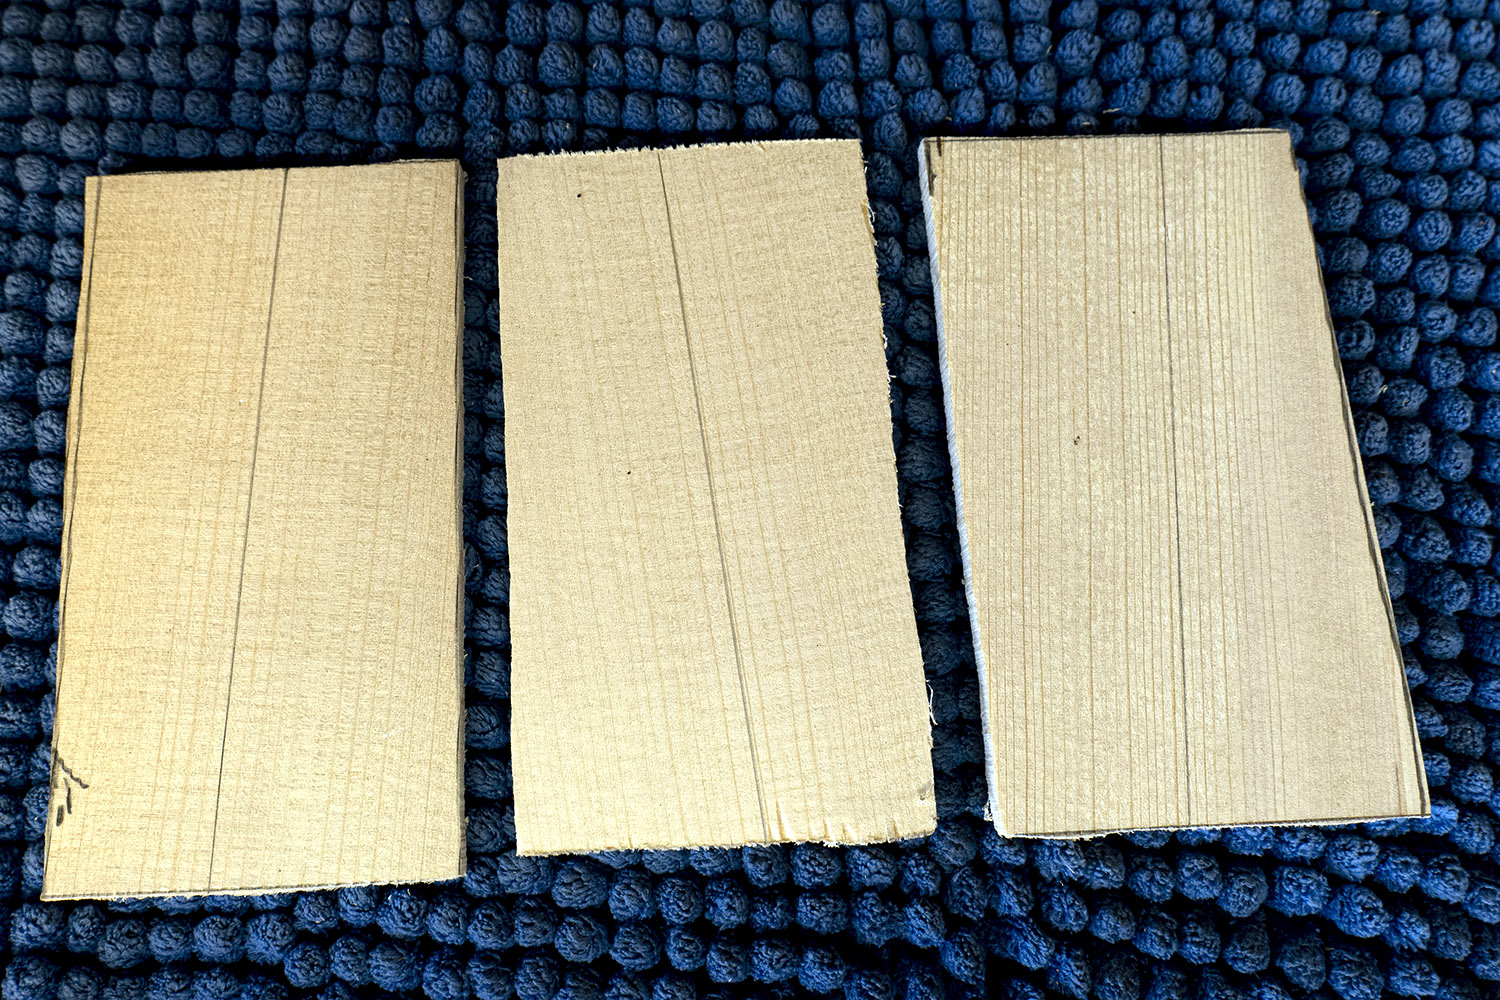
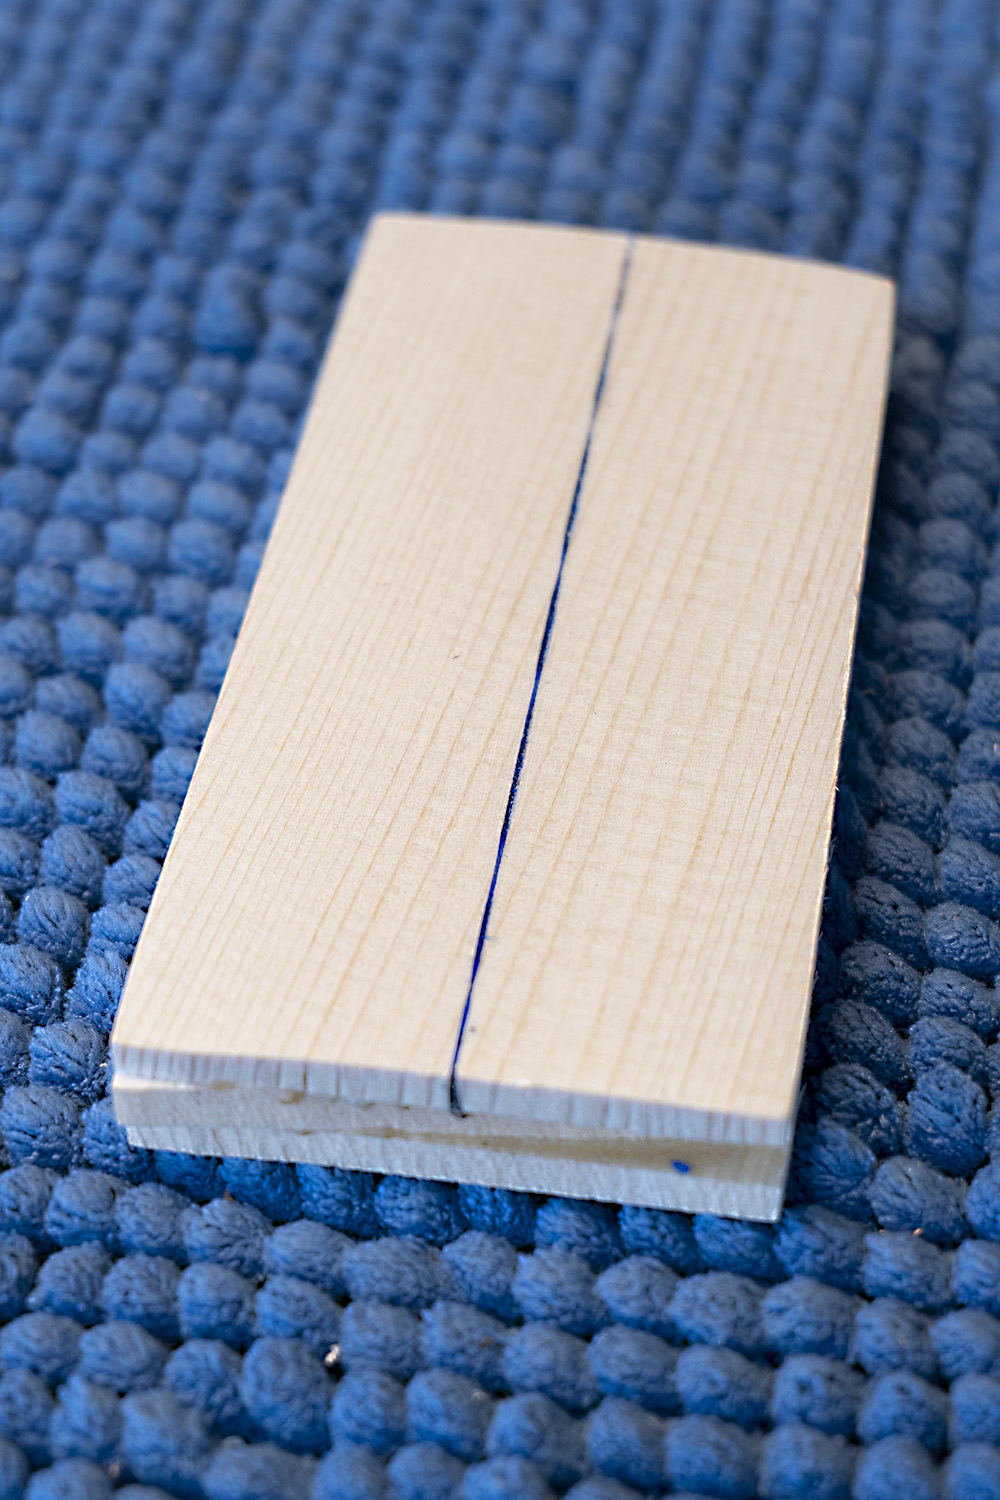
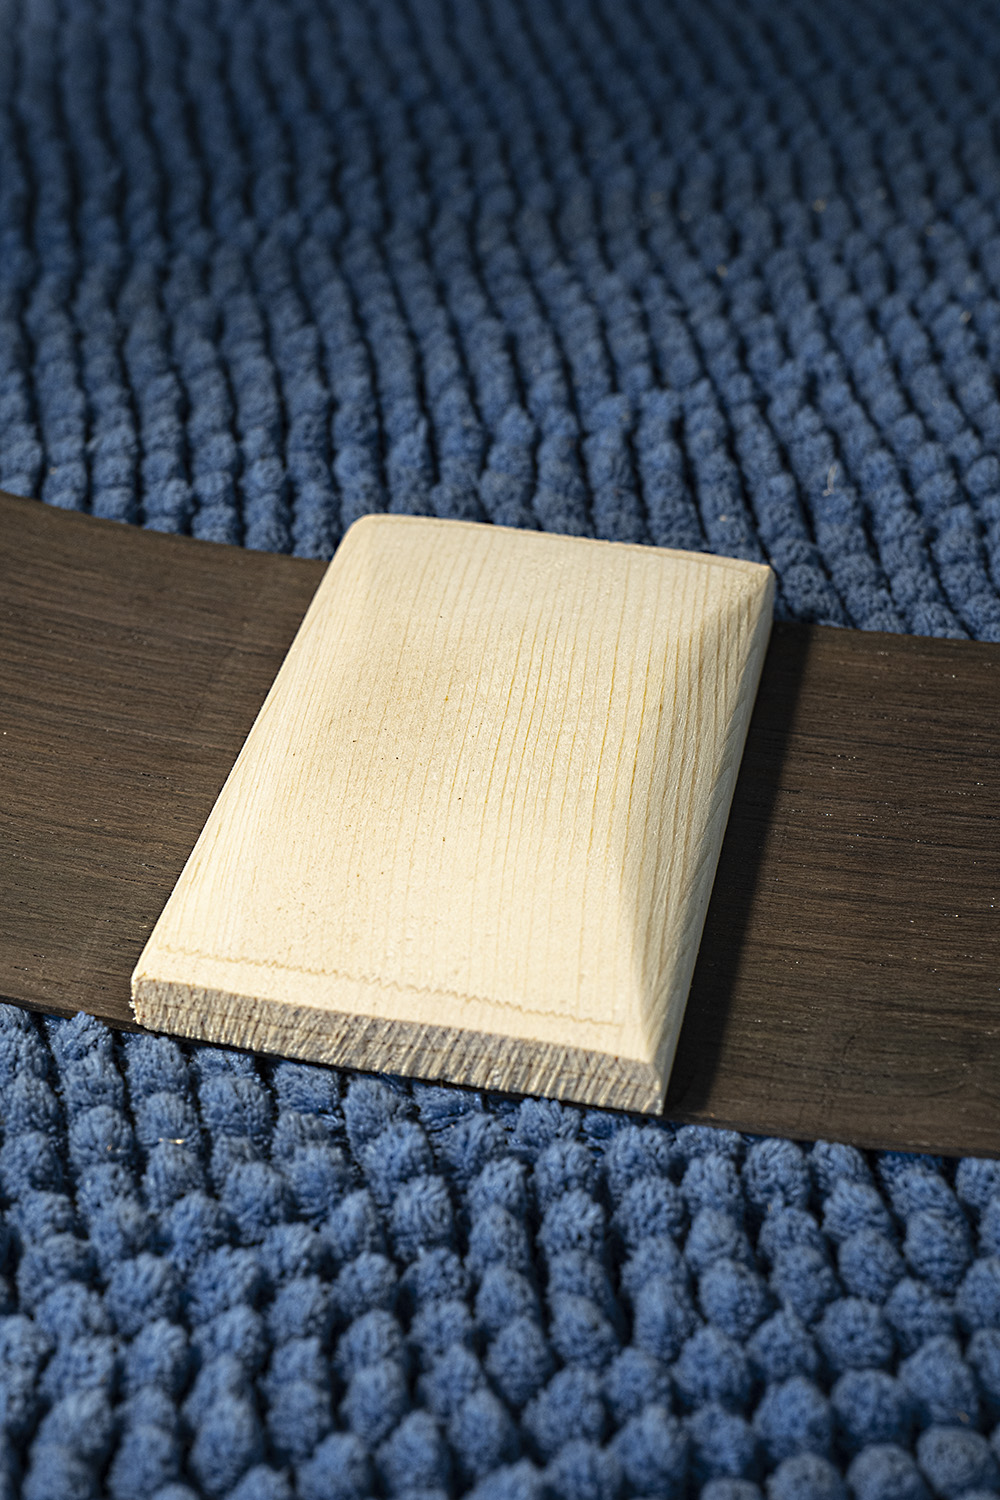
While guitars should never be allowed to get so damp, since then I have laminated tail blocks so the grain is not quite vertical and alternate pieces slant different ways, as in the photo left.  While extreme wet could still allow expansion to take place sideways, this is less damaging than vertical expansion.

Pencil lines show grain direction. These laminations will be glued with alternate slant.

.


The photos left show the finished tail block, the sides gluing to it and the tail block in place.

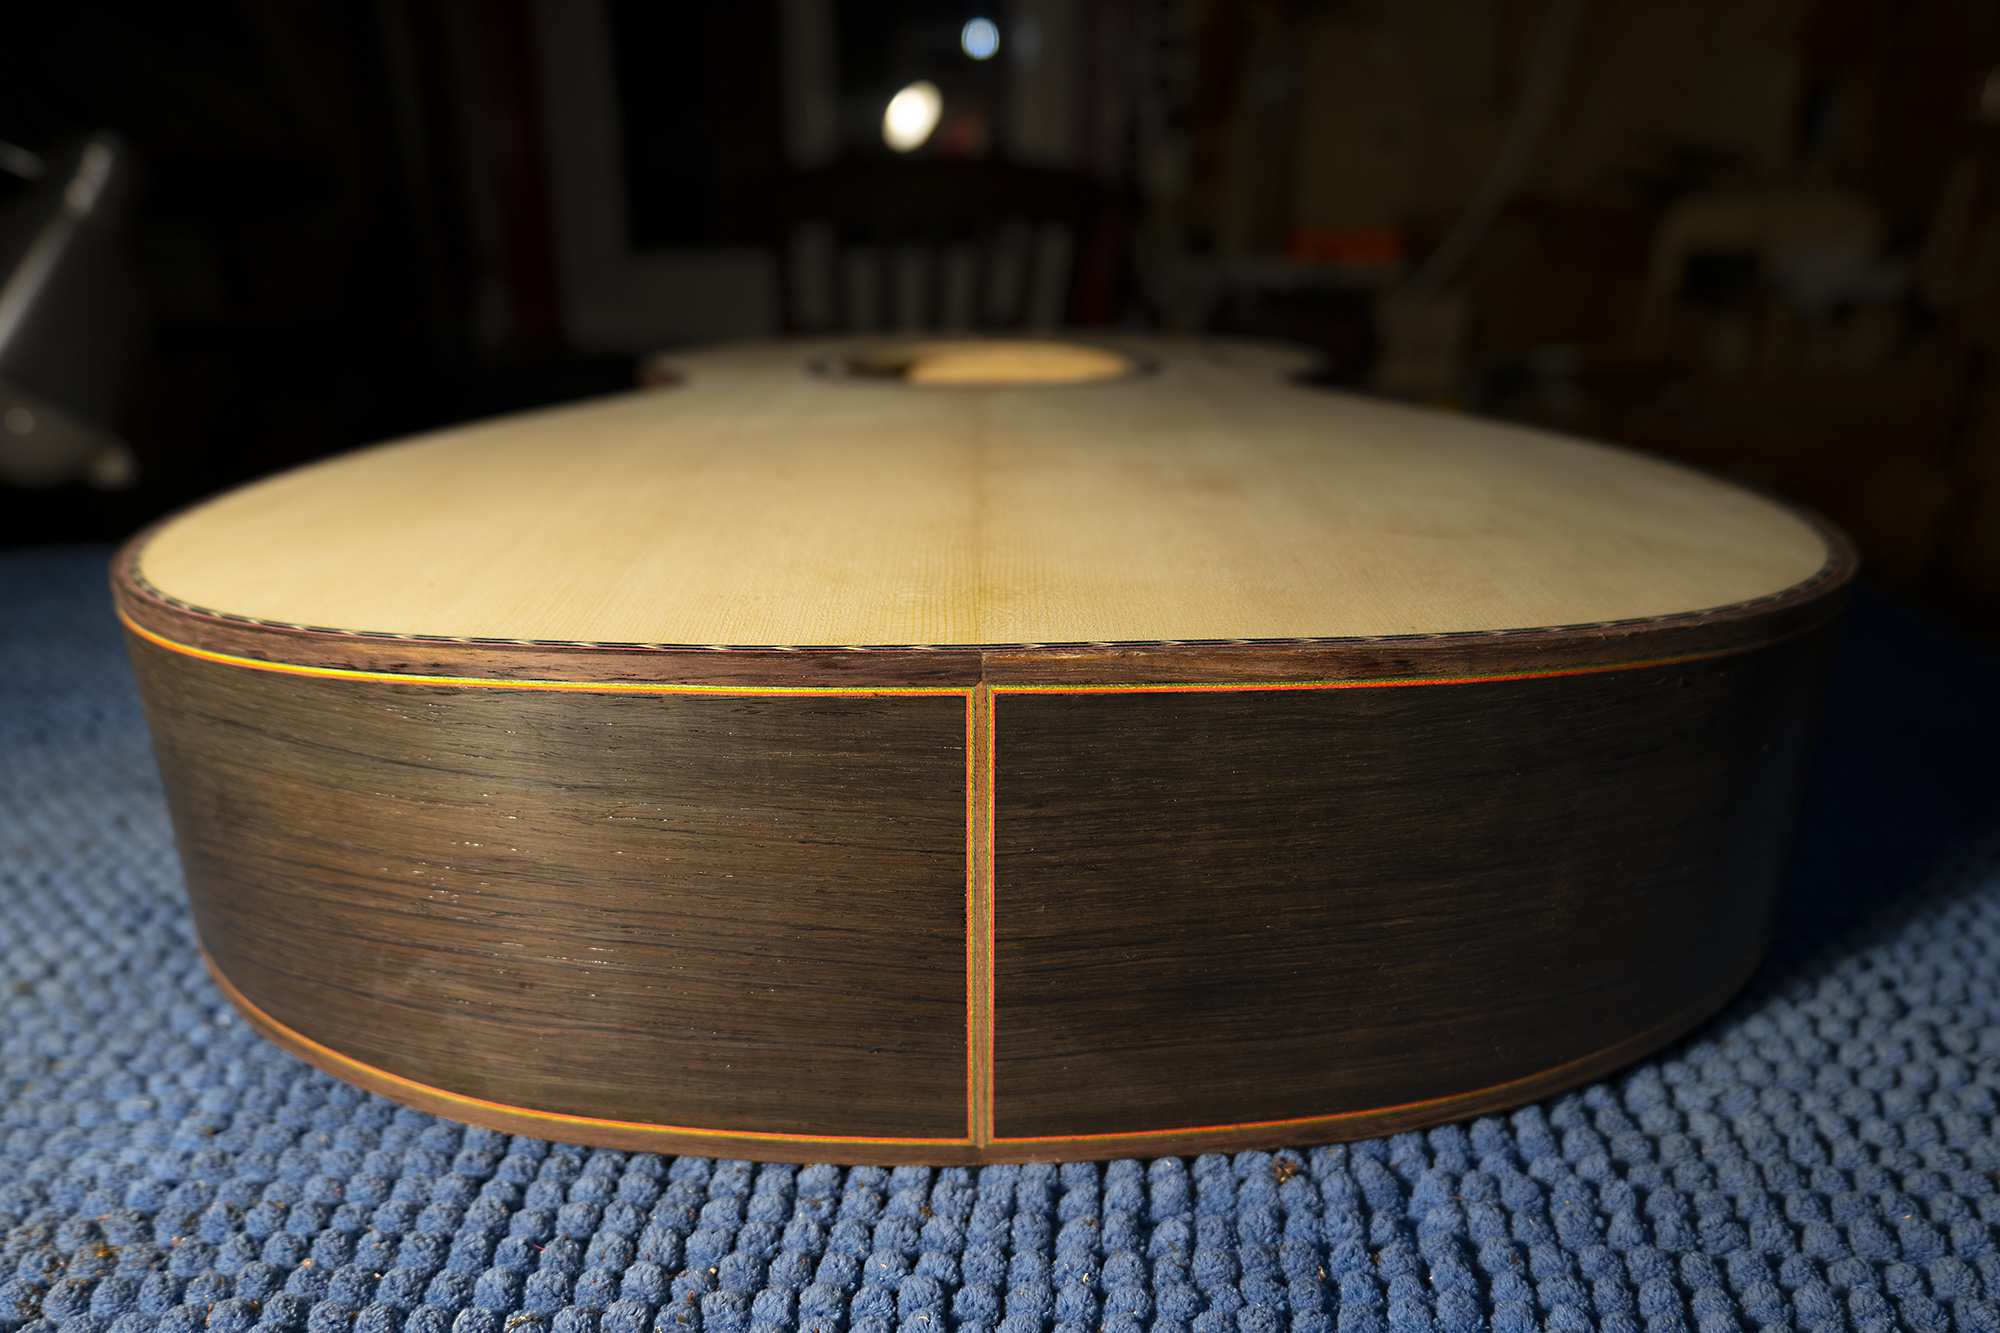
Photos below show  the body ready to receive bindings with the centre tail strip in place, and the tail with the Santos rosewood binding in place and mitred into the tail strip.

19 Dec2021

MS Anniversary model part 8

Build finished

When the bridge is ready, I position it in its correct place and drill two location holes in the soundboard.  The whole guitar then receives its final sanding, working down through the grades to the finest sanding paper.

.


The build is now complete.  Next the guitar goes to Dave Wilson and the spraybooth; this will not be until be some time in the new year, so it will be a couple of months or more before I get it back.

When it comes back, I glue on the bridge, check, level and profile the frets, make and fit the bone nut and saddles, fit gold Gotoh 510 tuners (the best) and finally fit the strings.

Even then it isn’t finished.  I adjust the nut grooves, fit the strings and bring them up to tension, check the neck relief and set the string action.

Then I like to let it stand a few weeks while the guitar settles in and I can check the string action again.  By now it will have started to open up, though it will be months or even years before it reaches its peak and we can hear how it really sounds.

The impatient young man who started building nearly fifty years ago has had to learn patience.

Old Brazilian rosewood, aged German spruce and aged ebony are lovely to work with.  It sounds like a cliché, but it really is a privilege to work with such special woods.

Ready to be lacquered, the bridge is resting in place.

16 Dec2021

MS Anniversary model part 7

Making the Bridge

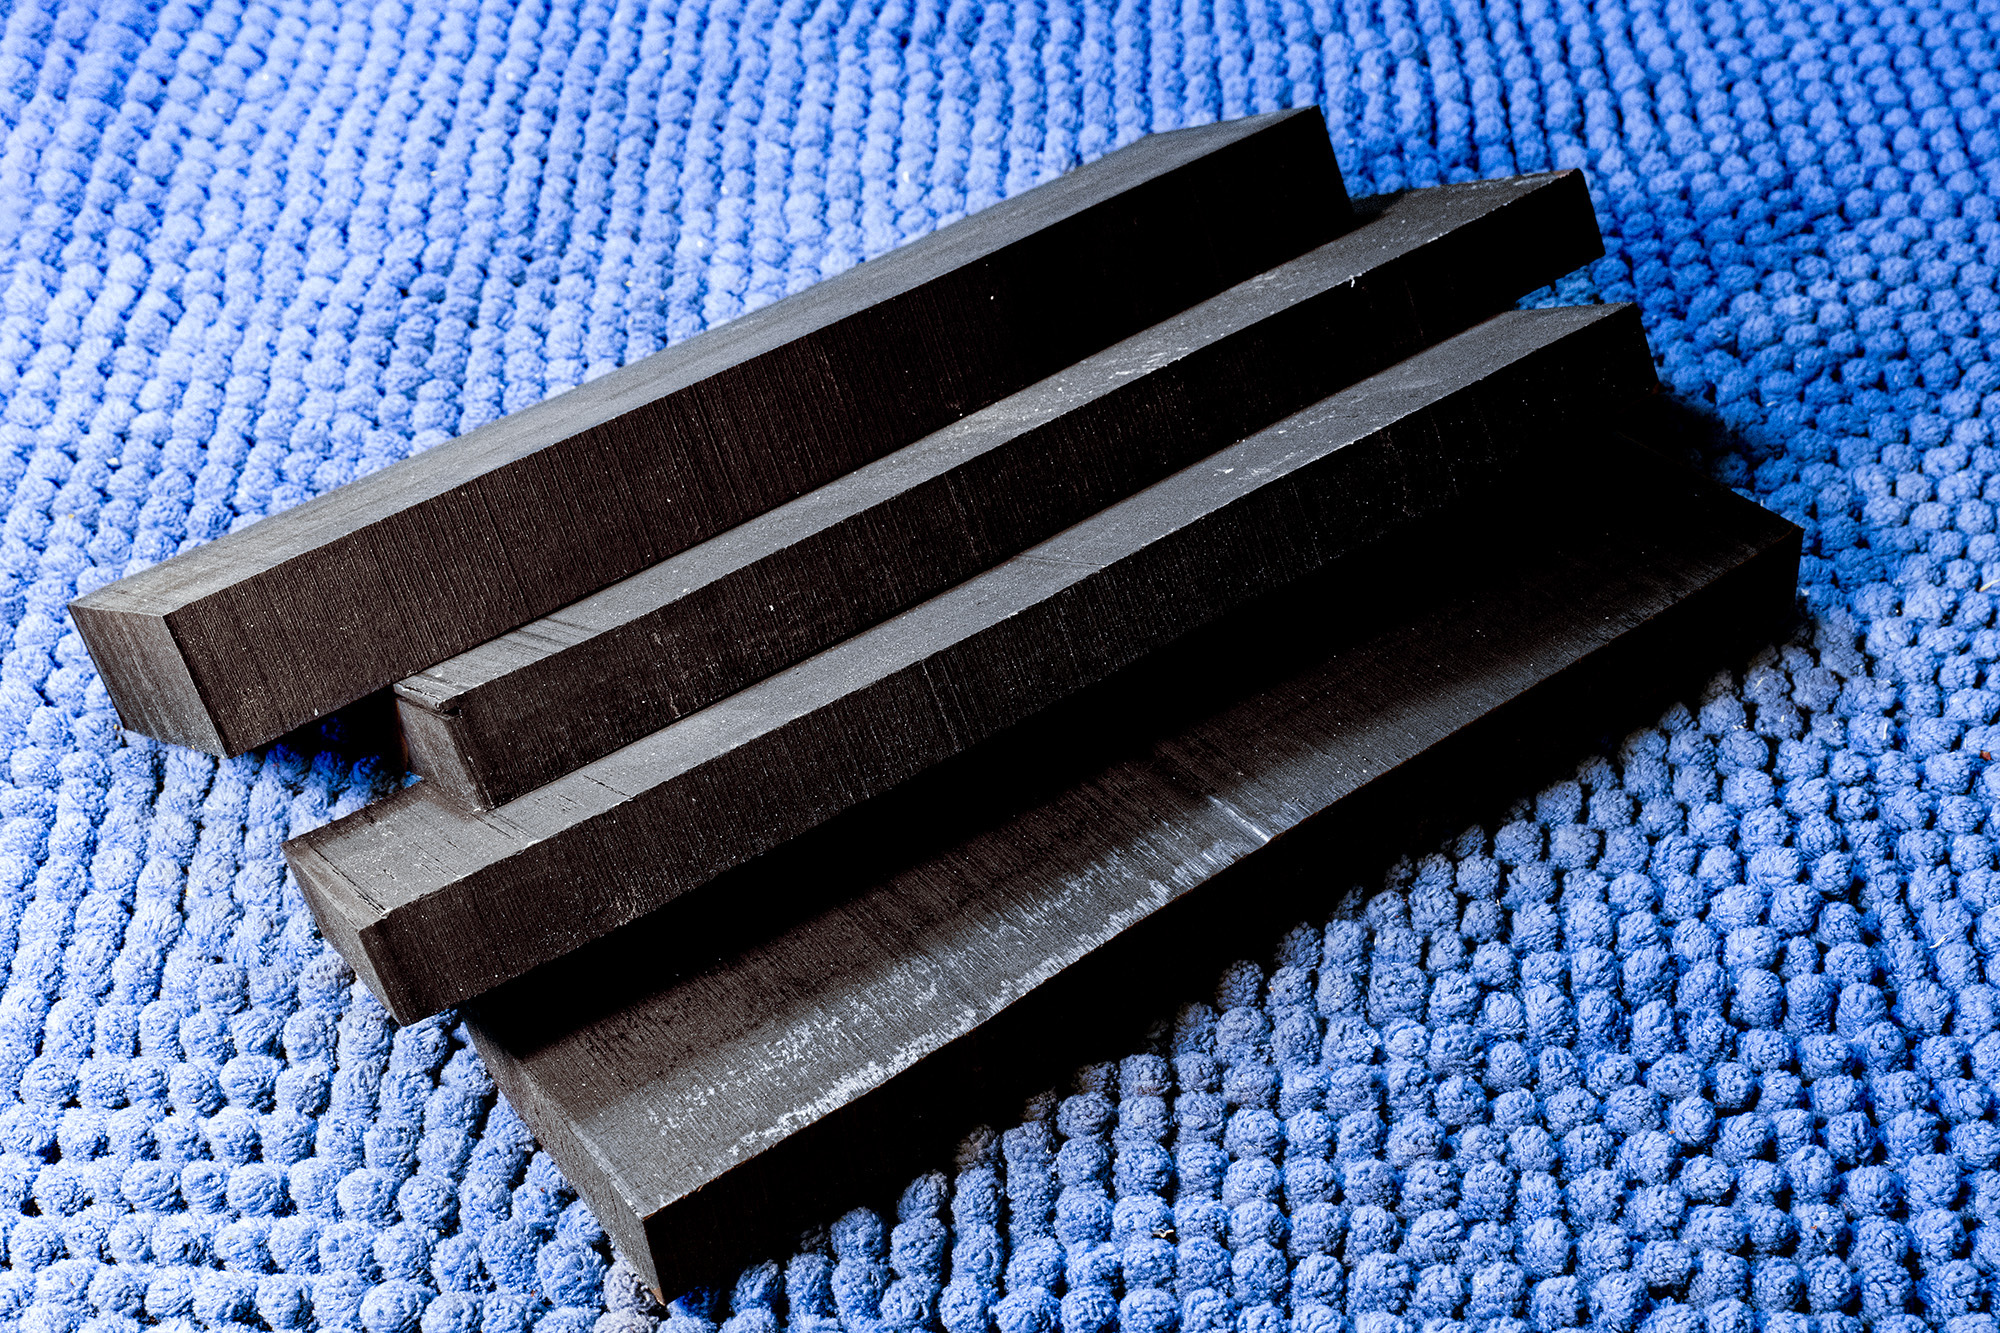
My bridge is always ebony.  I am currently using ebony from a board I bought from Craft Supplies in Derbyshire.  Goodness knows how long ago Craft Supplies ceased trading, but however long that is, I’ve had this ebony longer.  It is beautiful; straight grained, very black (although I personally don’t mind some lighter figure), and even and creamy to work.

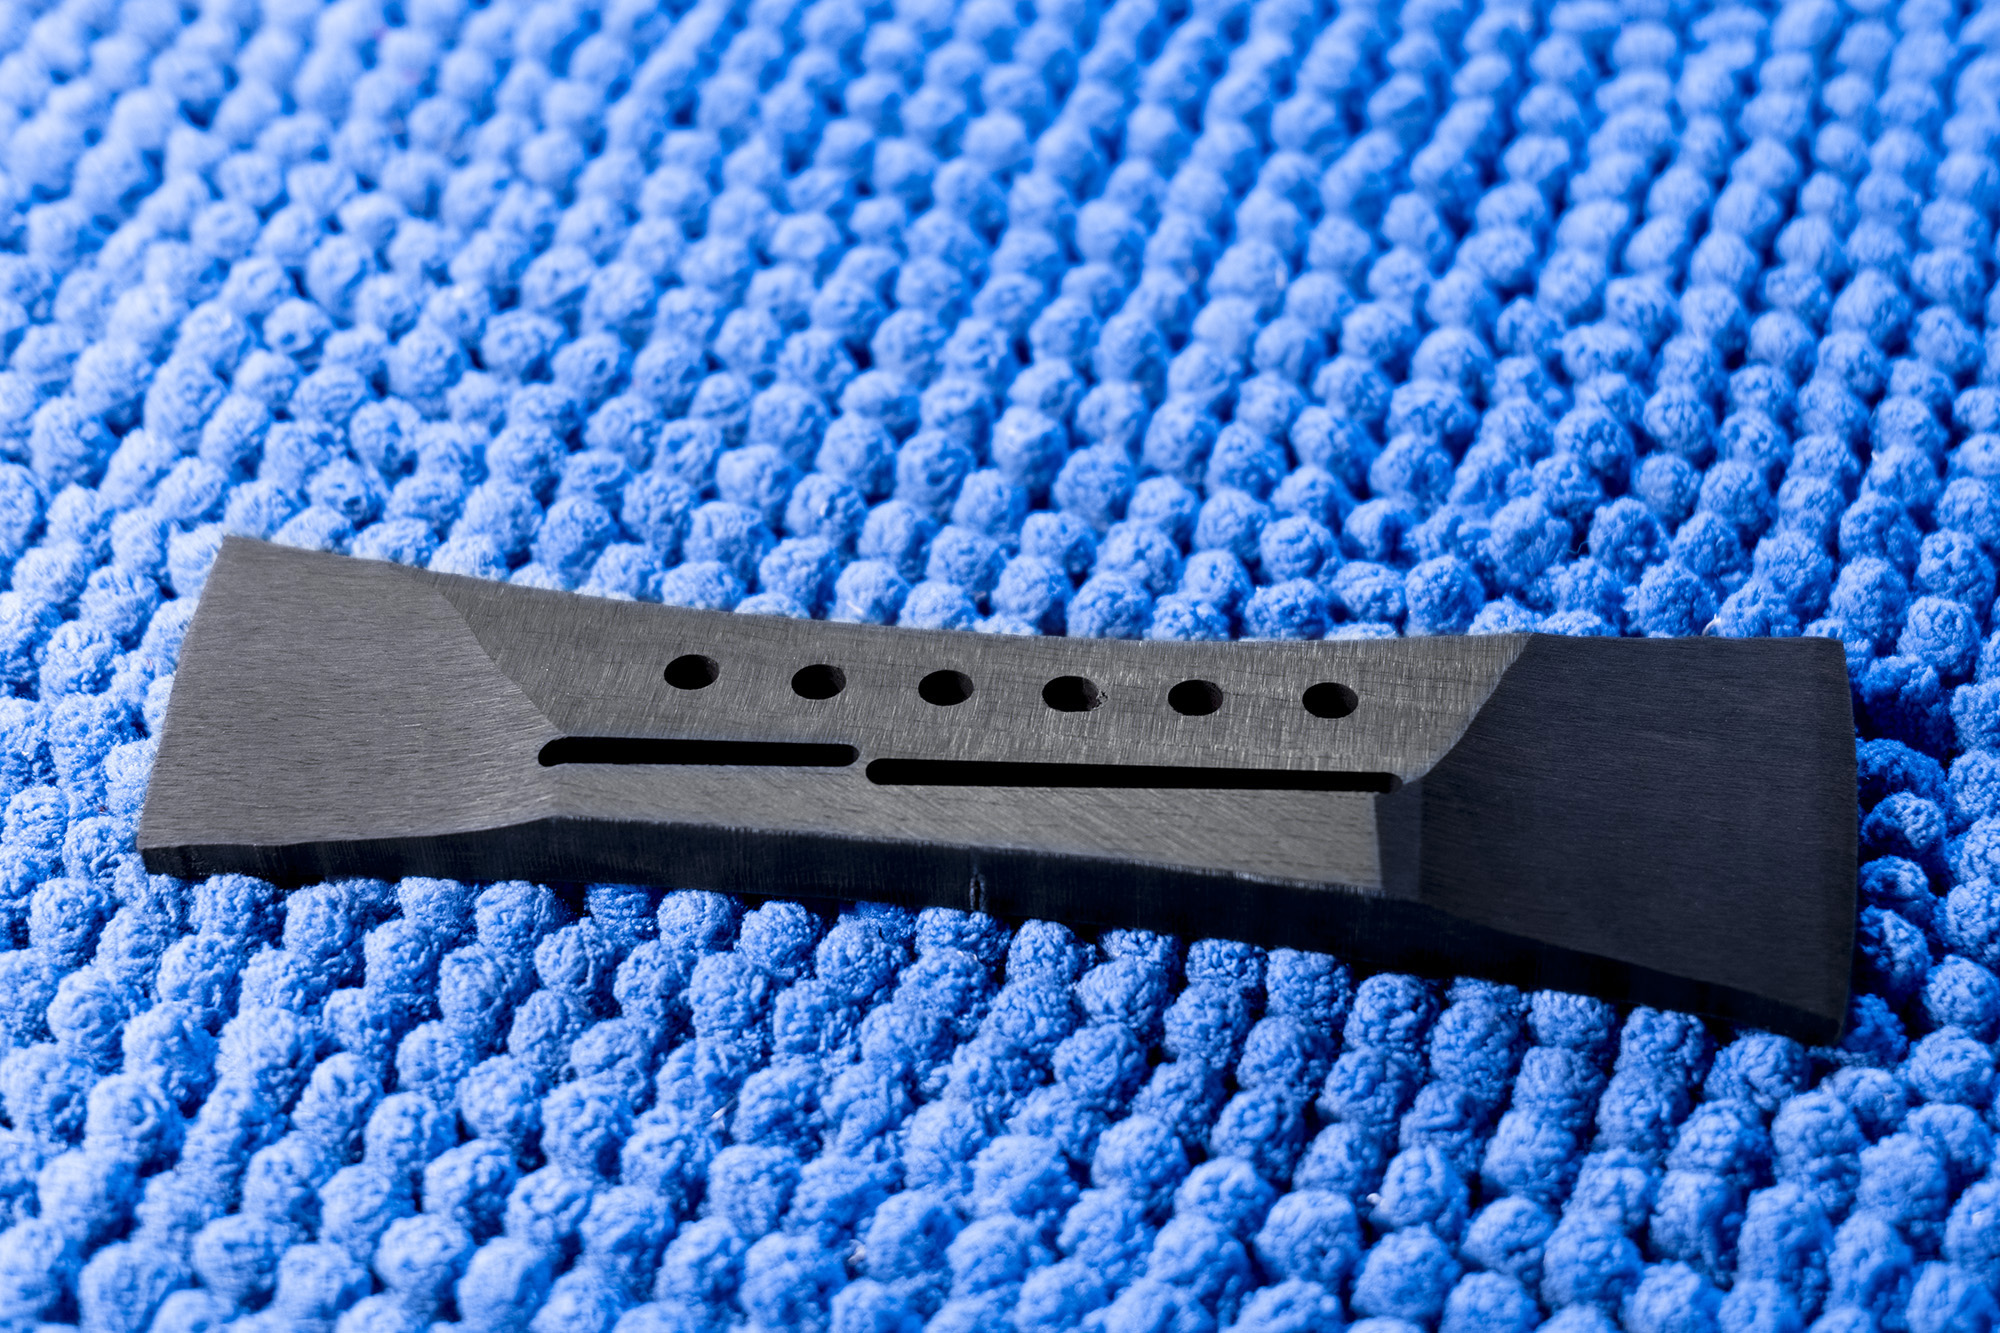
Because the bridge is to be fitted to a curved soundboard, it must be curved to fit.  As the soundboard curve can vary slightly from guitar to guitar, the bottom of the bridge has been shaped to fit this MS soundboard.

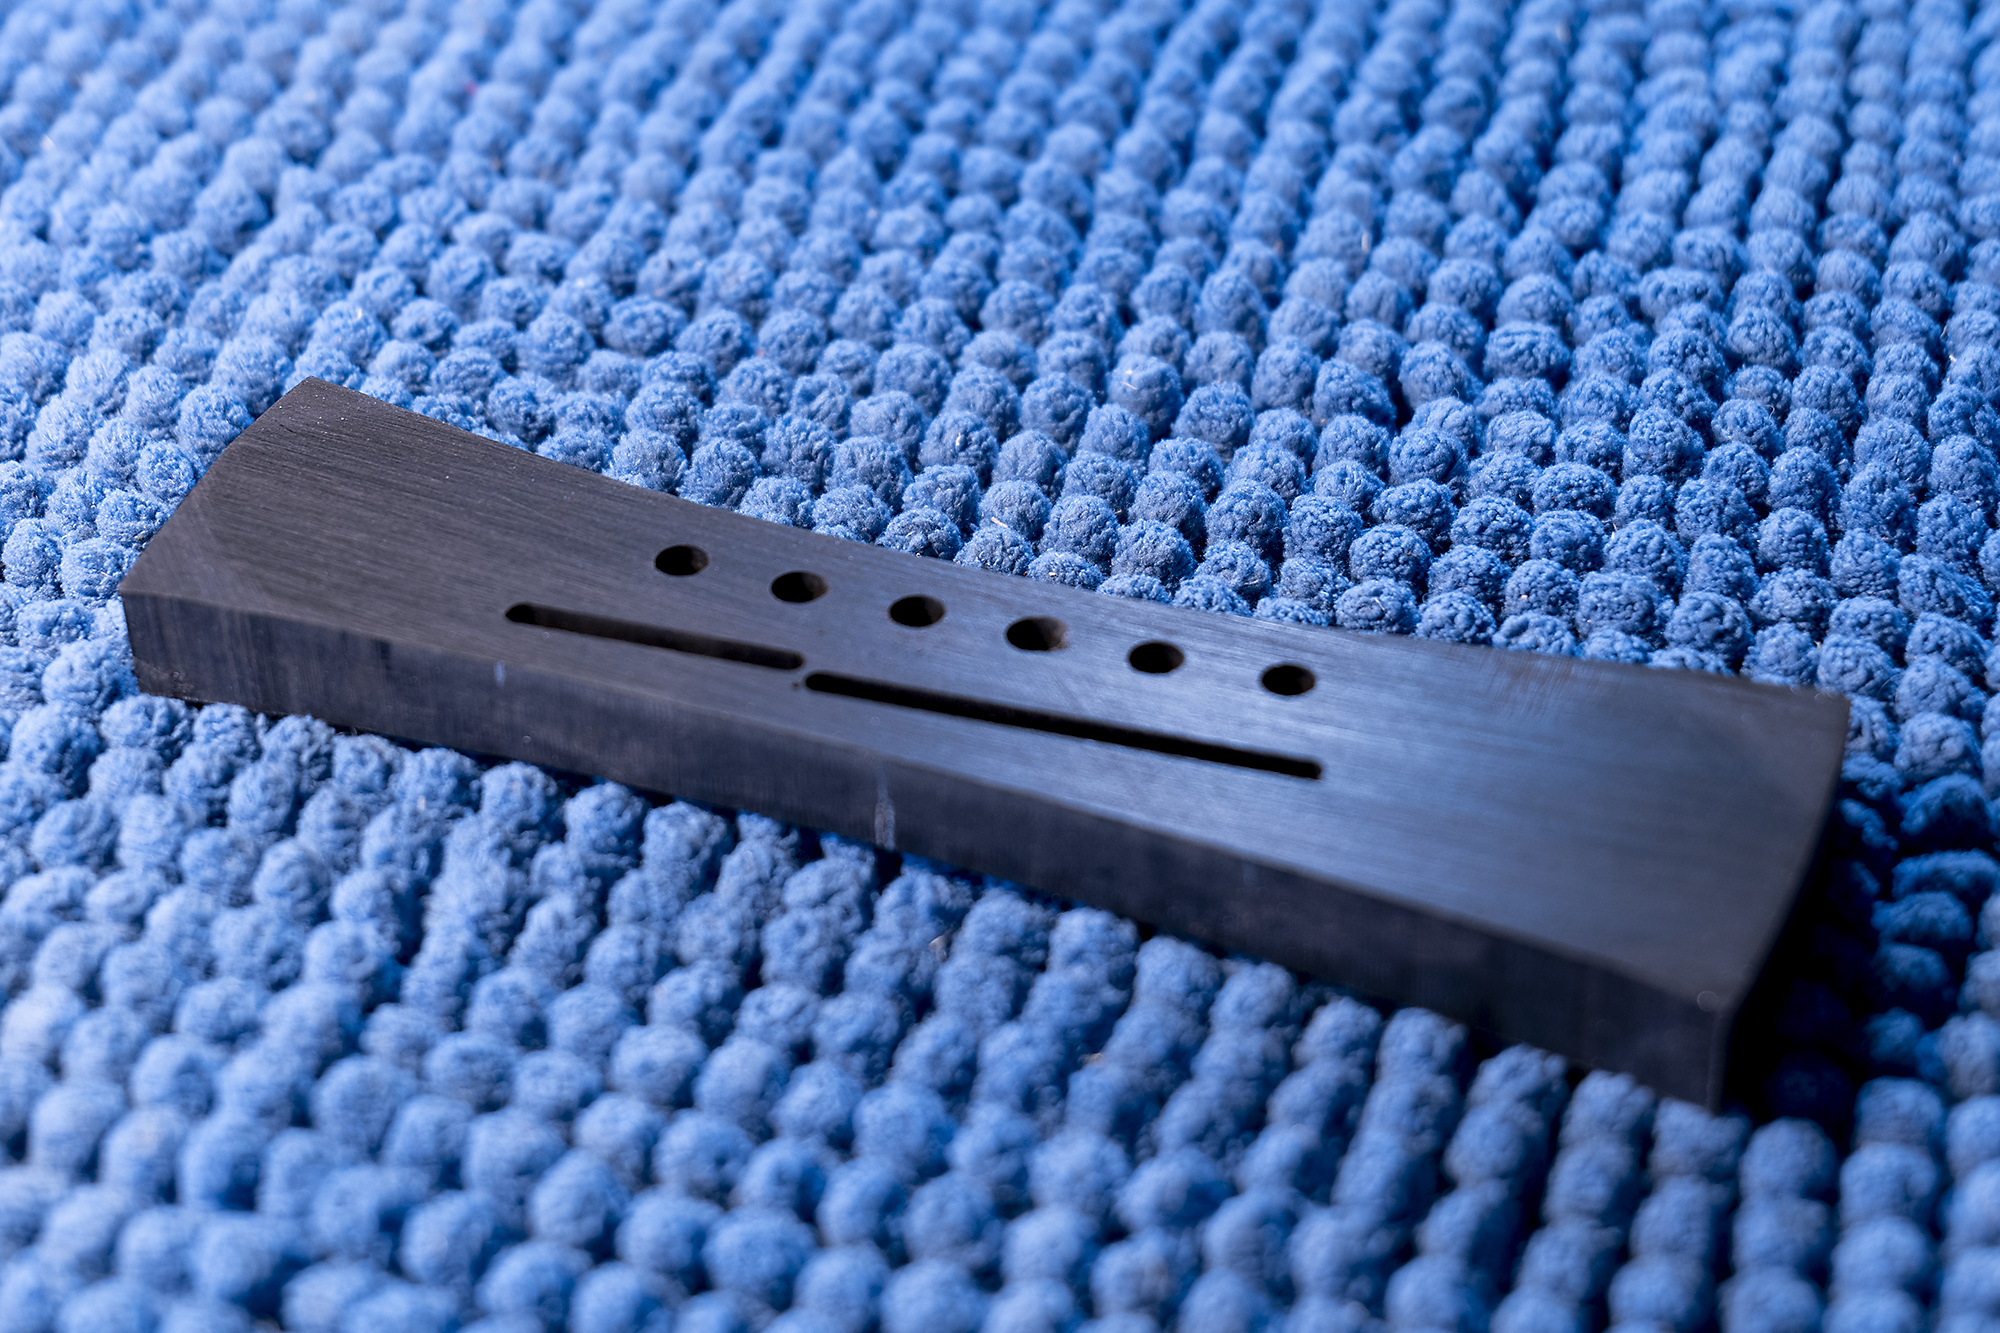
Only the outer two holes go right through the bridge; these are used to locate the bridge when gluing.  The middle four are blind so that  they don’t fill with glue during gluing.

Bridge blanks cut from the Craft Supplies board
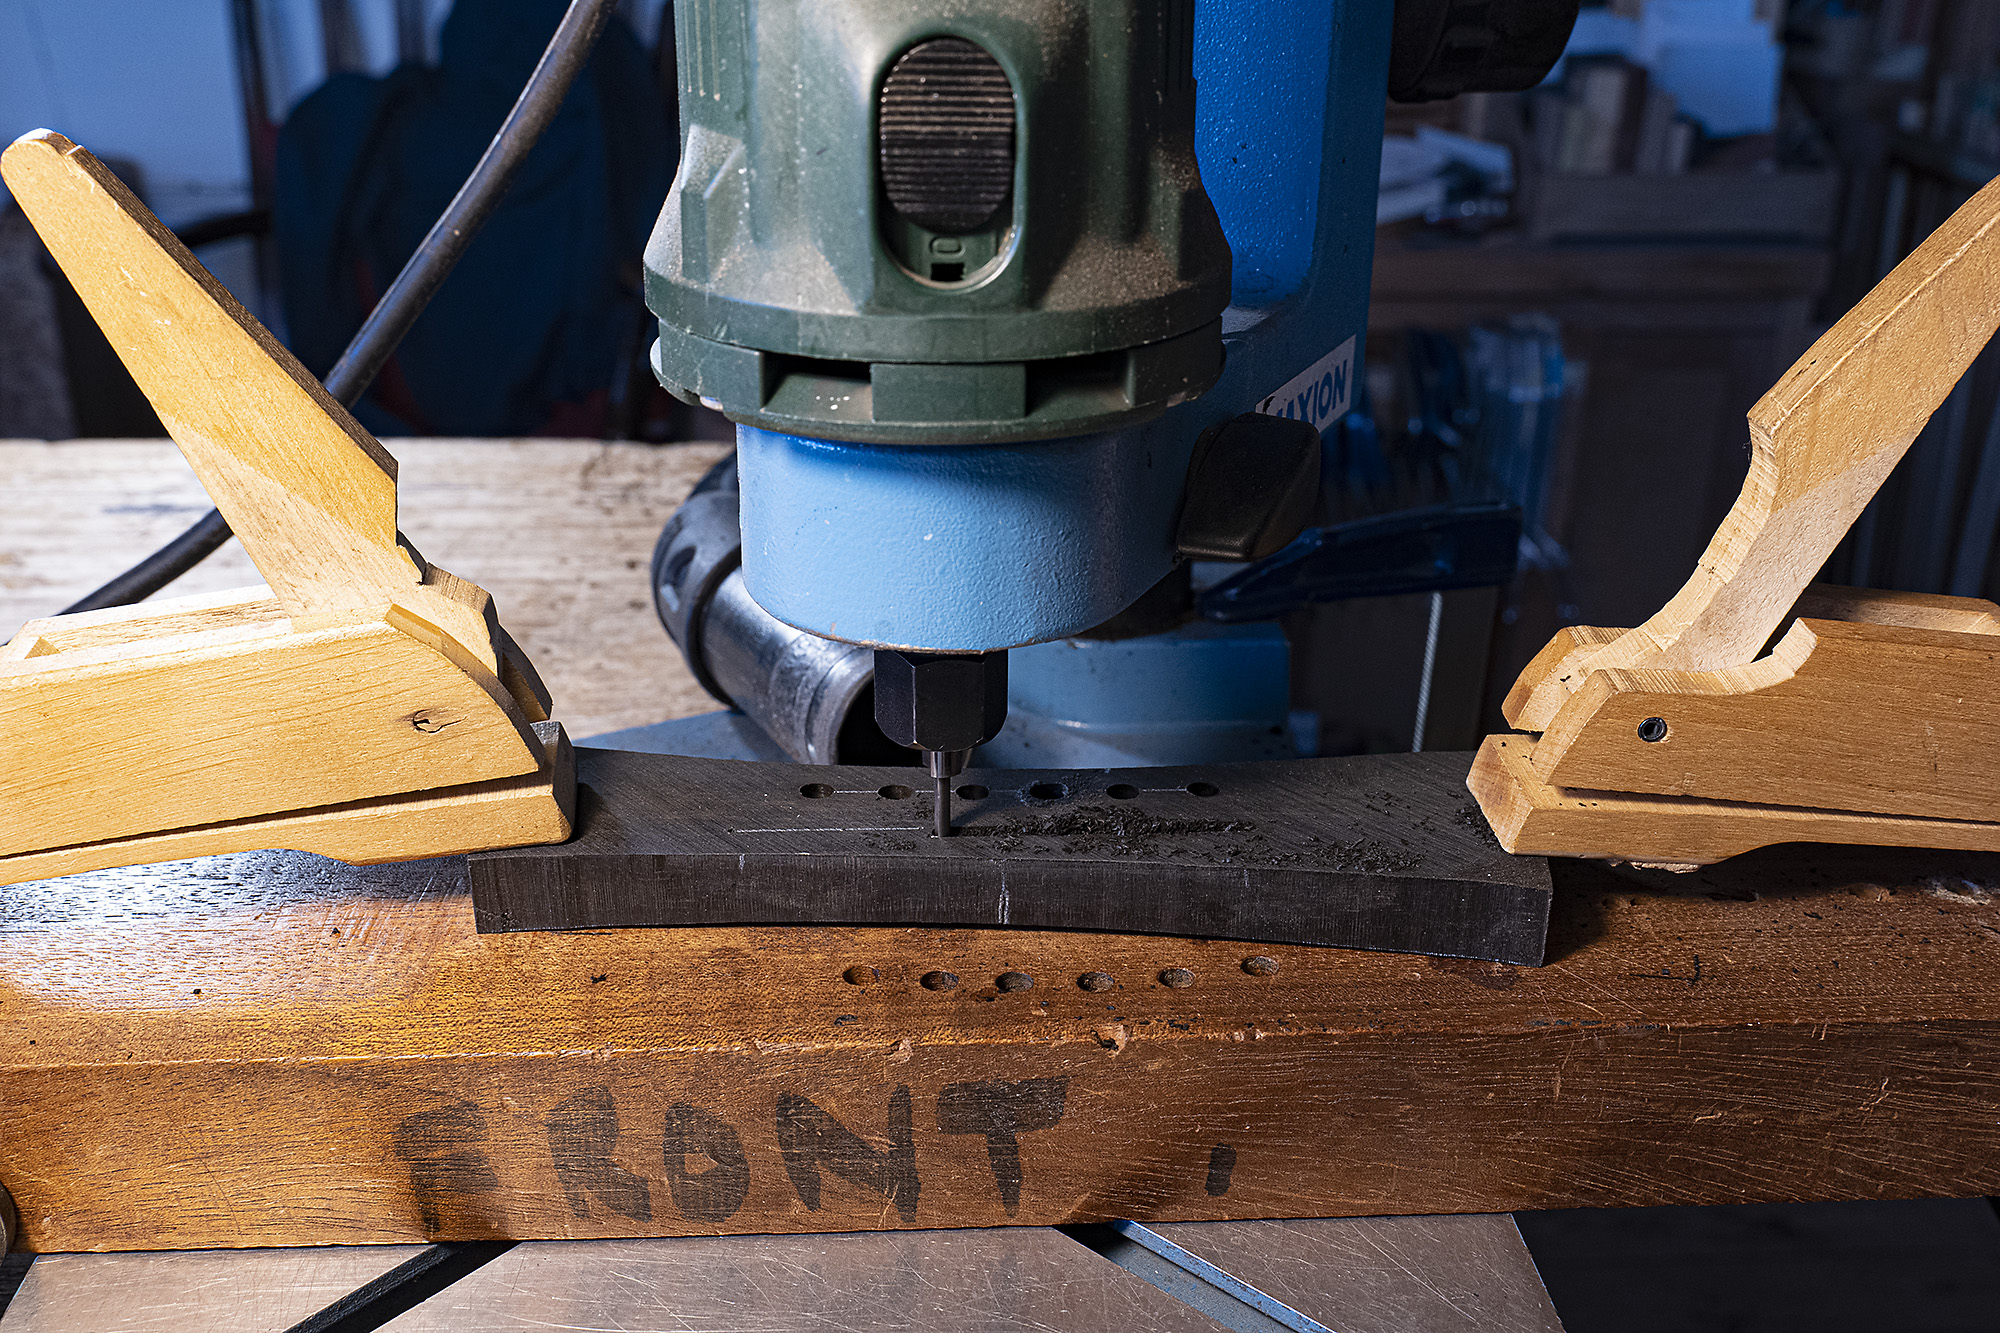
Bottom curved, holes drilled, now routing the two saddle slots

Holes drilled and saddle slots routed

Bridge shaped on the sander, ready for final hand trimming and sanding

Bridge finished.  Hole countersinking and final fine sanding will take place when the bridge is glued in place

12 Dec2021

Snoopy cittern tatoo

Message from Bill Barfield

Bill bought his cittern from me in the distant past, he tells me it was 36 years ago.  Today I received the following message from him:

Hi, Stefan,

I thought I’d share a picture with you.  At age 64 I decided to get a tattoo.  Yes, it is dumb. But I decided to do it anyway.

They say that when you get a tattoo it needs to be something important to you that will not change in the future.  My cittern is one of those things.  Also, I’ve always been a fan of the Peanuts comic strip and Snoopy in particular.  So I put them together for a tattoo that is really me. See the attached picture.

Anyway, Thanks for all the years of joy it has given me.  Have a great Christmas season.

Regards,
Bill Barfield
Charlotte, NC

It’s a while since I’ve seen it, but I also loved the Peanuts comic strip.  This is a great tattoo.


12 Dec2021

MS Anniversary model part 6

Fitting the neck

Now I’m getting to the stage where it all starts looking like a guitar.  I’ve built up the neck and head, shaped the heel (and stamped serial numbers on the inside) so it’s ready to fit.

First I have to cut the body to give access to the neck.  Below the body is ready to receive the neck, the neck ready to go into it, and the wedges I drive in to hold it very securely in place are lying alongside.  The red strap will be tightened to hold the neck in place while I apply glue to the whole assembly and drive in the wedges.

Heel block stamped 57th MS model, serial no 521, Anniversary Model 8

Neck, body and wedges ready for assembly

Neck in place, mahogany wedges driven in and neck locked against the soundboard with little spruce wedges

The last process: gluing on the ebony heel cap. Now it stands overnight before I begin fitting the fingerboard

Fingerboard fitted and (some time later) Wengé neck shaped.  Wengé  is tricky to work. The grain runs both ways, when planing or chiseling, there is always grain against you so the blade wants to dig in. It’s abrasive, so quickly blunts tools used on it, and the dust is not good.  If you get a splinter it should be taken out soon; left in, the flesh around it will fester.

But Wengé makes lovely necks; it looks and feels great, is very stiff, and helps the guitar sound great.

11 Dec2021

MS Anniversary model part 5

Routing for binding and trim

Binding is a complex operation.  I use a StewMac routing system, whereby the guitar body is fixed to a carriage which allows me to move it around against a stationary router.  This can move up and down to allow for the rise and fall caused by the curved back and front.  Photos right show the stepped ledges for the binding and trim of both back and front.  The different depth ledges are achieved by fitting different size bearings the body is pushed against.

Top stepped ledge for binding and arrowhead trim plus red pinstripe

Bottom stepped ledge for binding and three colour trim

Fitting tail trim

The sides are joined to the tailblock leaving a space for the trim.  While routing, this space is occupied by a piece of scrap wood of the correct width. Photos right show the sequence.

Sacrificial wood in place

Sacrificial wood removed

Final trim in place and mitred

Tail trim mitred into the binding

Tail trim lines up with centre back trim

.


Binding

With the tail trim in place, I can bind back and front, photos above show the result.  This after several more operations.

When first fitted, the binding needs trimming level with back and sides, and at the same time I scrape off the shellac lacquer.  Then the binding must be sealed to ensure all gaps, however invisible, are filled, and then scraped back again.

The trim on this guitar is not my standard MS trim, but is black Rocklite binding with arrow-head and red pinstripe top trim and my favourite red/gold/green purfling around back and sides.

Finally back, front and sides are sanded smooth.  The body is now ready for its neck.

Binding with red pin stripe and arrow head trim

10 Dec2021

MS Anniversary model build part 4

Joining back, sides and soundboard


Back and soundboard finished

Lining clamped with strong spring clamps

Soundboard clamped to sides with cam clamps


Now the back and soundboard are ready, it’s time to join them to the sides.  First I scribe and shape the sides to accept the curve of the back, then the previously shaped one piece spruce lining is glued in place and sanded smooth.  I cut notches  cut in the lined sides to accept the braces, and glue the back on.

Then I shape the sides  to accept the top, fit the top lining and apply a light coat of lacquer to the inside of the body. Then I fit the soundboard.

The last process before binding is to apply a coat of shellac lacquer to the back and sides.  This serves two functions; it prevents grain being pulled from the rosewood when the binding tape is removed, and also fills the grain to some extent.

Back and sides with coat of shellac lacquer

16 Nov2021

Anniversary MS model build part 3

Preparing lining and bending sides


Shown right is my old Fox bender, still heated by filament light bulbs instead of the electric blankets more commonly used these days.

I don’t often use the Fox bender for sides these days, I get better results hand bending (on an electrically heated bending iron), then fitting them in the mould and putting this on the stove overnight, as shown below. But because the mould was in use, on this occasion I used the Fox for the linings (mine are solid spruce) though these were also finished on the stove.

When hand bending sides, I prefer to damp the wood first, but Brazilian rosewood varies so much this isn’t always sufficient. I had to soak these sides overnight before I could bend them on the heated hand bender.

Linings are so thick they require several days soaking before being bent to shape.


After hand bending, wetting the sides and leaving them in gentle overnight heat fixes the shape


When I’m happy the sides are perfectly shaped, I trim neck and heel joins and glue them onto blocks (shown right); laminated spruce for the tail block, solid mahogany for the heel block. At the tail I leave a space for the centre inlay of black and colours to fit into after routing the binding grooves.

Now the sides are ready to be scribed to the curve of the back and have the back linings fitted.

The ancient Fox bender heated by bulbs

Laminated spruce tail block fitted, mahogany heel block gluing

.


Lovely back ready to join to sides; some of the filled worm holes are just visible.


07 Nov2021

Anniversary MS model build part 2

Completing the back


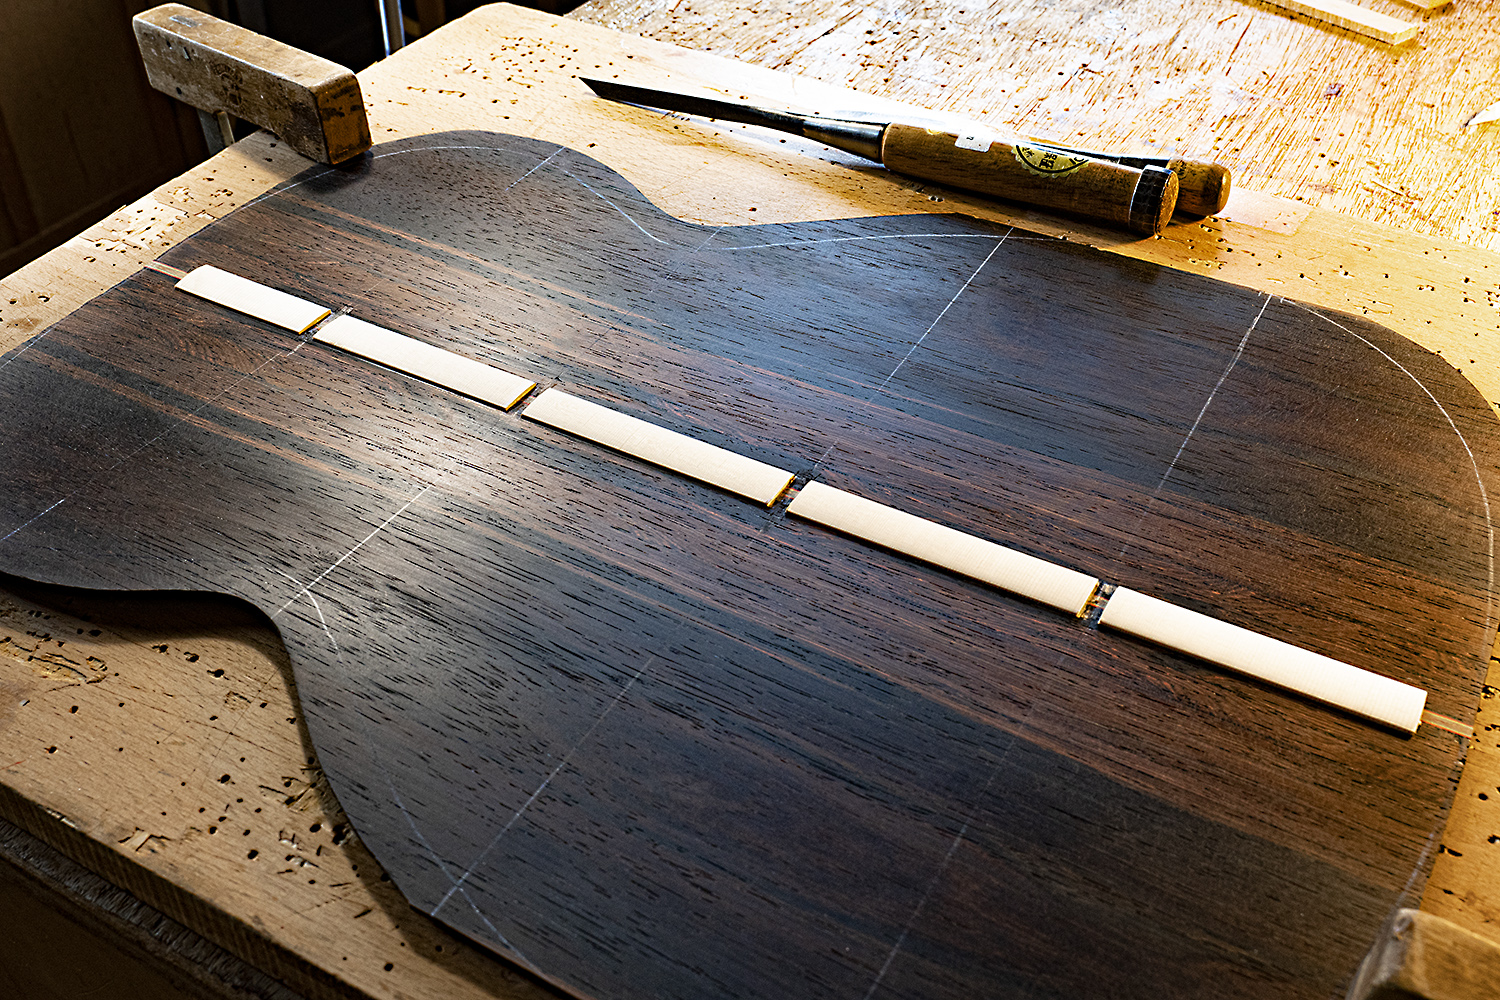
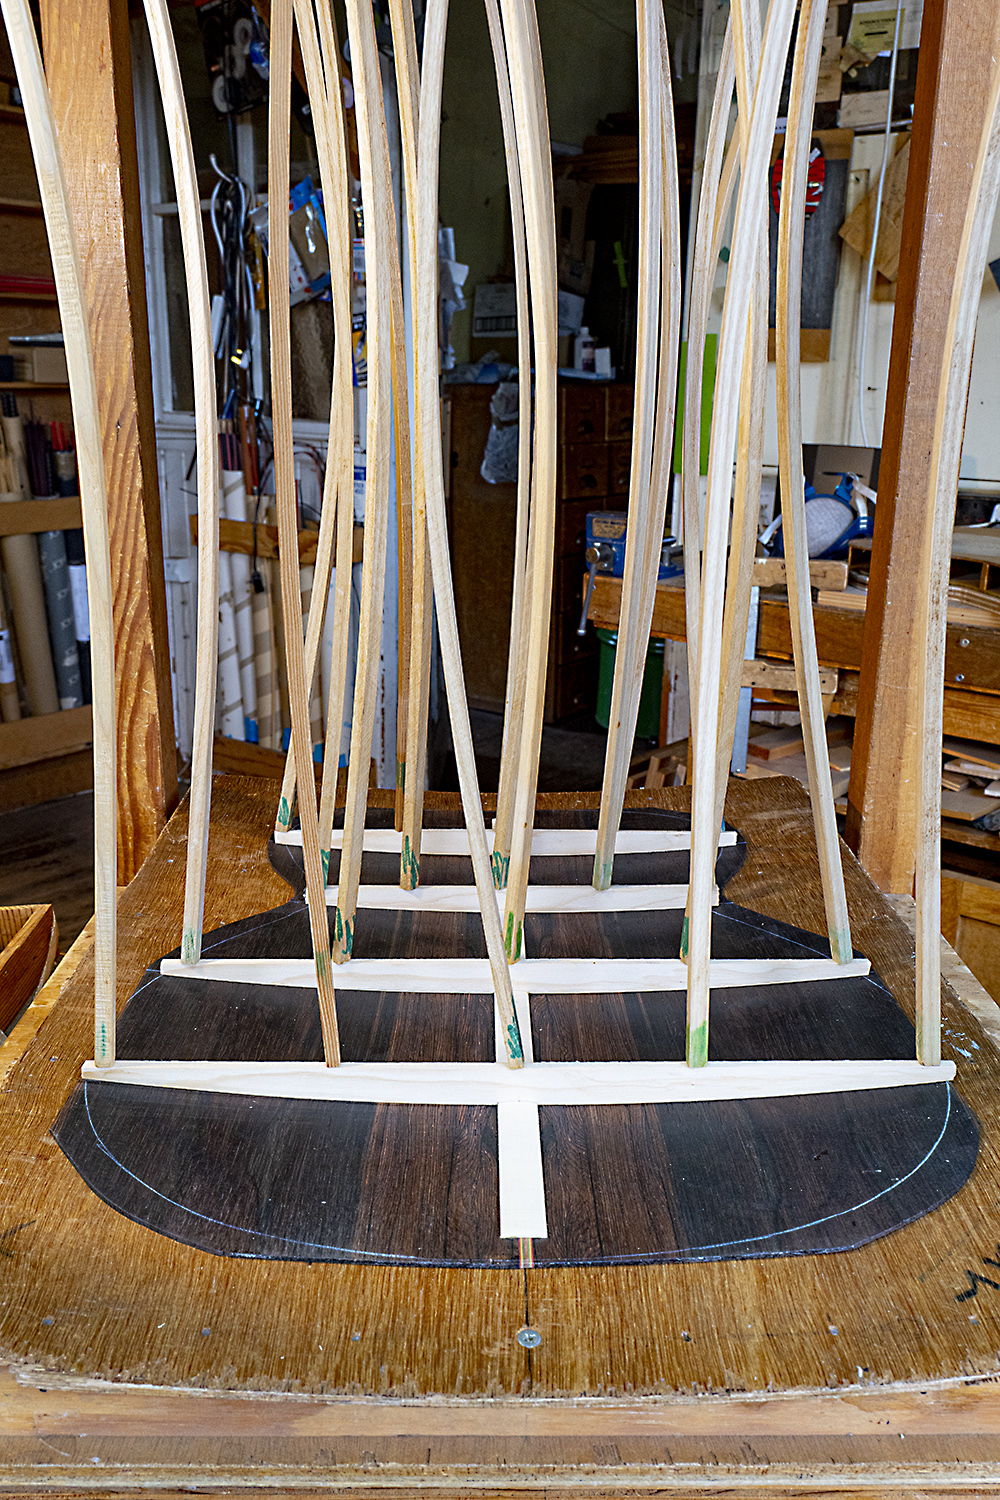
After smoothing the centre reinforcement, I make the back braces from quarter sawn, fine grained Sitka spruce, stiff and light. I cut each to length, rout the curve onto the base, cut the top profile and sand it smooth.

Then I can scribe the width of each brace onto the centre reinforcement and chisel it out, so each brace is an exact fit.  I glue them onto the back in the go-bar jig, resting on the mould (which exactly matches the curve of the braces). However did I manage pre go-bar?

Back out of the jig, I can trim and sand the braces to their final shape.


2. Braces gluing in go-bar jig

.

1. Centre reinforcement cut to receive braces

3. Back and braces out of go-bar jig being trimmed and sanded

4. All finished

  • 1
  • ...
  • 4
  • 5
  • 6
  • 7
  • ...
  • 14

  • News
  • Instruments
    • 40th Anniversary Model Guitars
    • Flat Top Guitars
      • Steinbeck Model Guitar
      • Martin Simpson Signature Model
      • New World Guitar
      • Model 4 Dreadnought
      • D Guitar
      • Verona Guitar
    • Arch Top Guitars
      • 6 String Arch-Top guitar
      • Twelve string Arch-top
    • Citterns and octave mandolins
    • Mandolins & Mandola
  • Construction and Design
    • Wood
  • Available now
  • About Us
    • Contact
    • How I started: my first cittern
  • Things they say
  • Order
  • Tonewood for sale
    • Indian rosewood for sale
    • Brazilian rosewood for sale