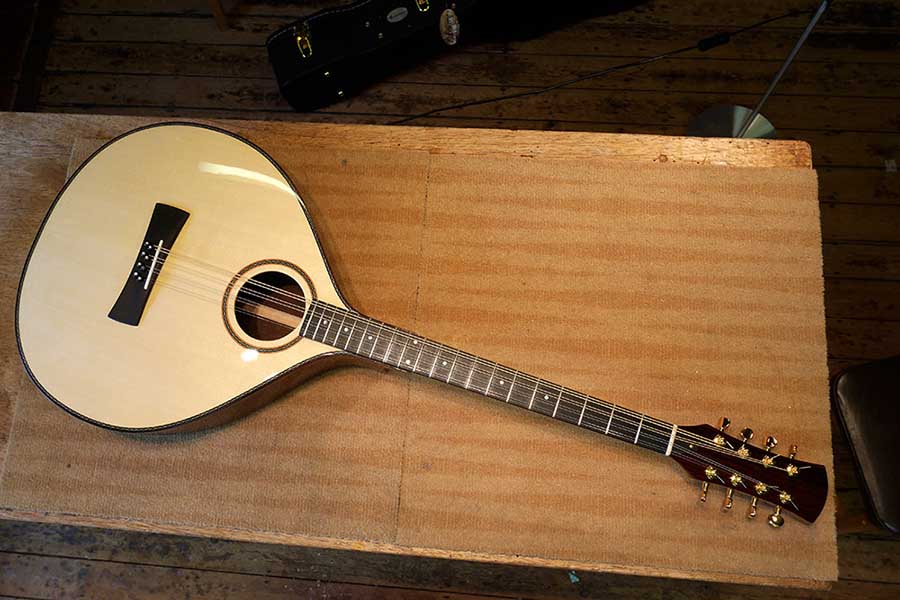
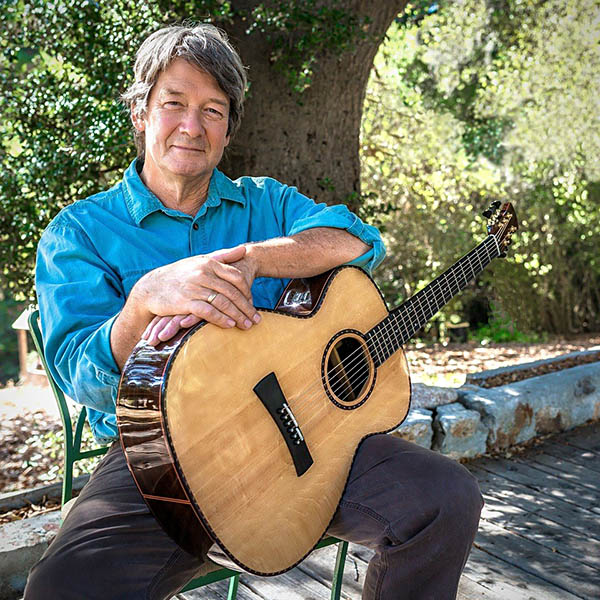
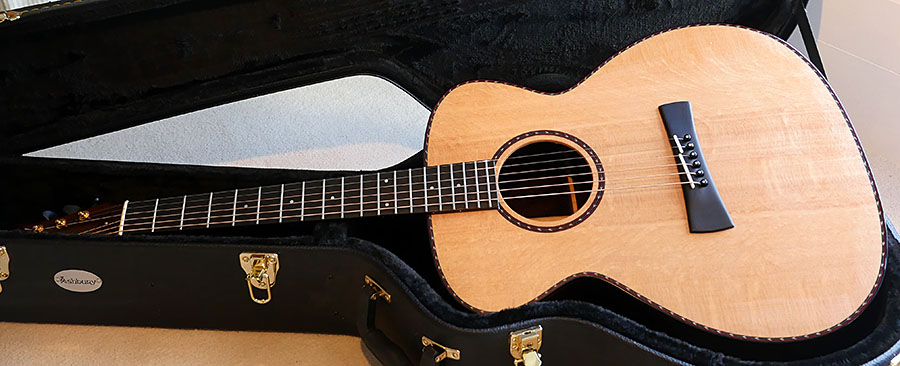
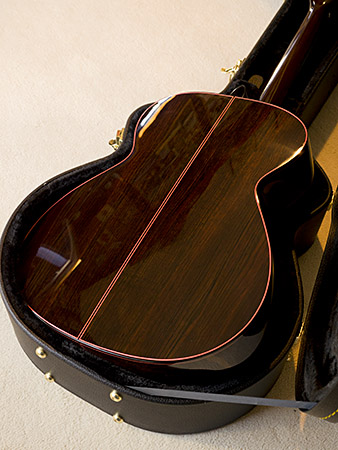
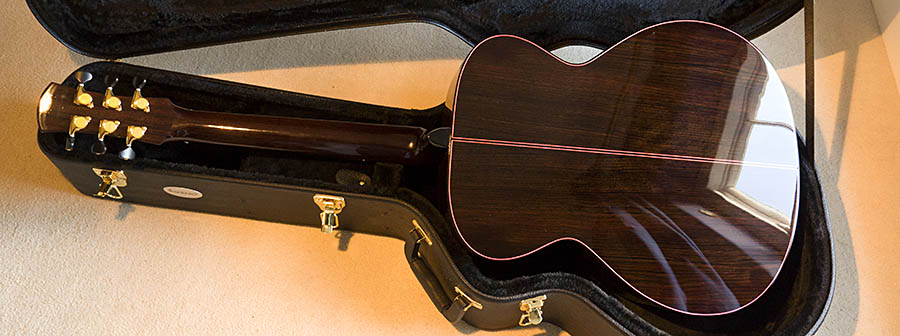
Jonathan Moss and the Steinbeck guitar
Jonathan Moss and his family visited over the weekend to pick up his new ‘Steinbeck’ guitar – so named by Paul Hostetter, referring to a passage in John Steinbeck’s ‘Grapes of Wrath’. Jonathan is an outstanding guitarist.
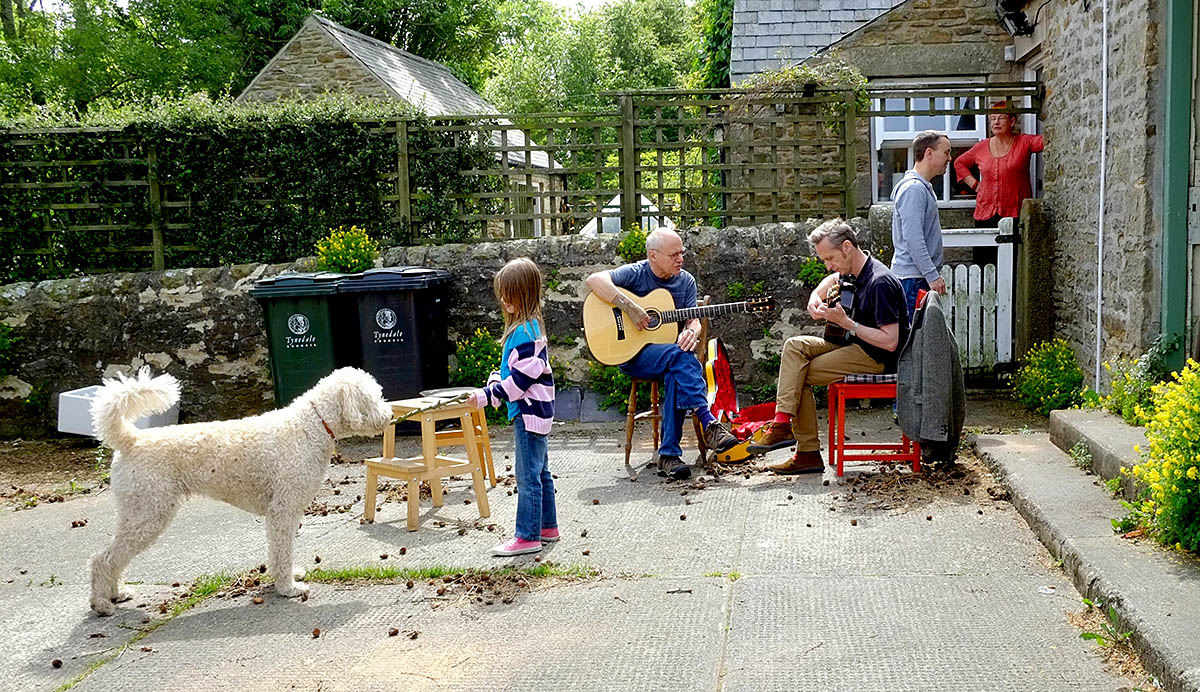
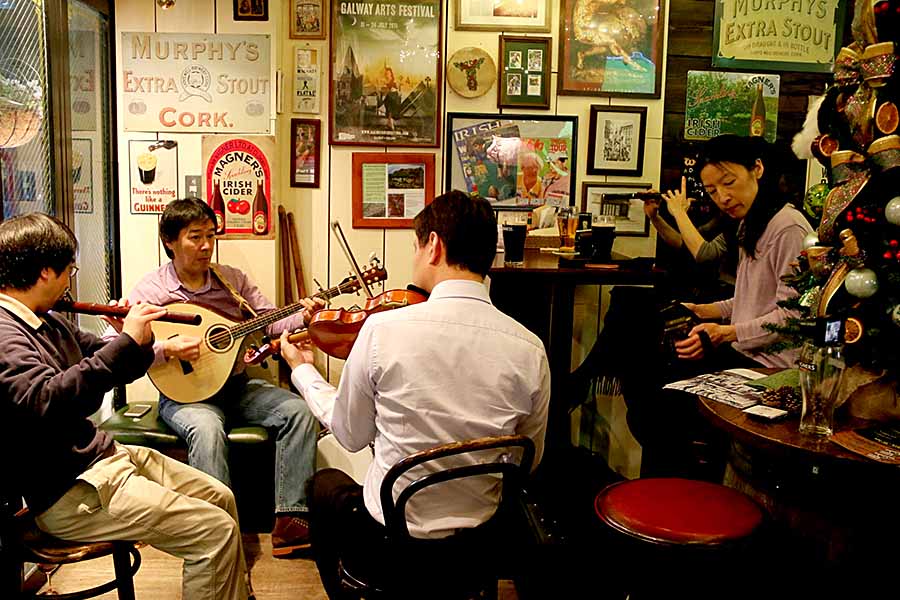
Jonathan visited in the summer and played Paul’s guitar, after which he decided to sell his MS model and have me build him a Steinbeck. Here we are in my workshop yard; I’m holding Jonathan’s MS model, he is playing Paul’s Steinbeck, his daughter Emilie is tormenting my dog, and my son Jason is chatting with my neighbour Annie. Jonathan’s son Louis took the photo.
Jonathan has sent me the following text.
In this golden age of luthiery I’ve played guitars by some of the world’s most respected builders (Greenfield, Somogyi, Traugott, Olson etc). But I’ve now just bought my second guitar from Stefan Sobell, replacing the MS he built me ten years ago.
I visited Stefan to have my original MS guitar checked over, and on a balmy day in early August, kids and dogs playing around us, Stefan nonchalantly said “here, try this” and handed me one of the greatest guitars I’ve ever touched. I couldn’t put the guitar down! Beautiful sounds seemed to just flow from my fingers with ease. It was the guitar he’d built for Paul Hostetter, who called it the ‘Steinbeck’ model.
I’m a guitar player and not a collector – a guitar to me is a tool to express my music, and tone production is the most important thing. It’s easy to be impressed by the initial loudness and bass response of a guitar, but on its own this doesn’t satisfy long-term; the subtle nuances, clarity and balance are what make a truly rewarding guitar. When played quietly, I want every note to be crystal clear and when played hard, I want it to seem as if the volume has simply been turned up, with no loss of definition – this makes a great guitar. Stefan’s ‘Steinbeck’ model really does this.
What marks Stefan out as unique is his ability to create the most resonant thick trebles, especially when they are fretted around the twelfth fret, and what is magical about this latest guitar is that he’s augmented the bass frequencies to match. Lots of makers can create a deep thunderous bass, but the trebles usually disappoint – I want them to sing out above the harmonies and to be complemented by a full, dark, velvety bass, as on my new Sobell.
When I collected my new guitar we met at his home and there was an air of expectancy in the room when I first played it… of course I wasn’t disappointed. Stefan then played it, it’s very rare for a maker to be a top player, but once he’d finished some very accomplished noodling, he made me laugh when he said “I’ll build another if you don’t like it, that way I’ll get to play this one for longer!”. I’m sure he wasn’t joking.

Jonathan playing his Steinbeck through the Highlander pickup.
 Photograph ©2015 Jim MacKenzie
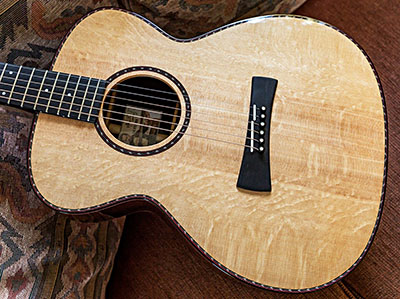 Photograph ©2015 Jim MacKenzie
 .
.