Binding
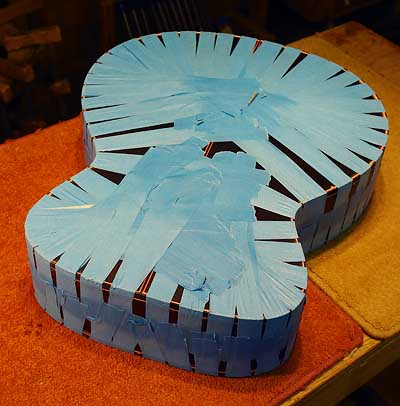
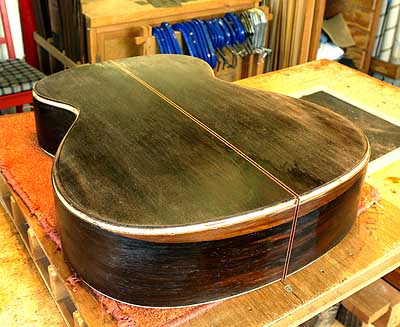
Here is the guitar in yesterday’s item with binding taped in place. The ebony binding on this MS model is shaped to the guitar before being fitted, but even so can resist being pulled into place. Hence the need for so much tape. Maple binding is more co-operative, and plastic binding is easier still to fit.
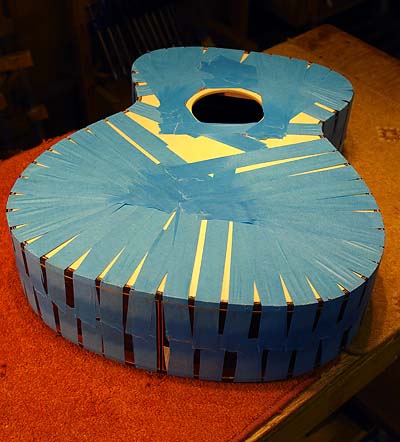
Because I don’t shellac the soundboard before taping the binding in place I’ll remove the tape carefully using a solvent to soften the adhesive.
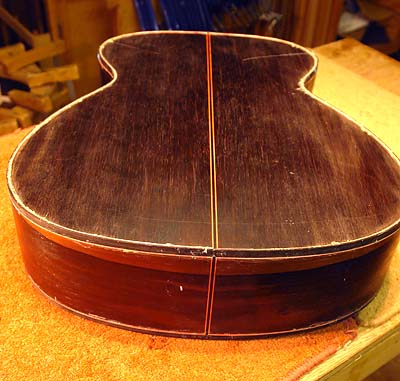
When the tape is removed the binding stands proud and has excess glue around it. Next I’ll scrape and sand it flush with the body before scraping and sanding the back and sides. The shellac coating will help me see areas sanded and areas still requiring sanding.
The soundboard will be sanded smooth at a later stage.